Build a Slider Crank
Create and simulate a working slider crank while learning to use sliding connectors, drawing elements, and dynamic measurements.
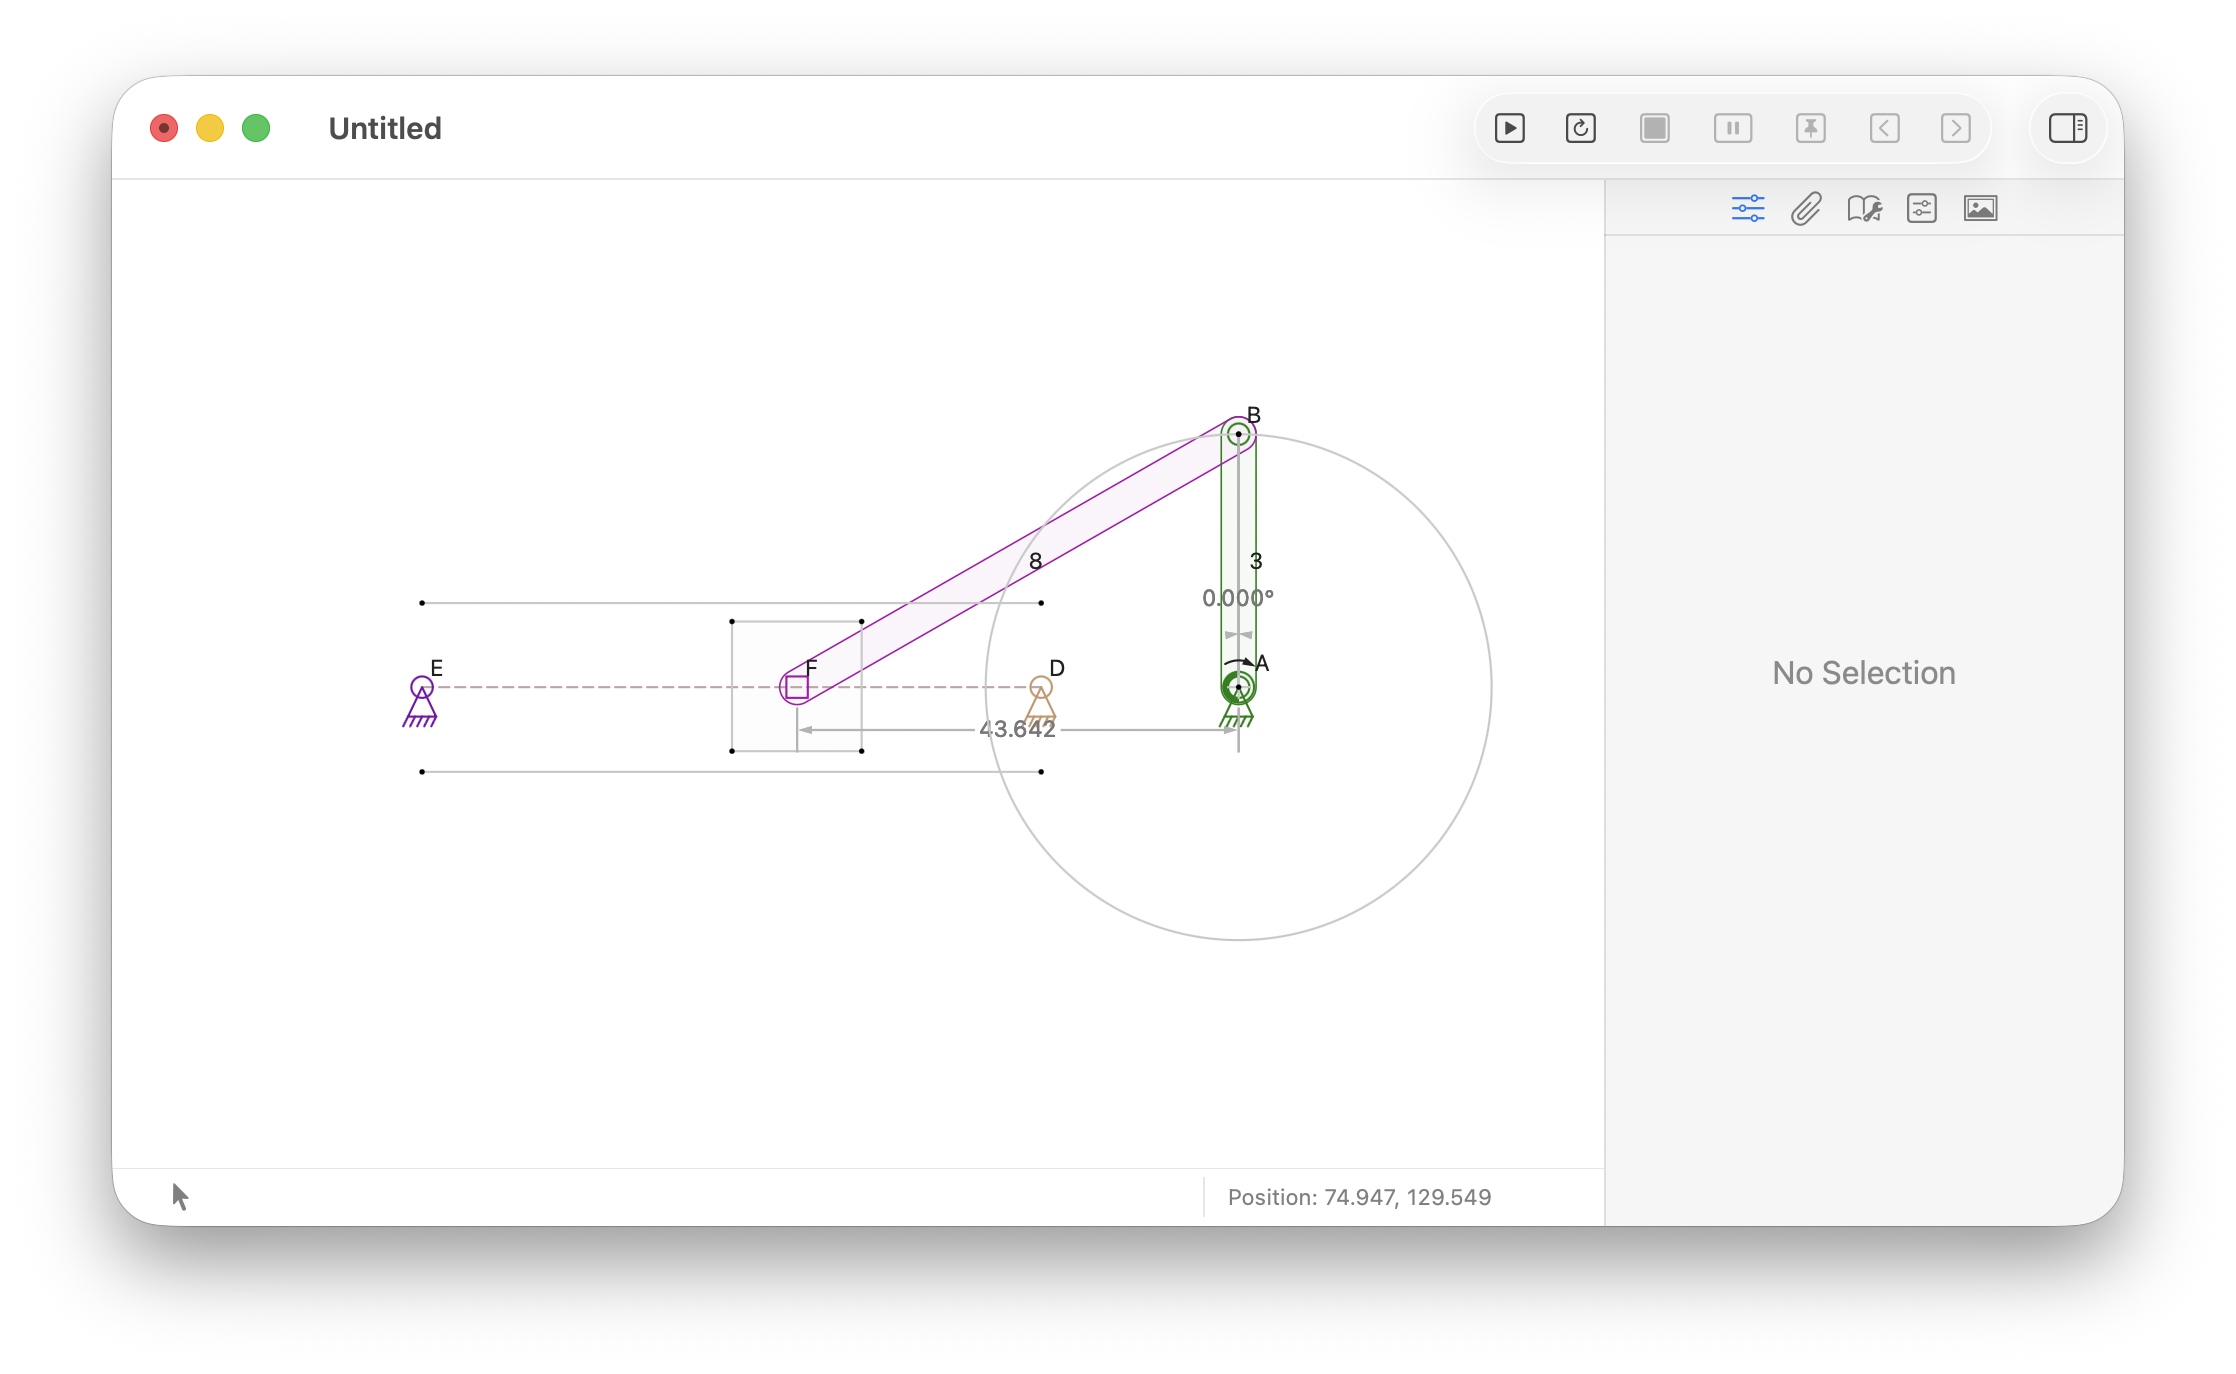
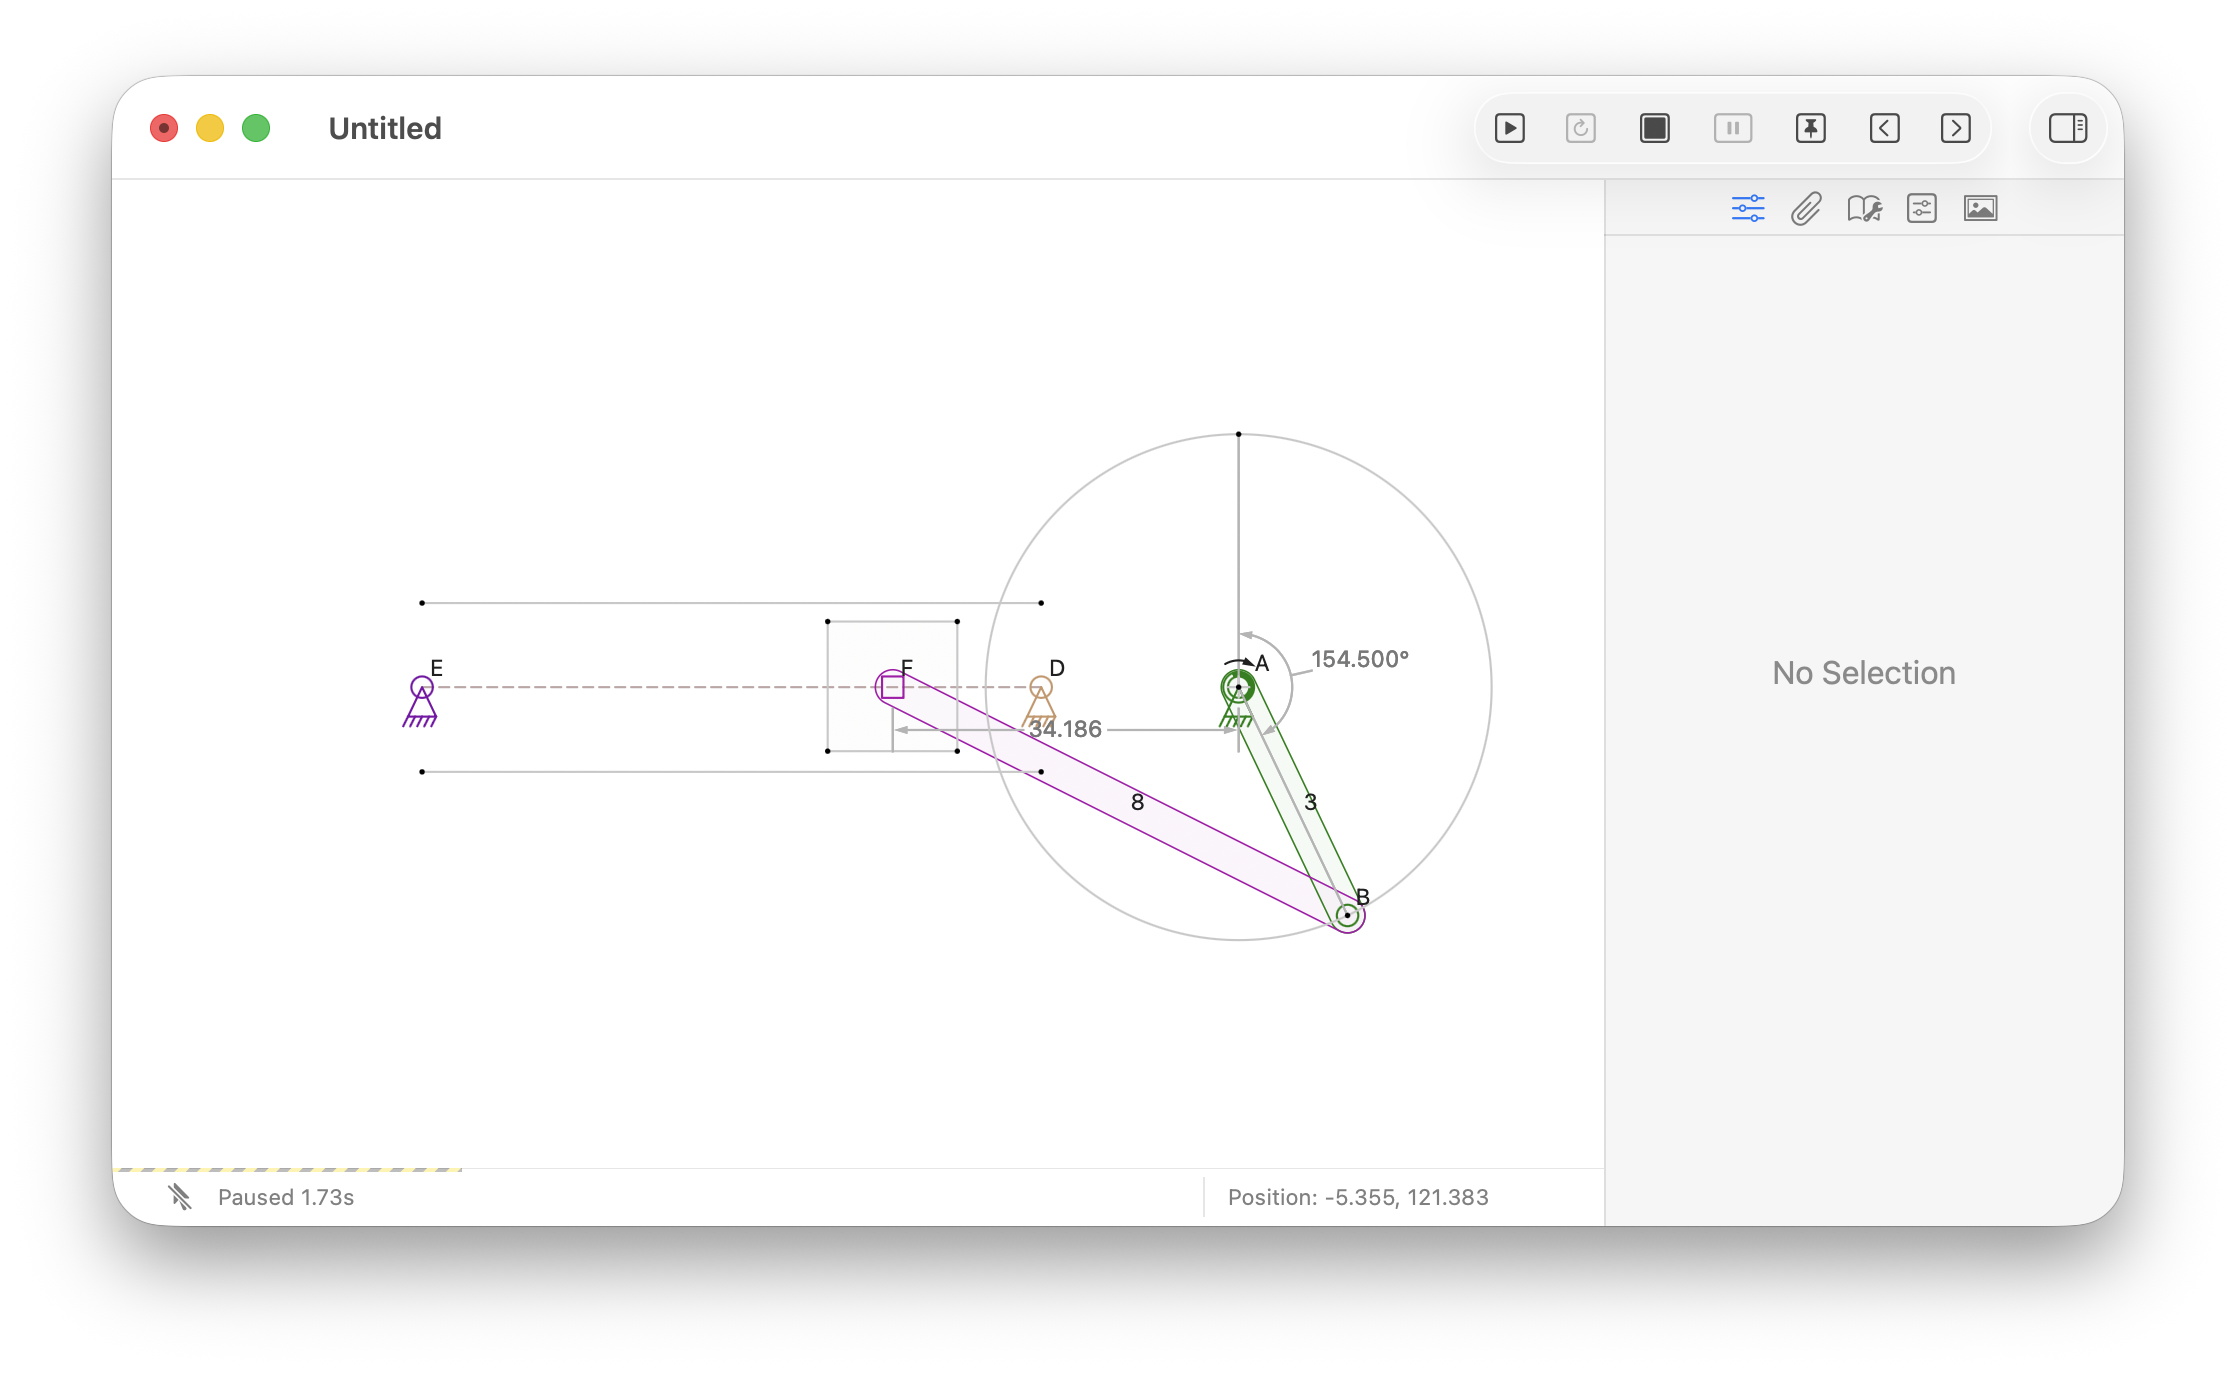
Here's what you'll build: a crank-and-slider mechanism that converts rotary motion into linear motion. Along the way, you'll add drawing elements to illustrate how the mechanism might be used and measurements that display changing distances and angles as the mechanism runs.
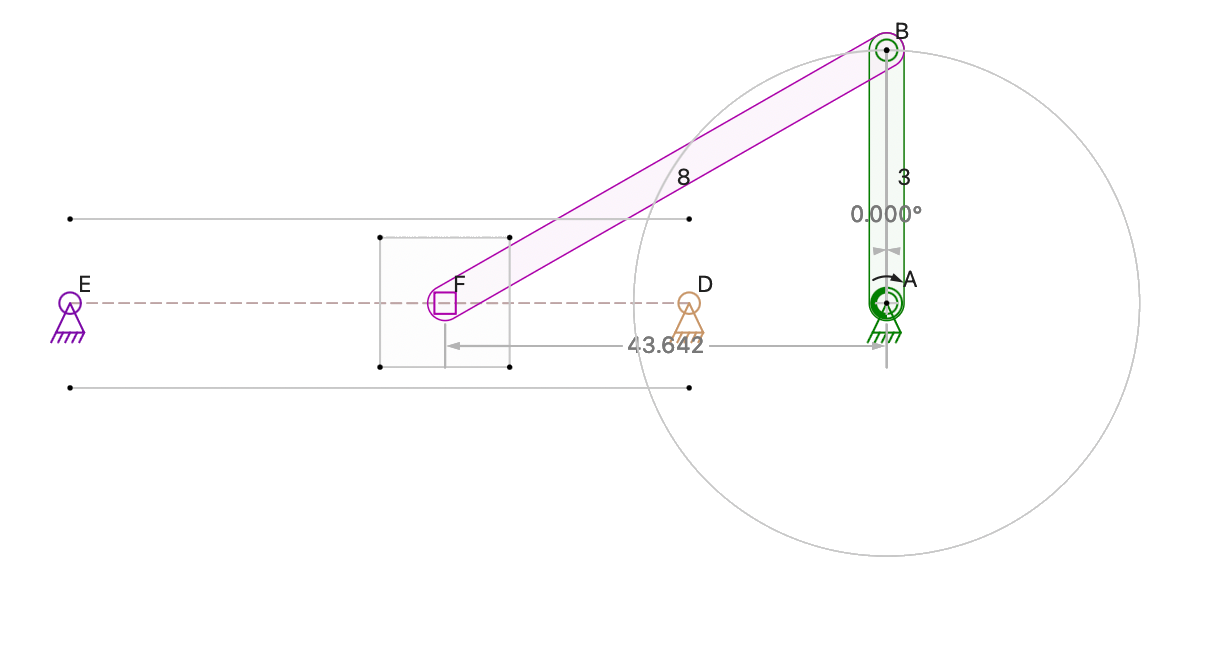
The crank and slider mechanism
-
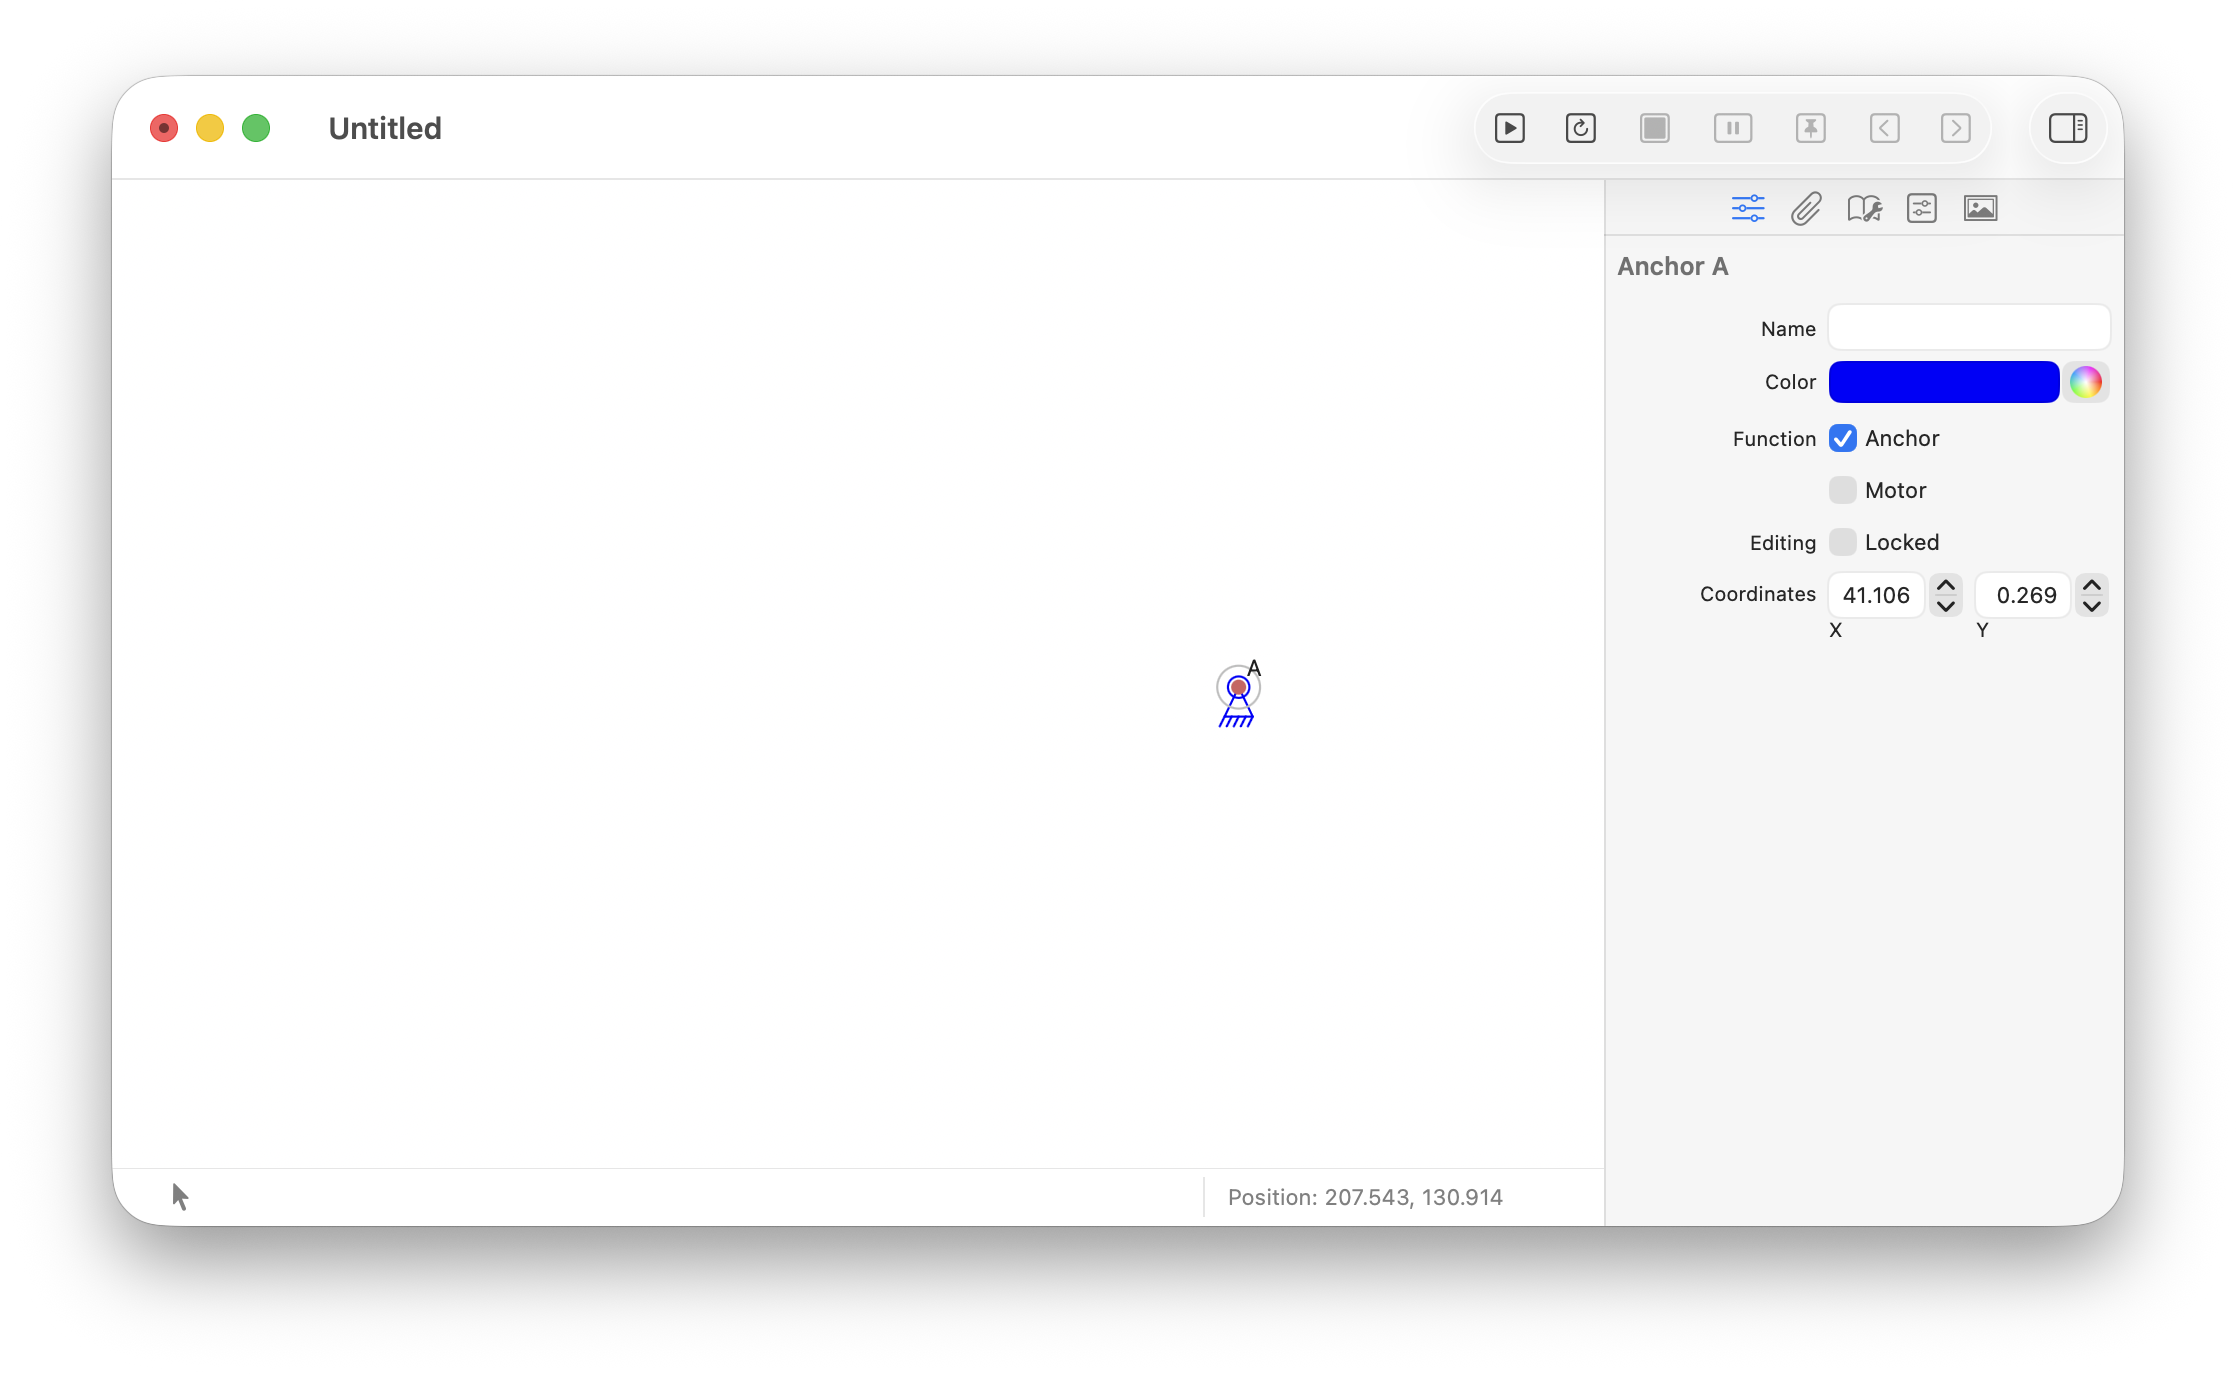
Caption
-
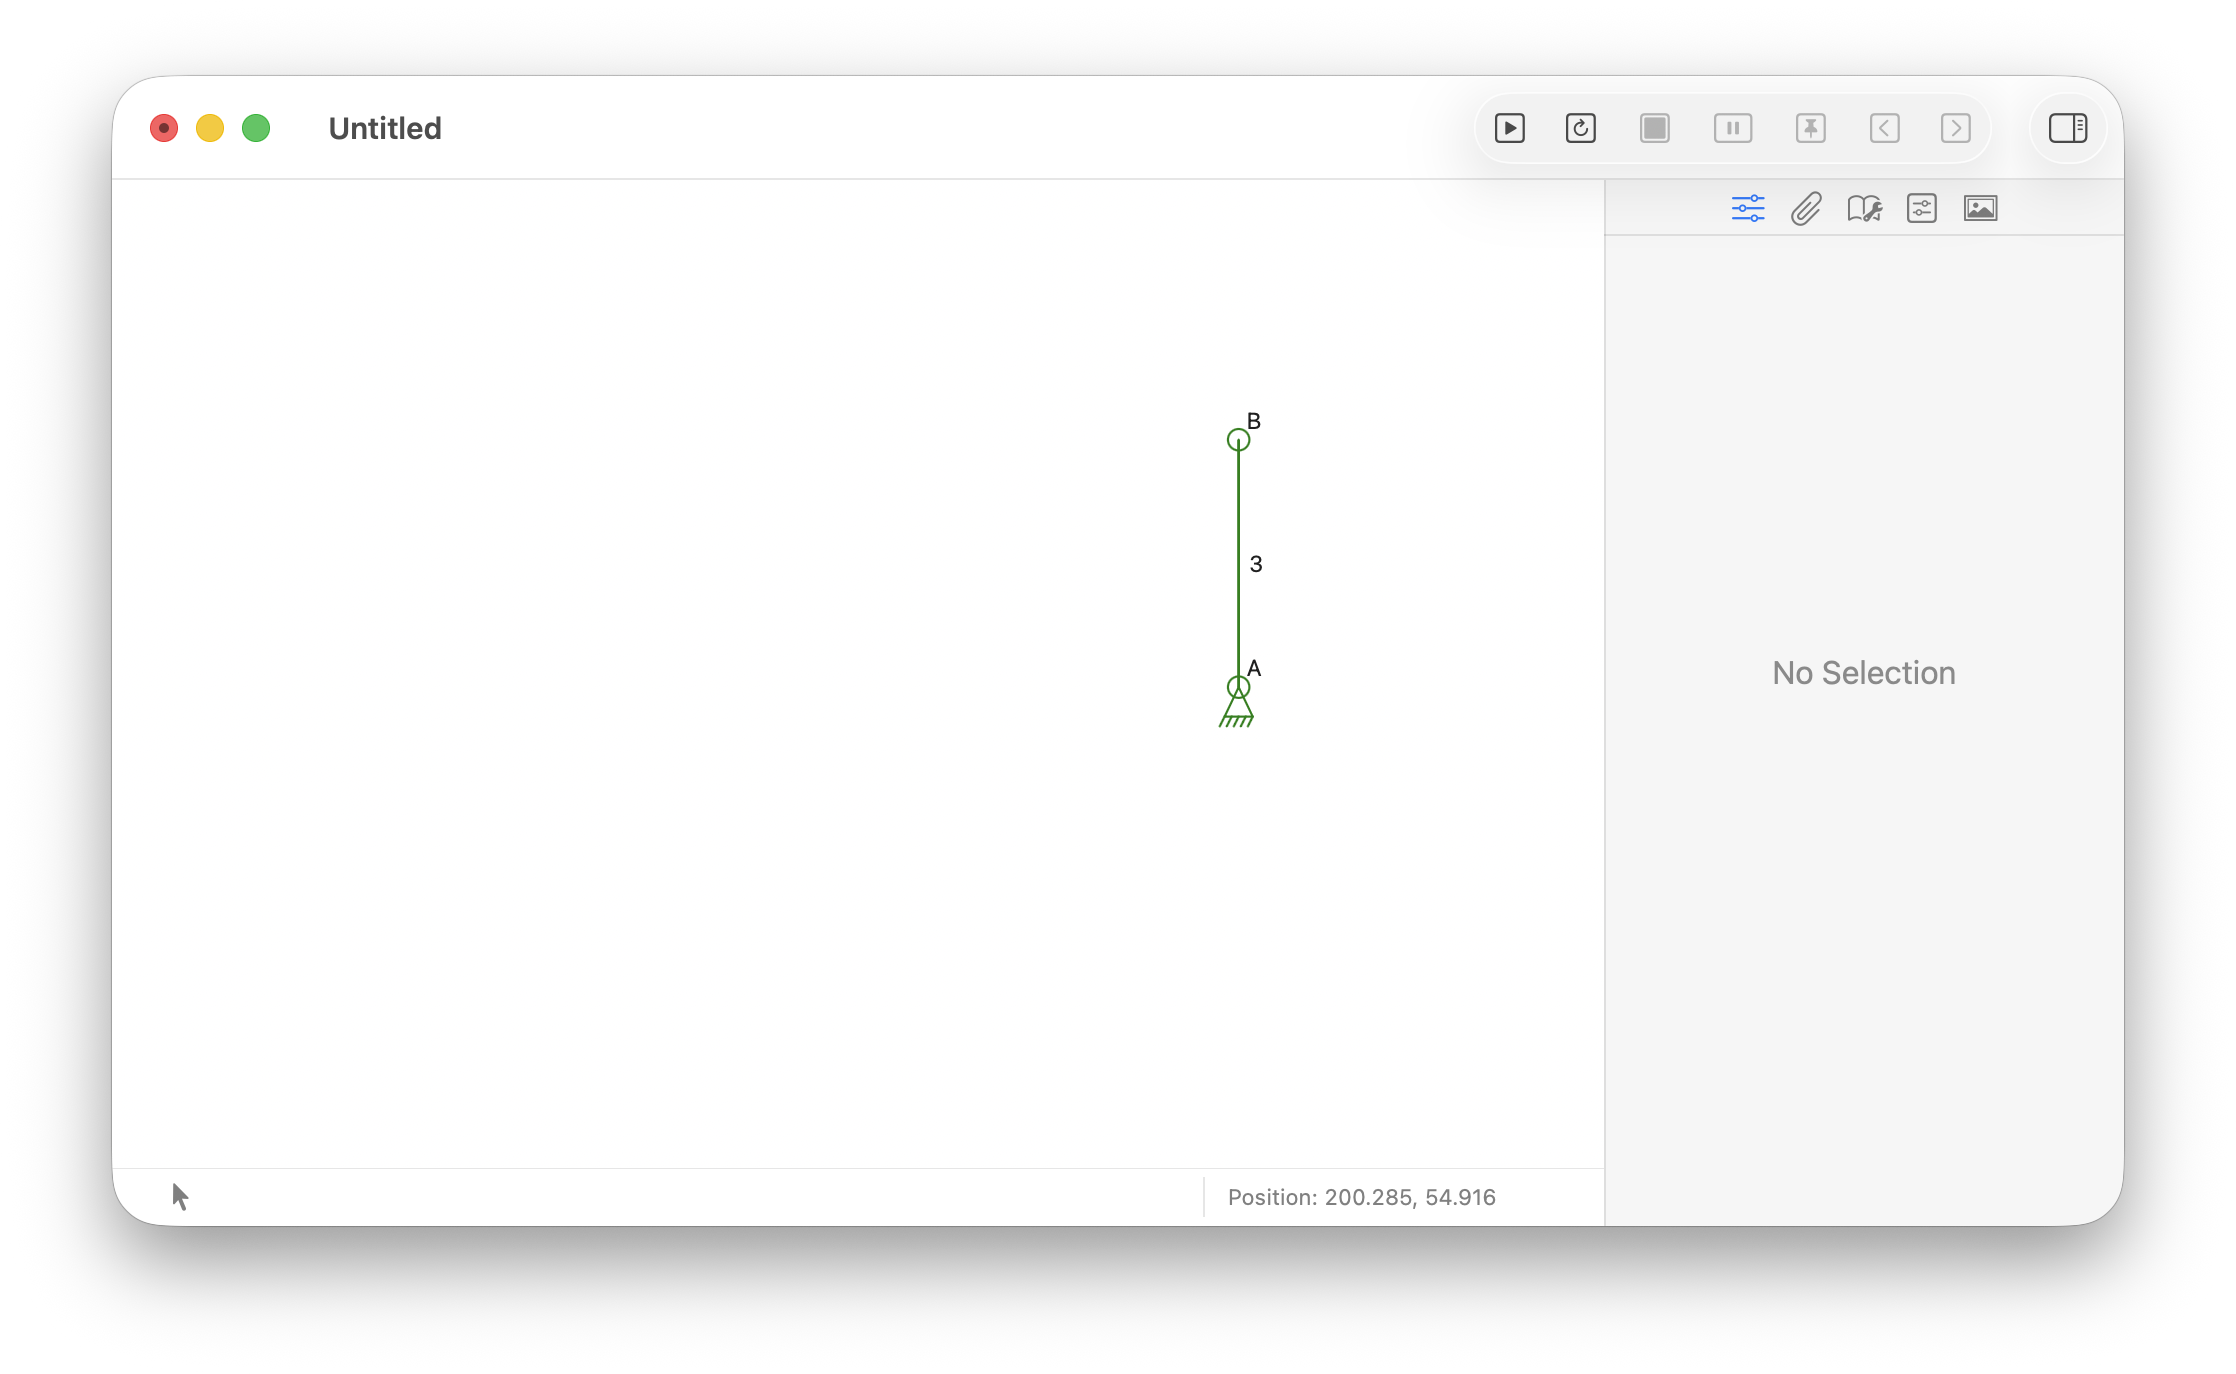
Caption
-
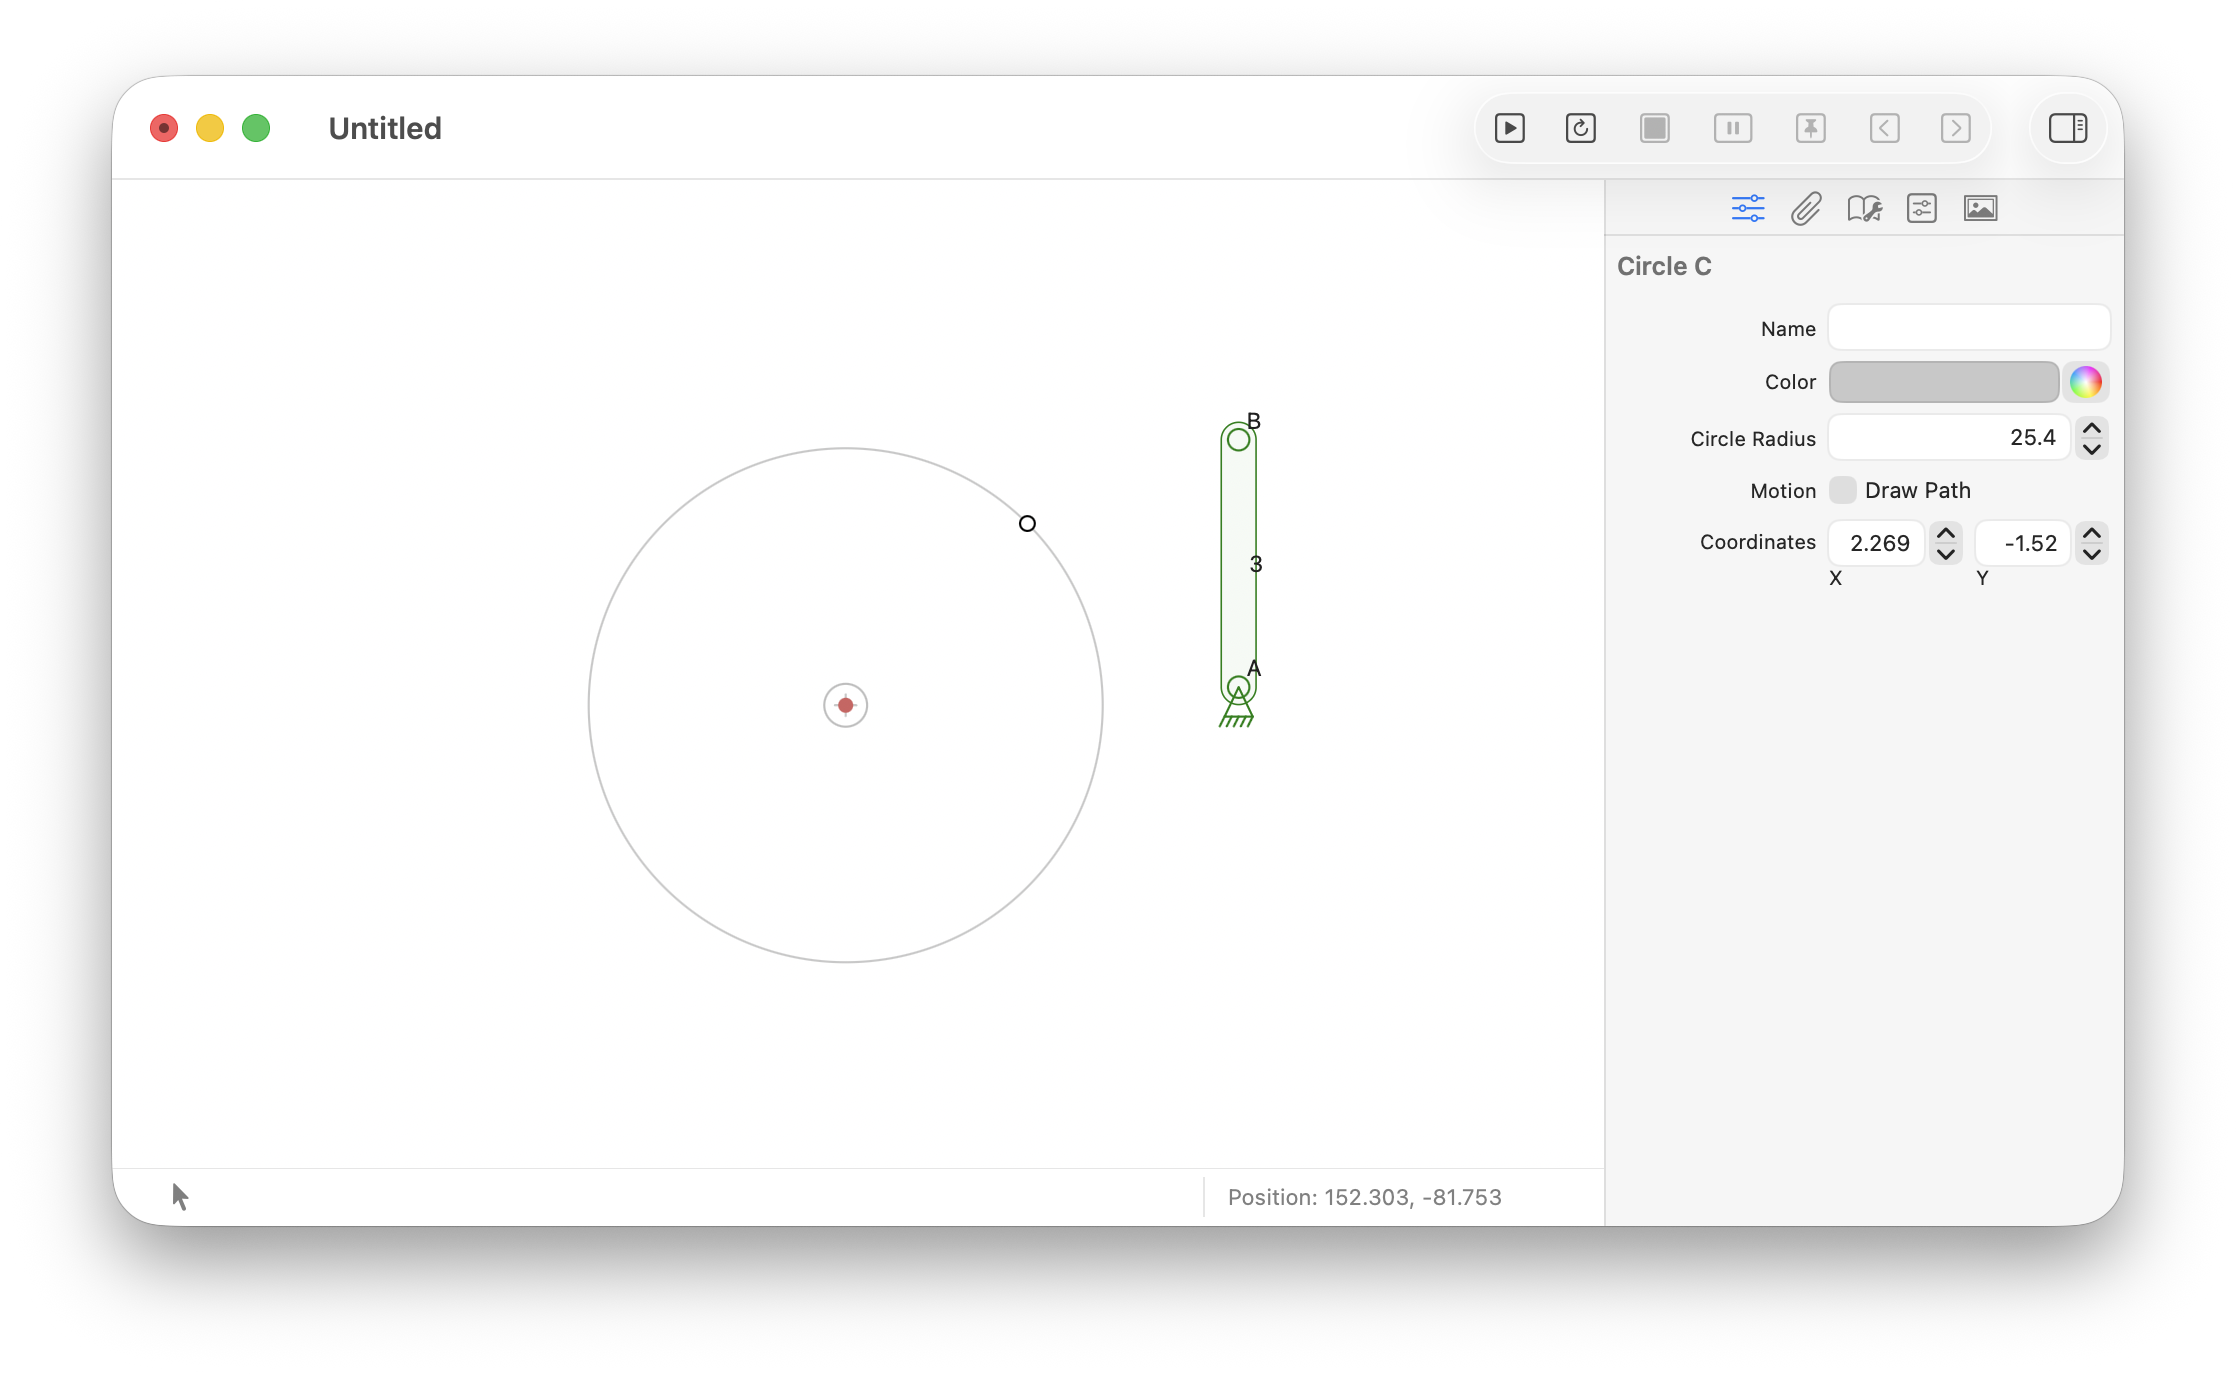
Caption
-
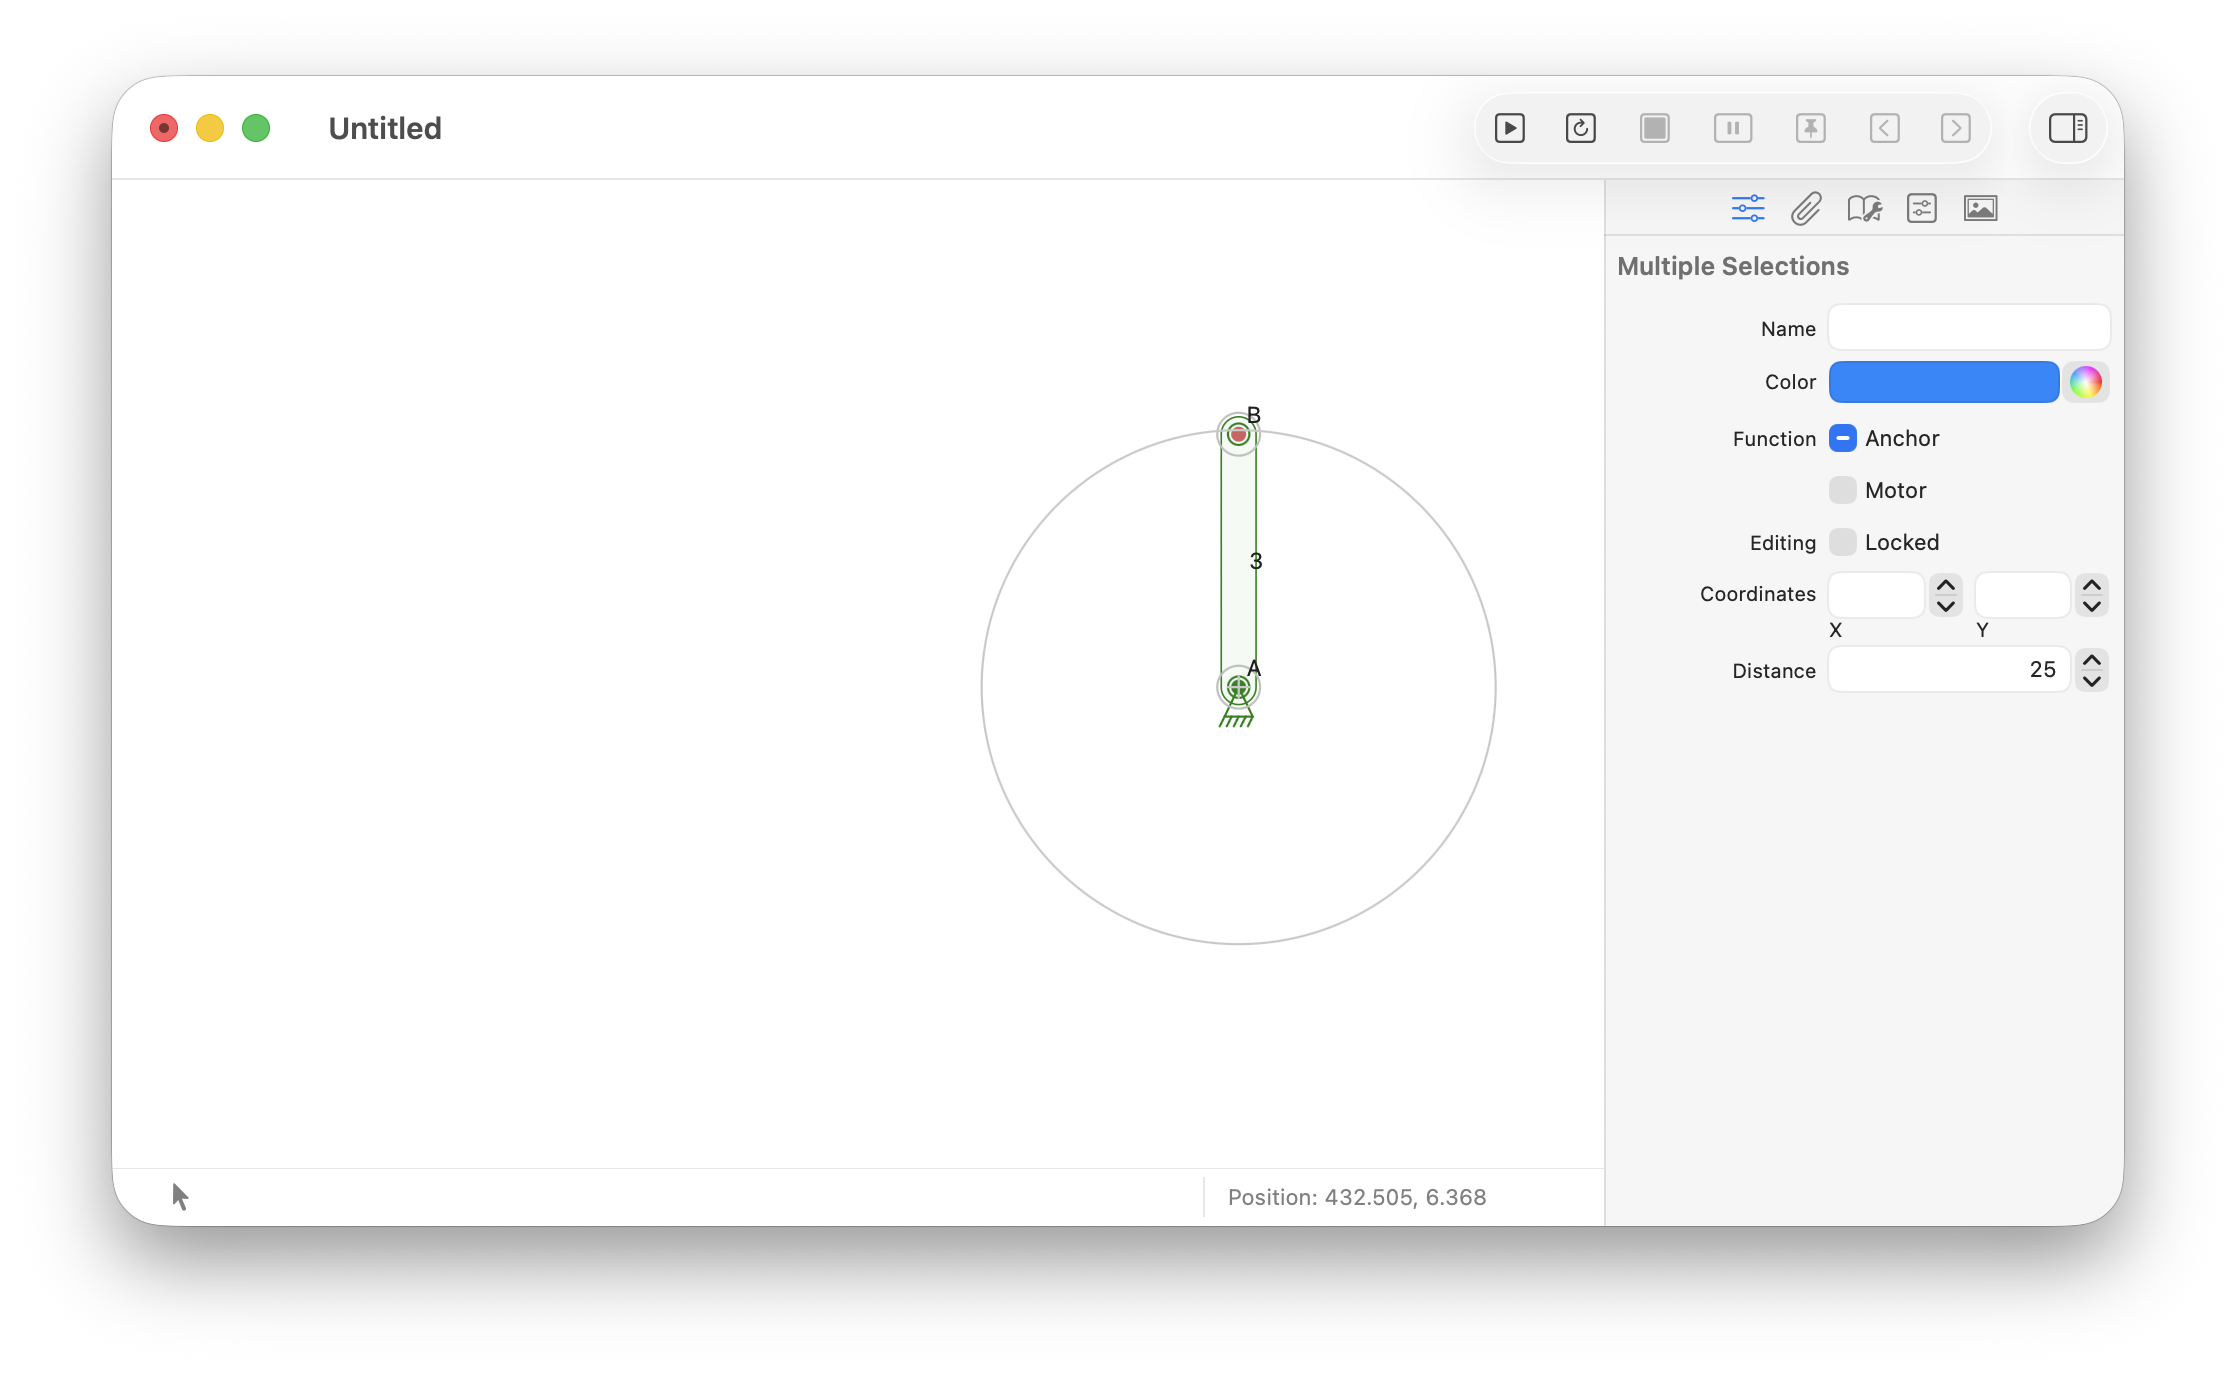
Caption
-
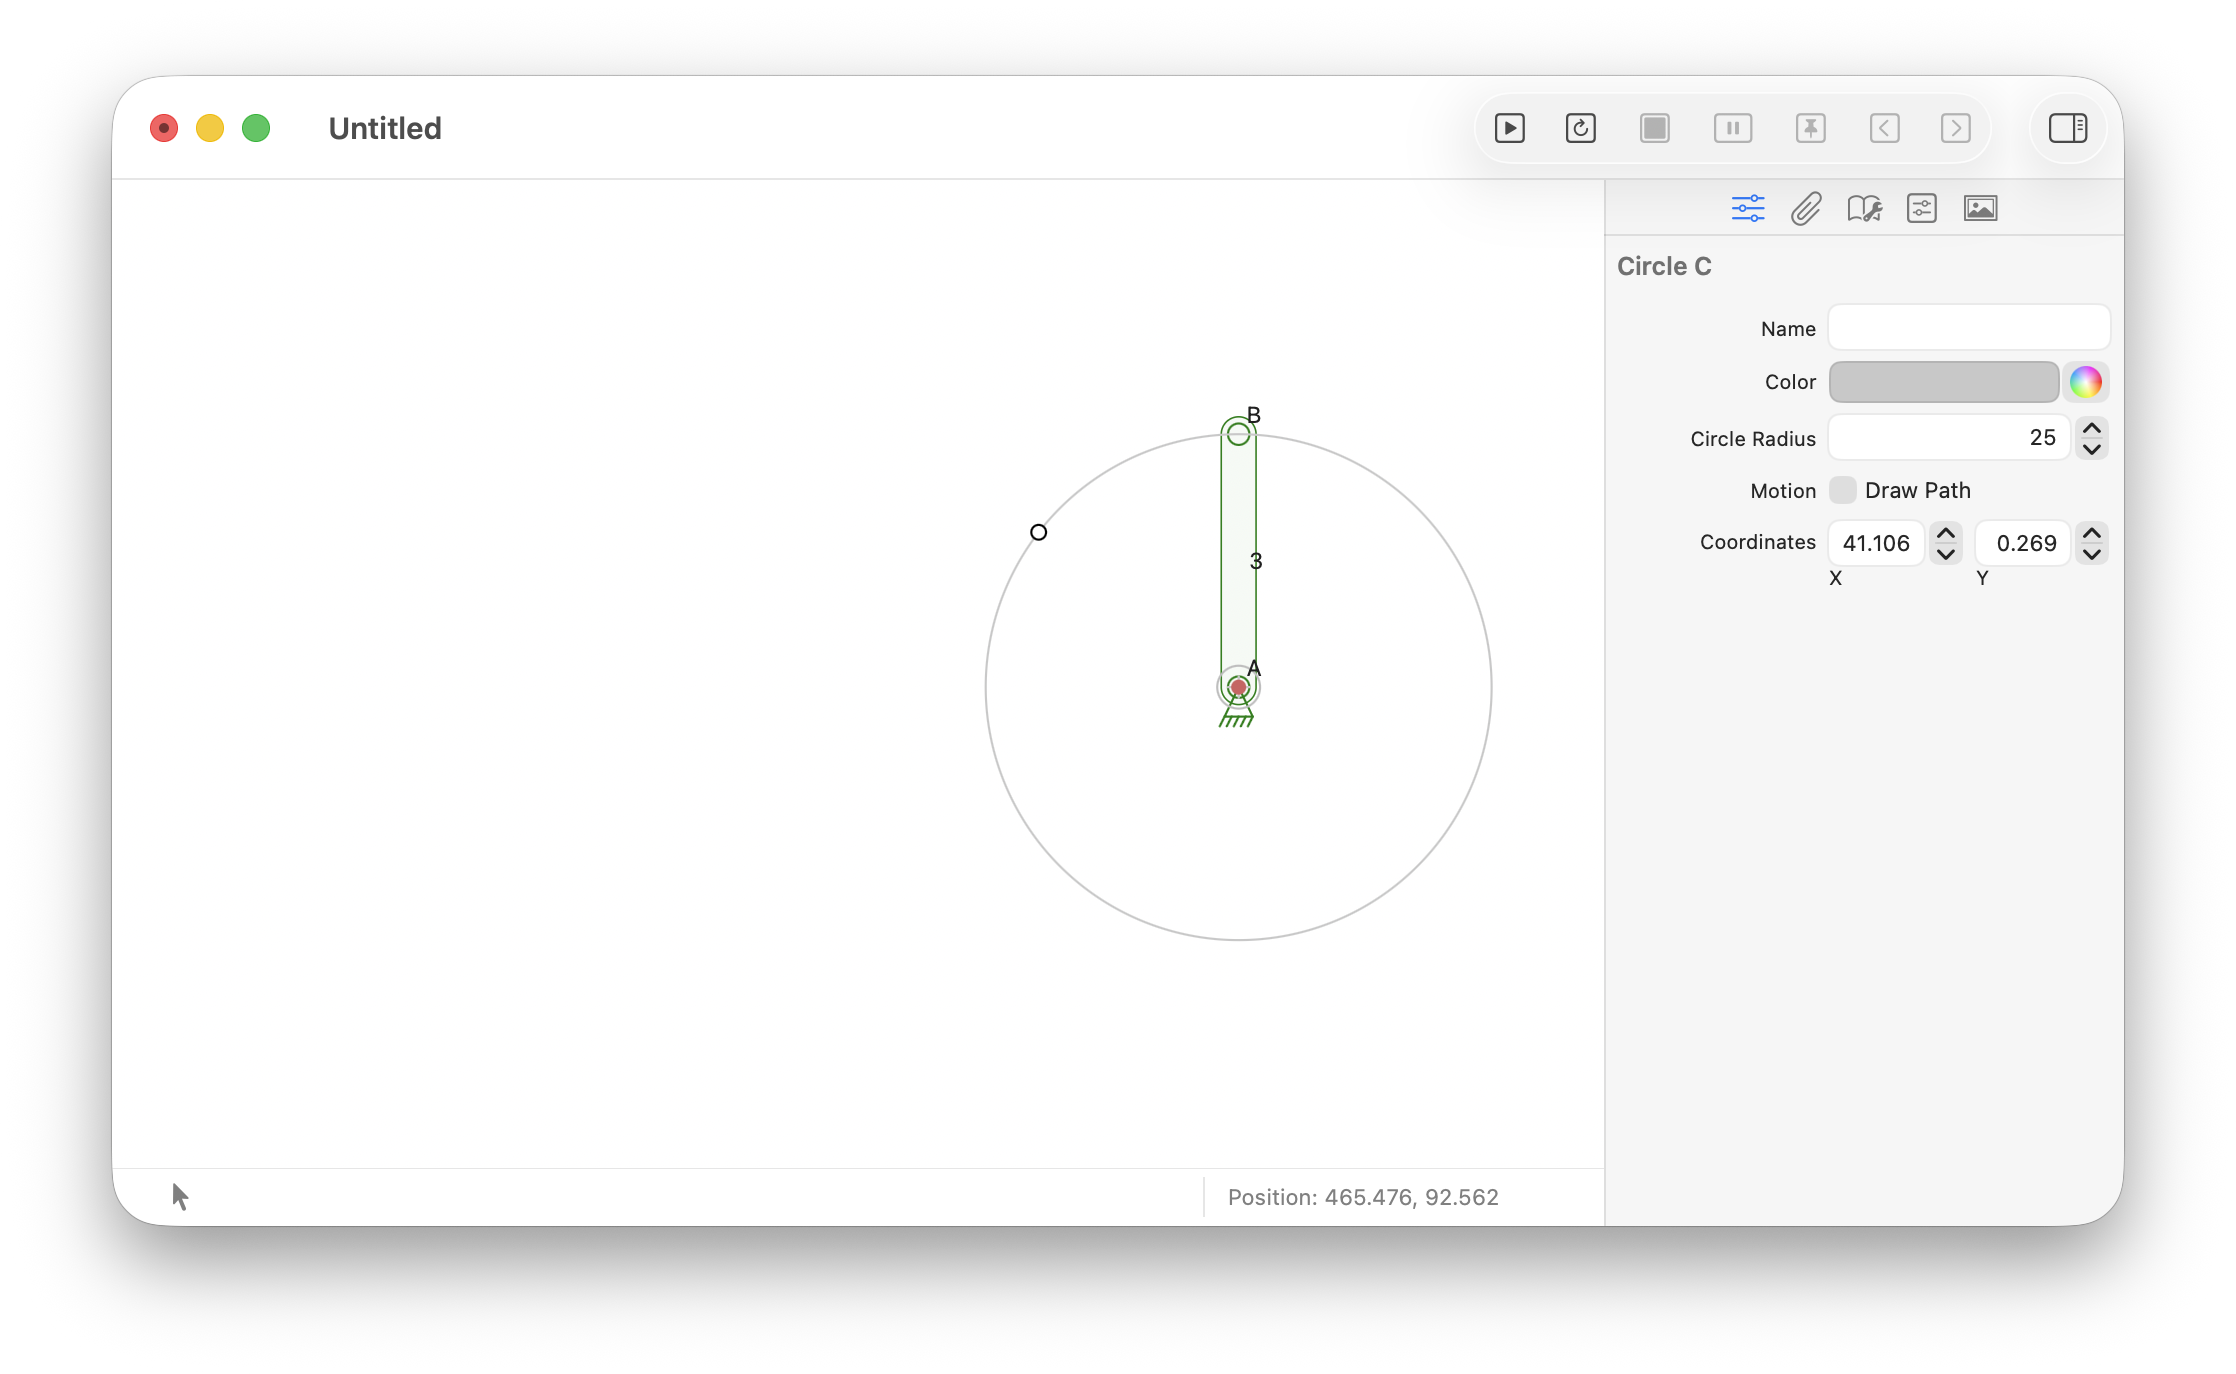
Caption
-
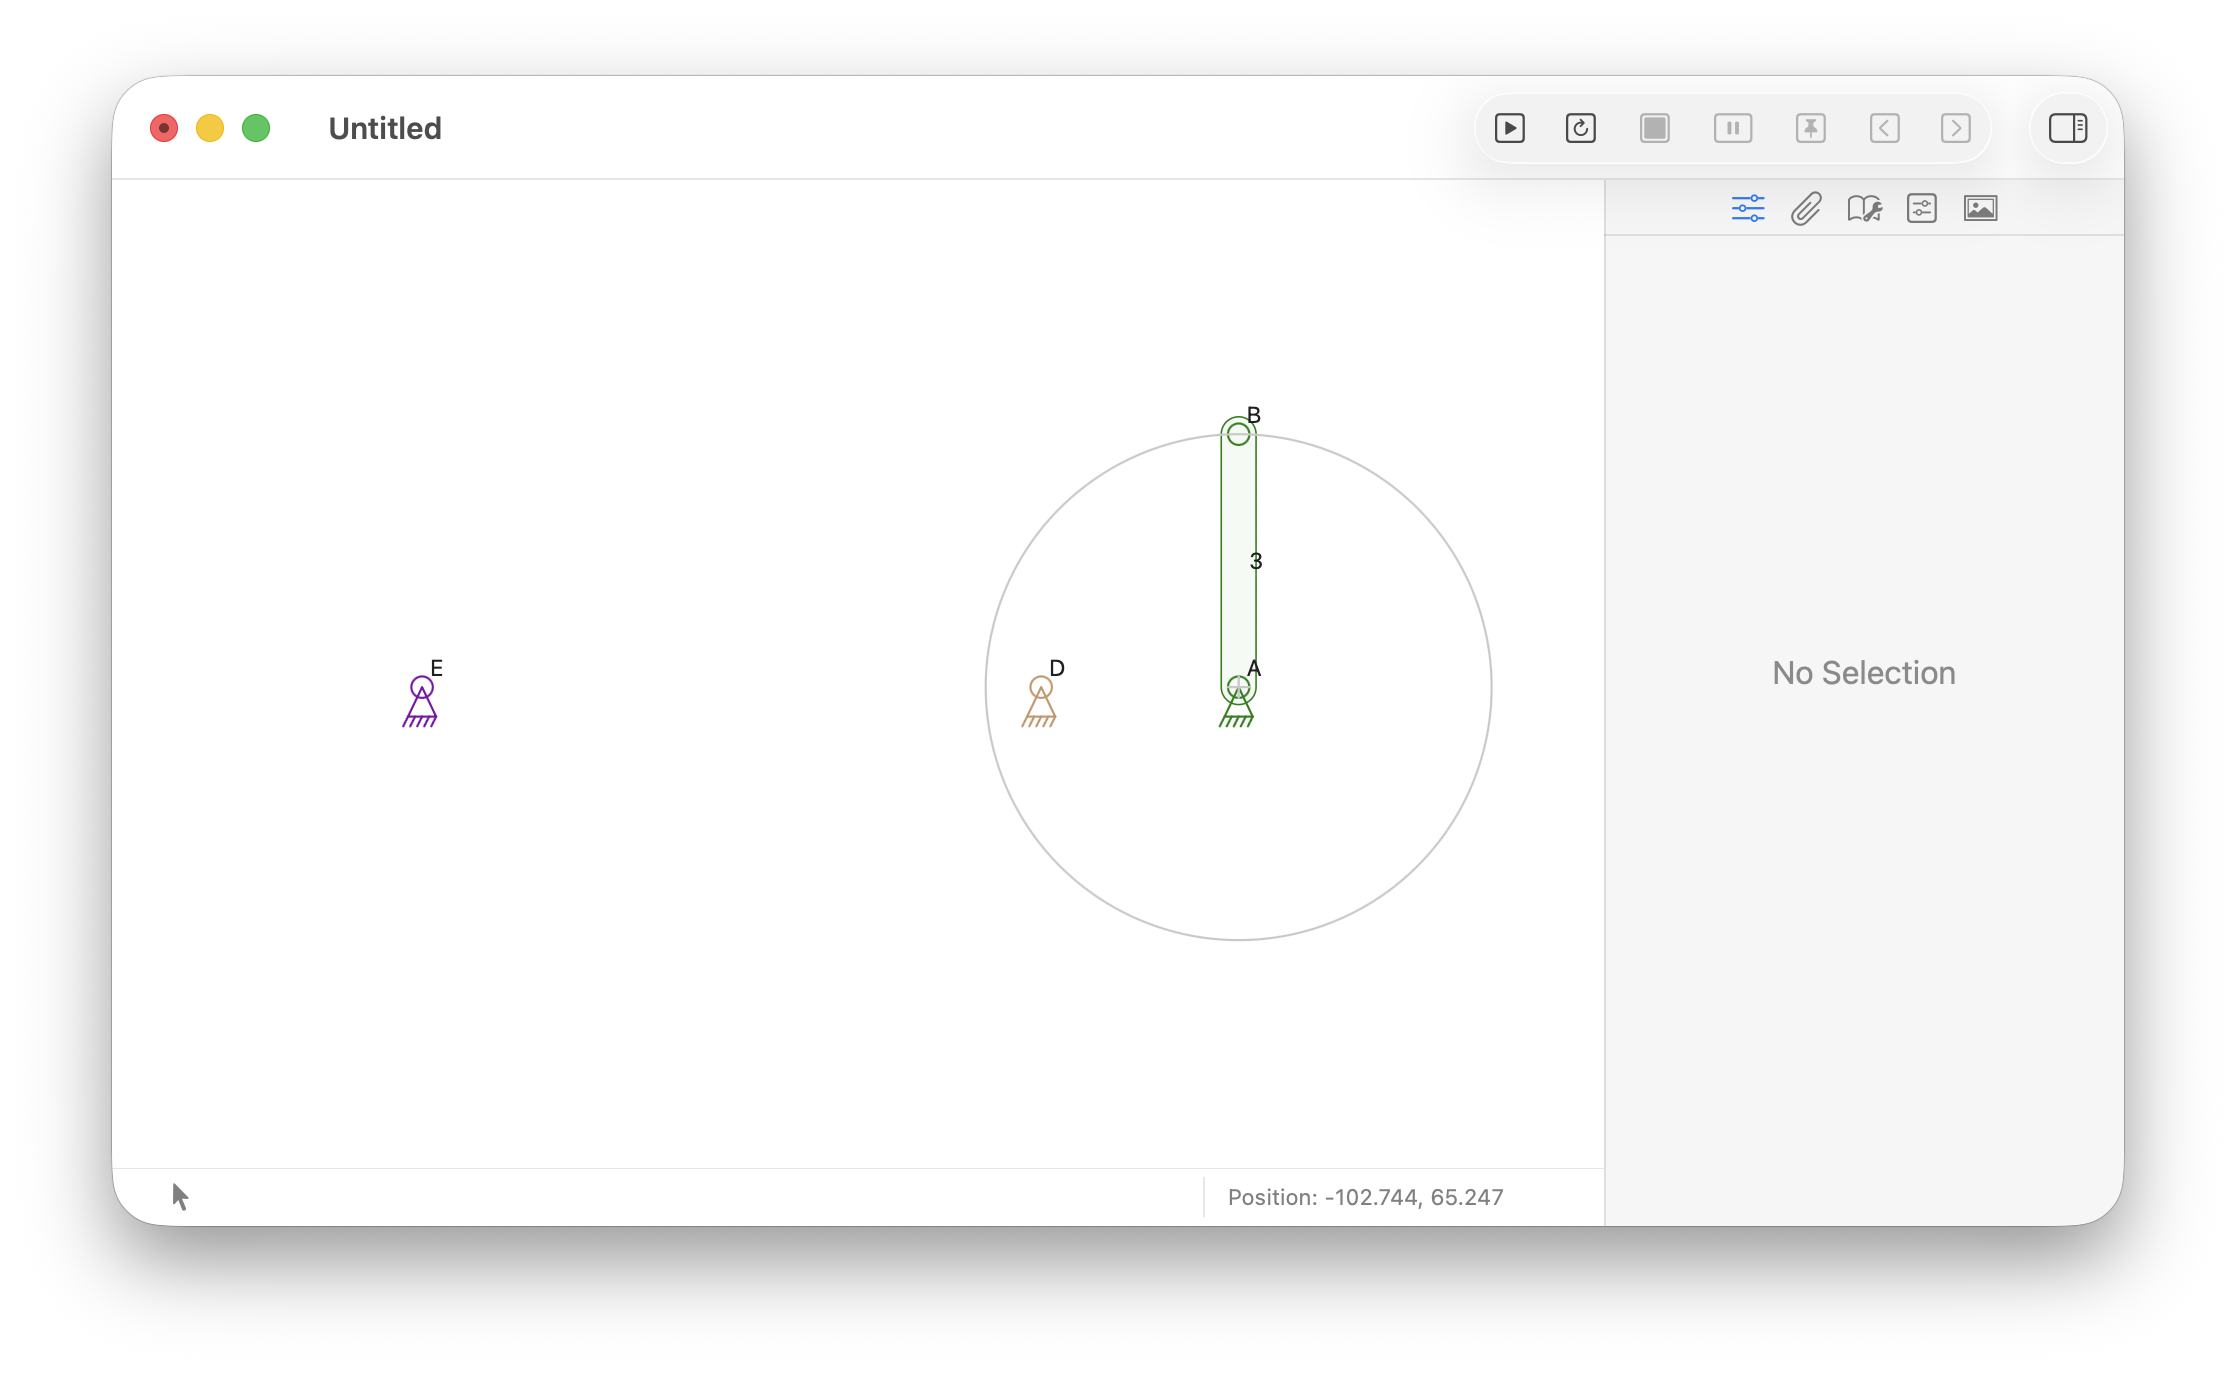
Caption
-
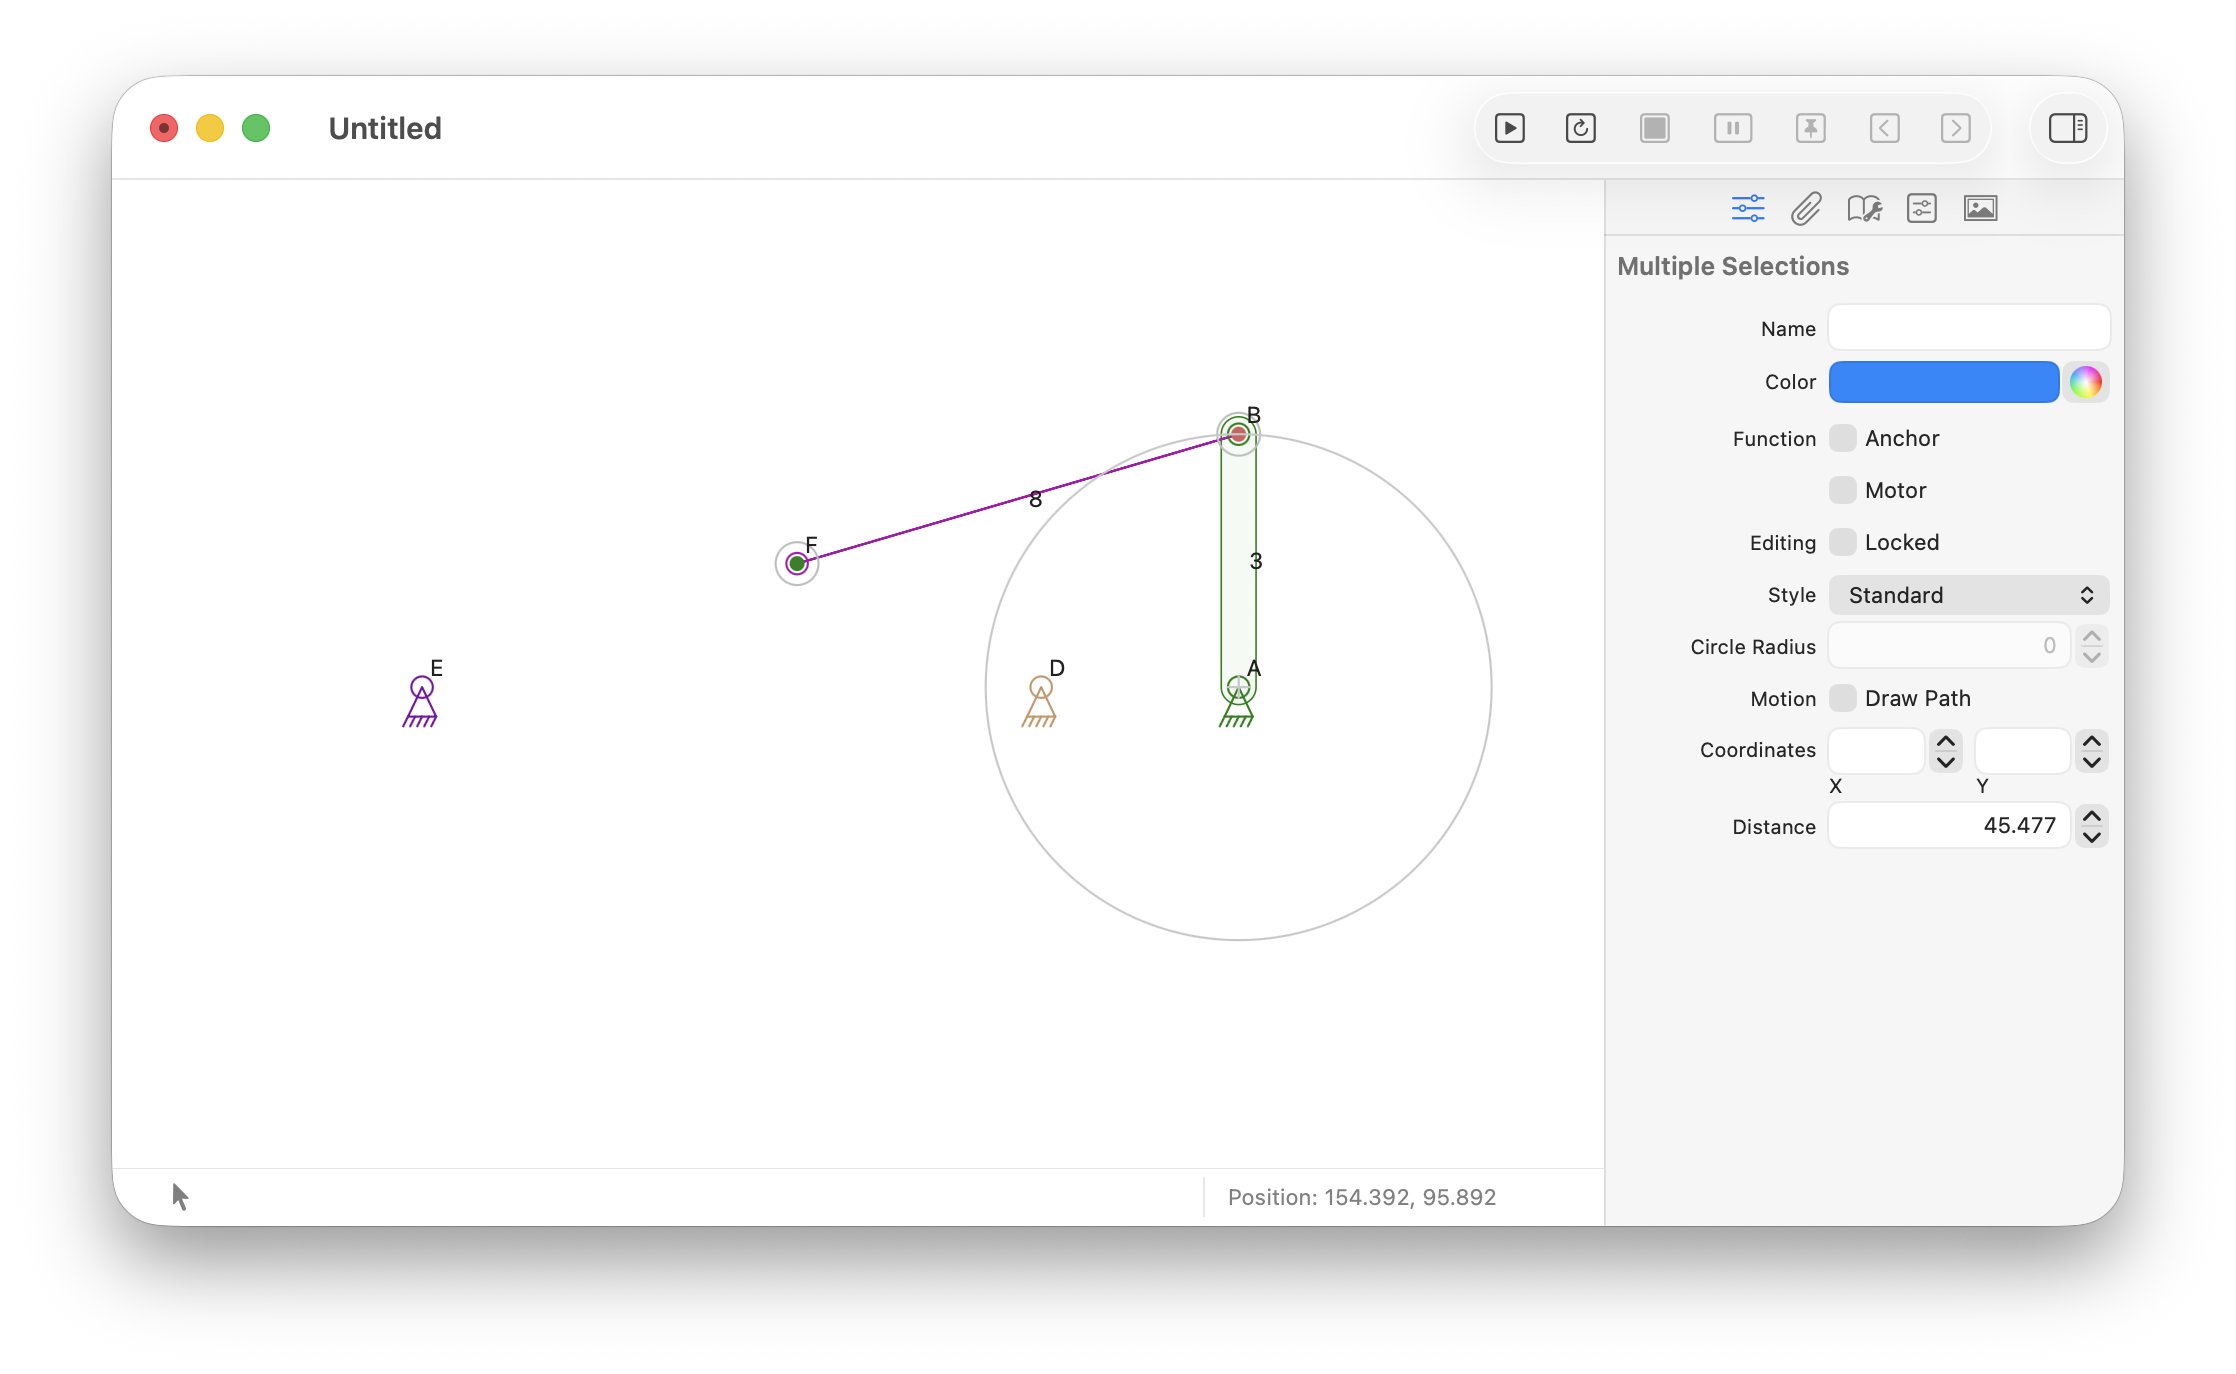
Caption
-
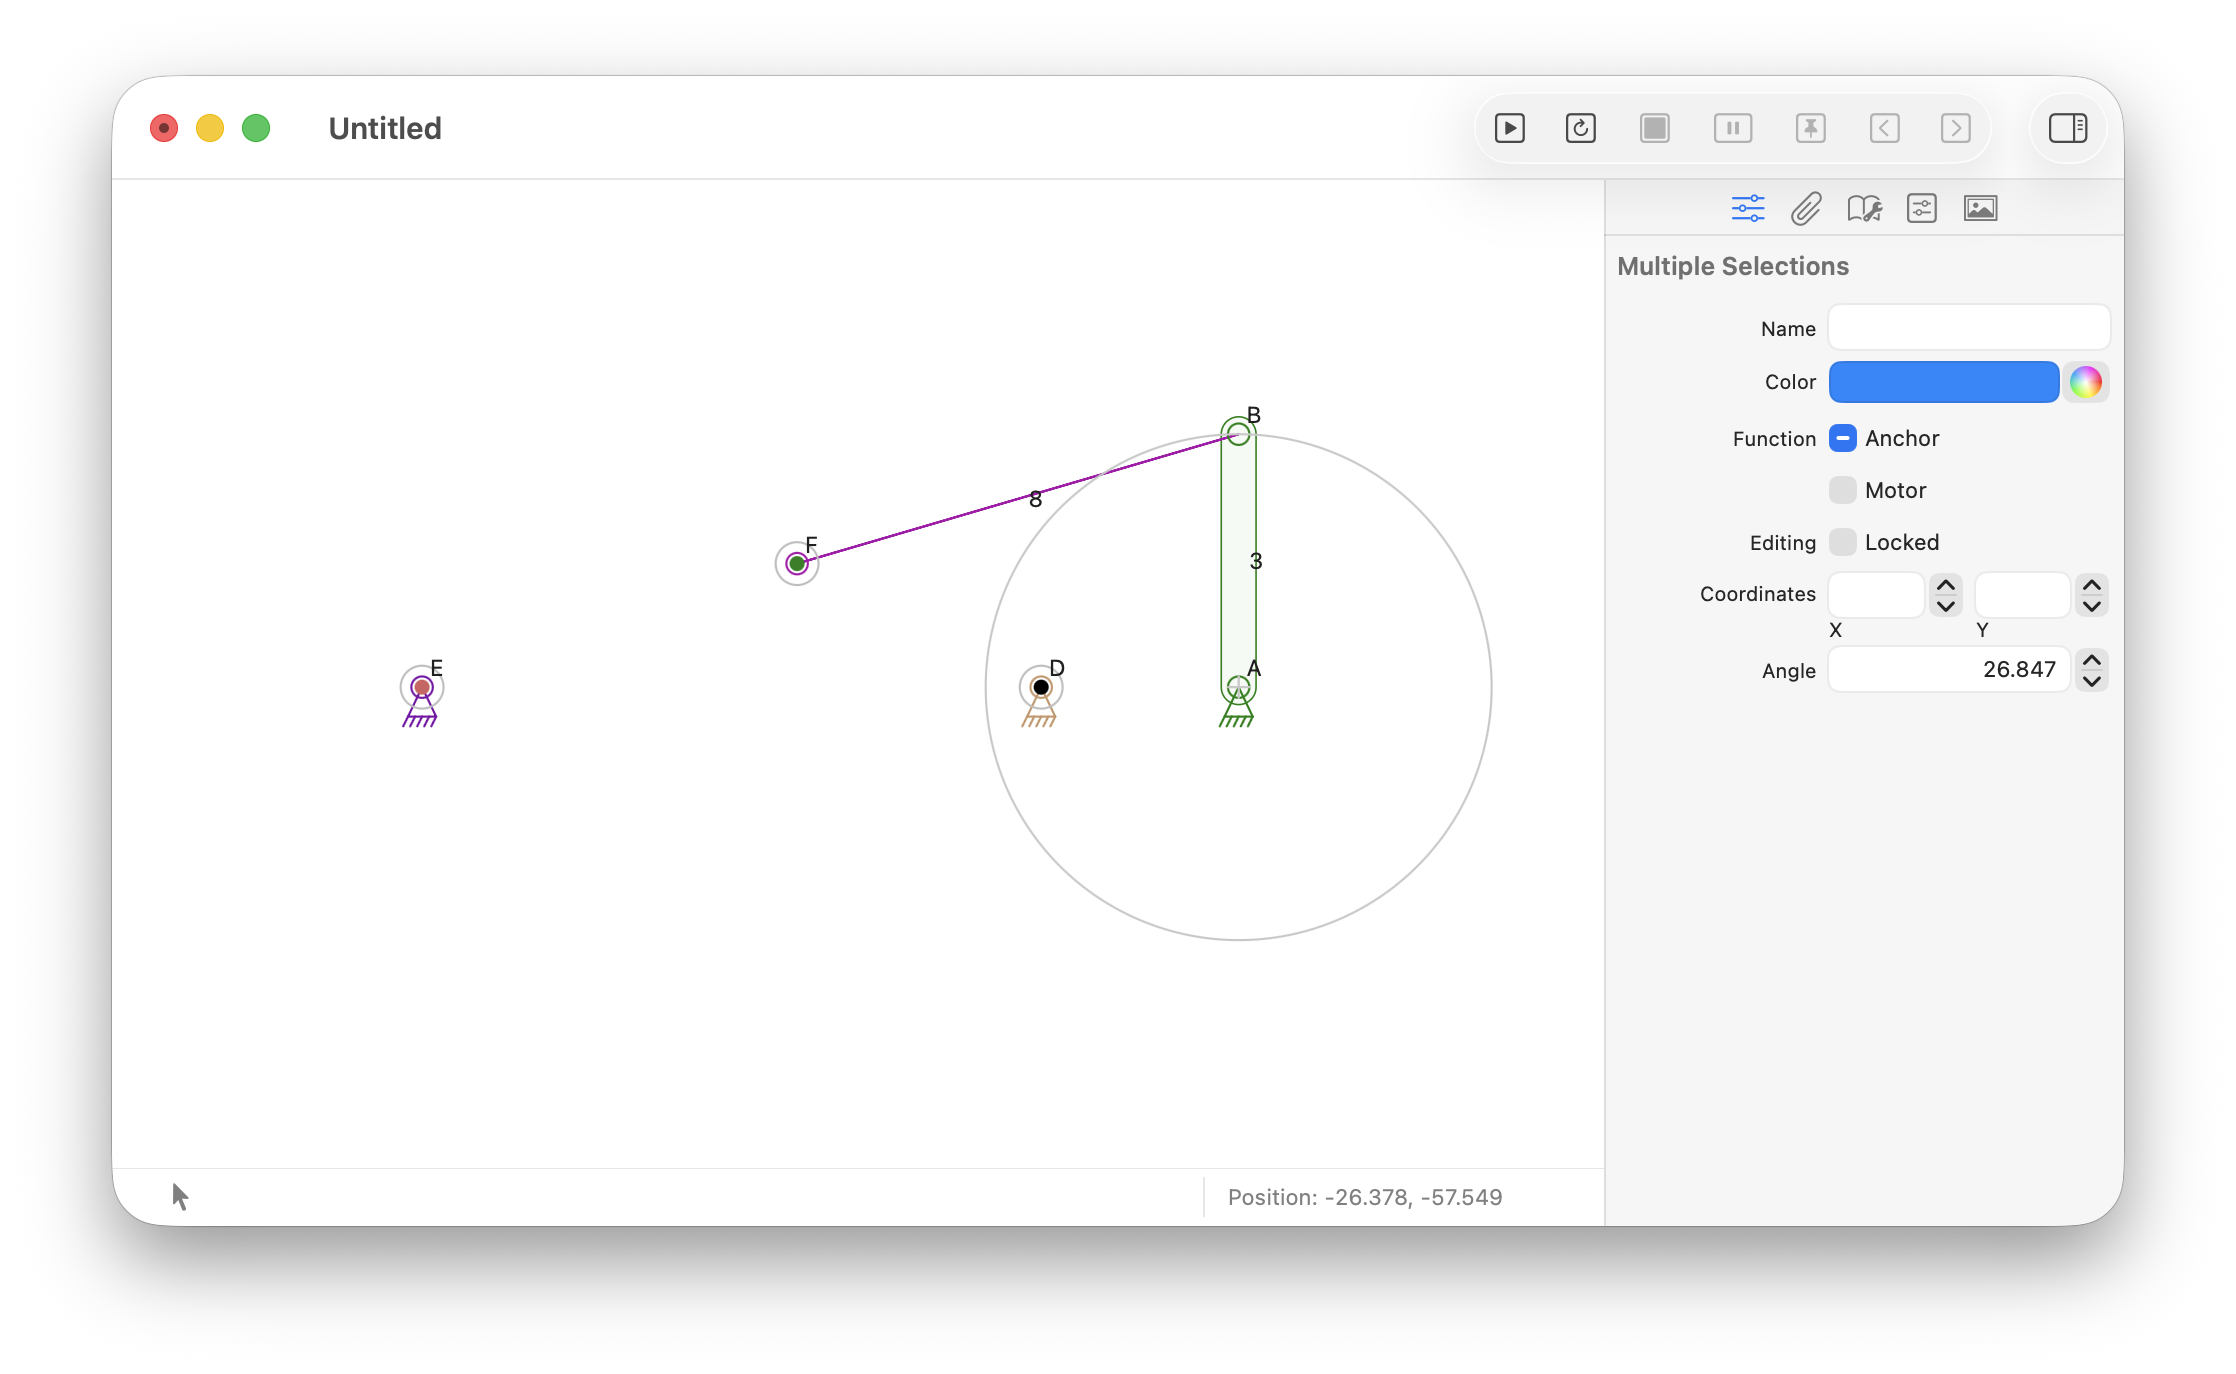
Caption
-
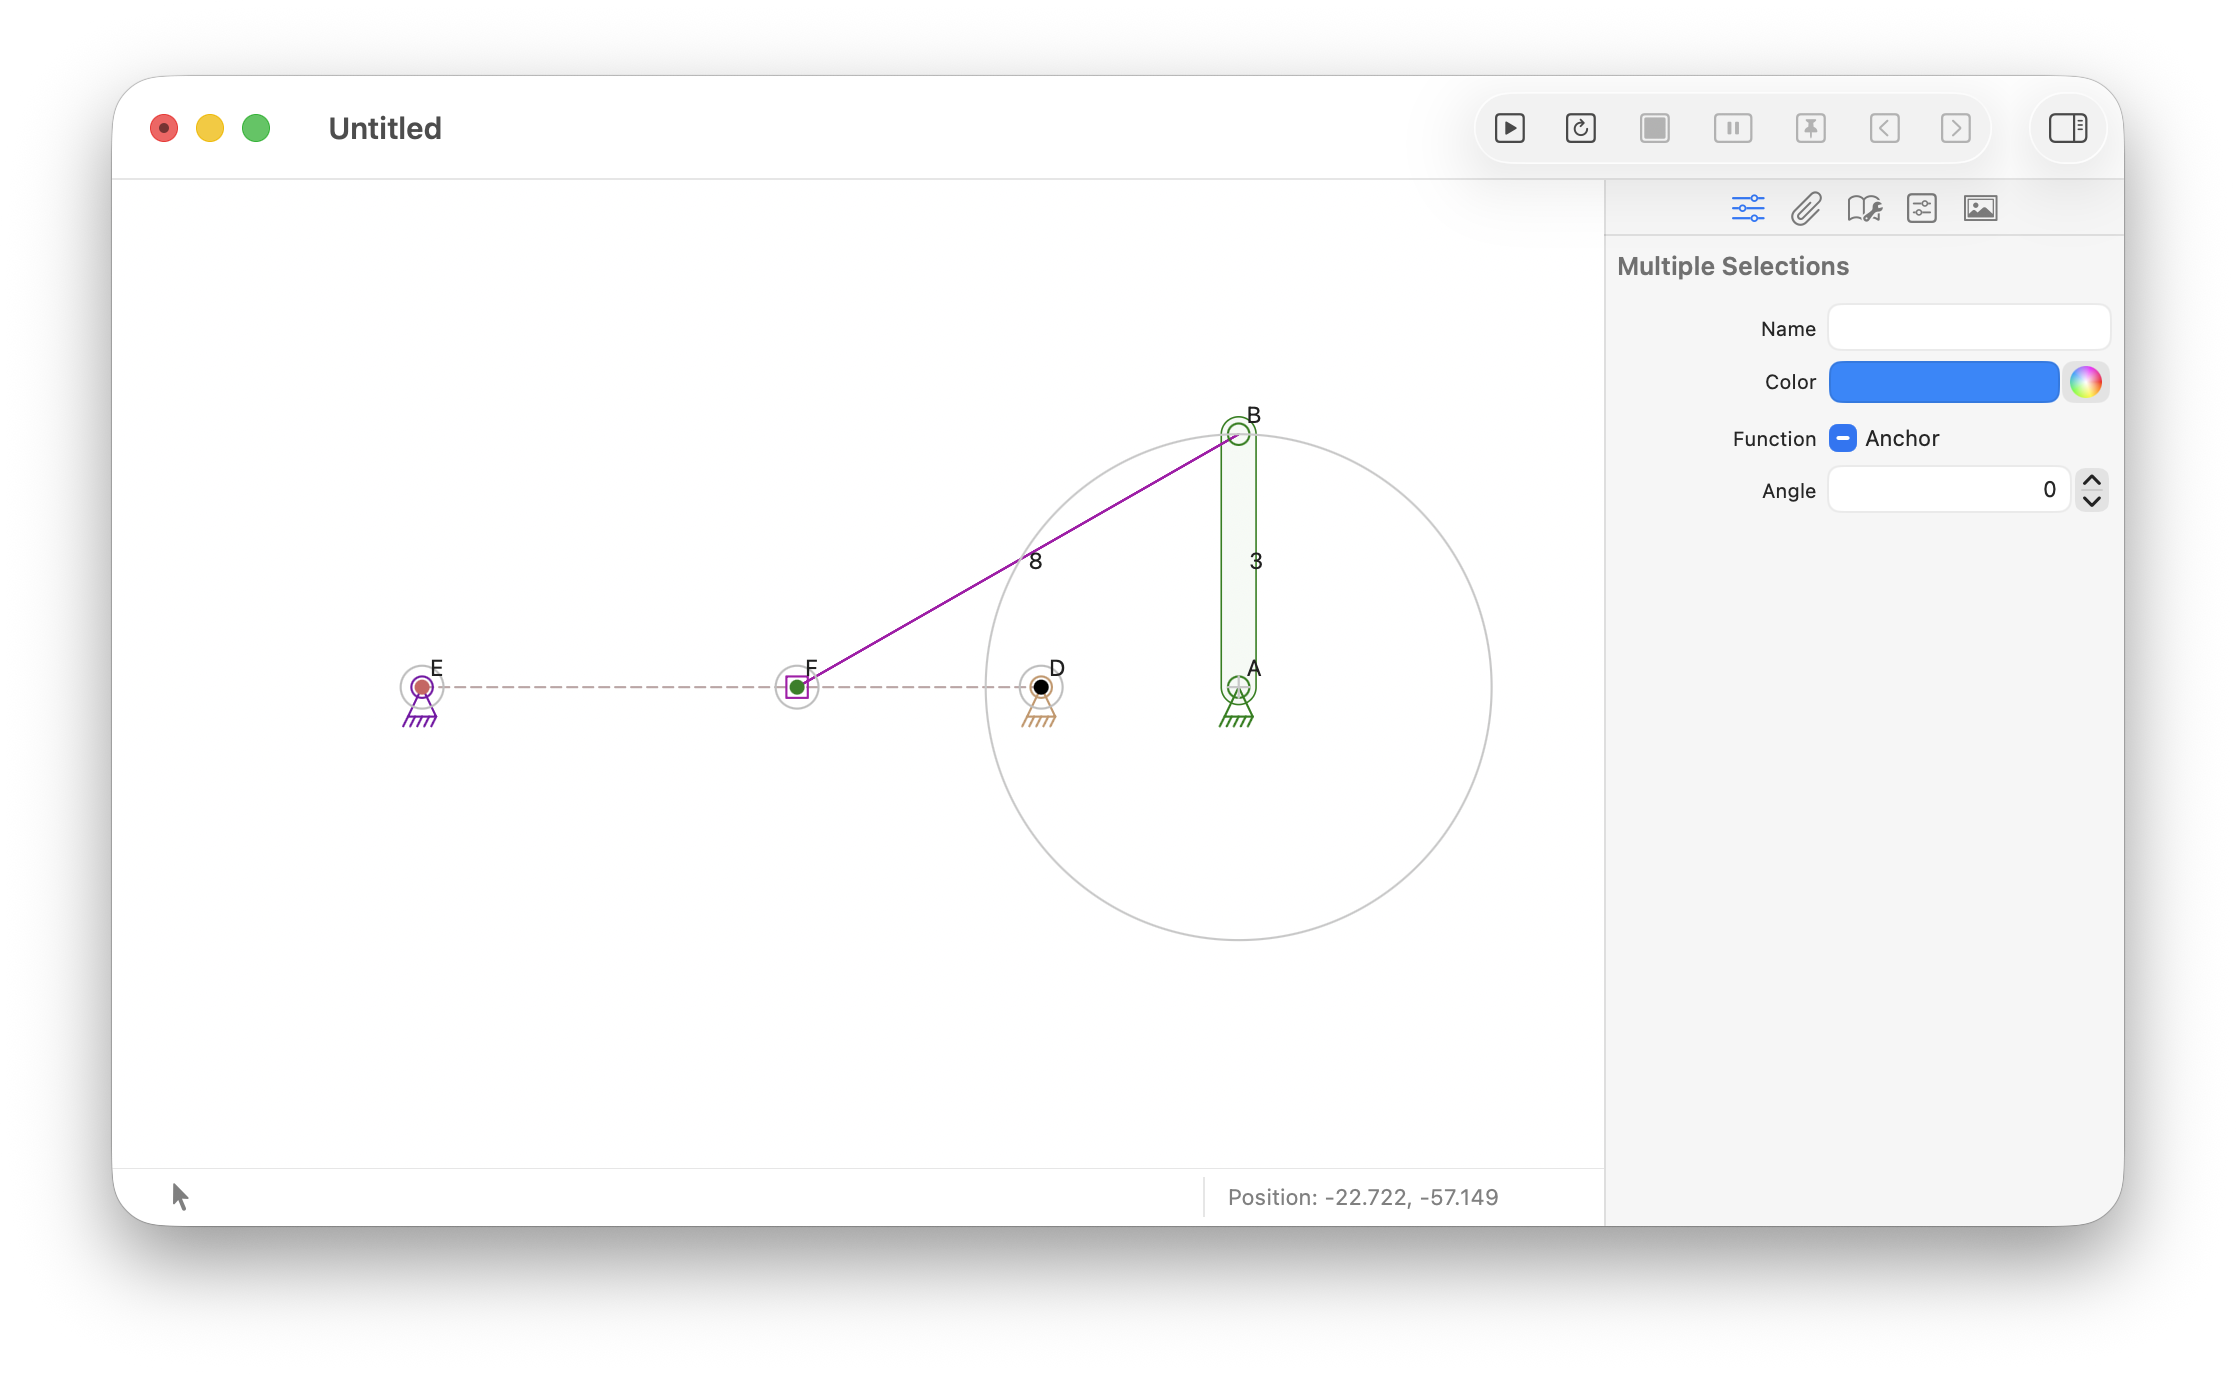
Caption
-
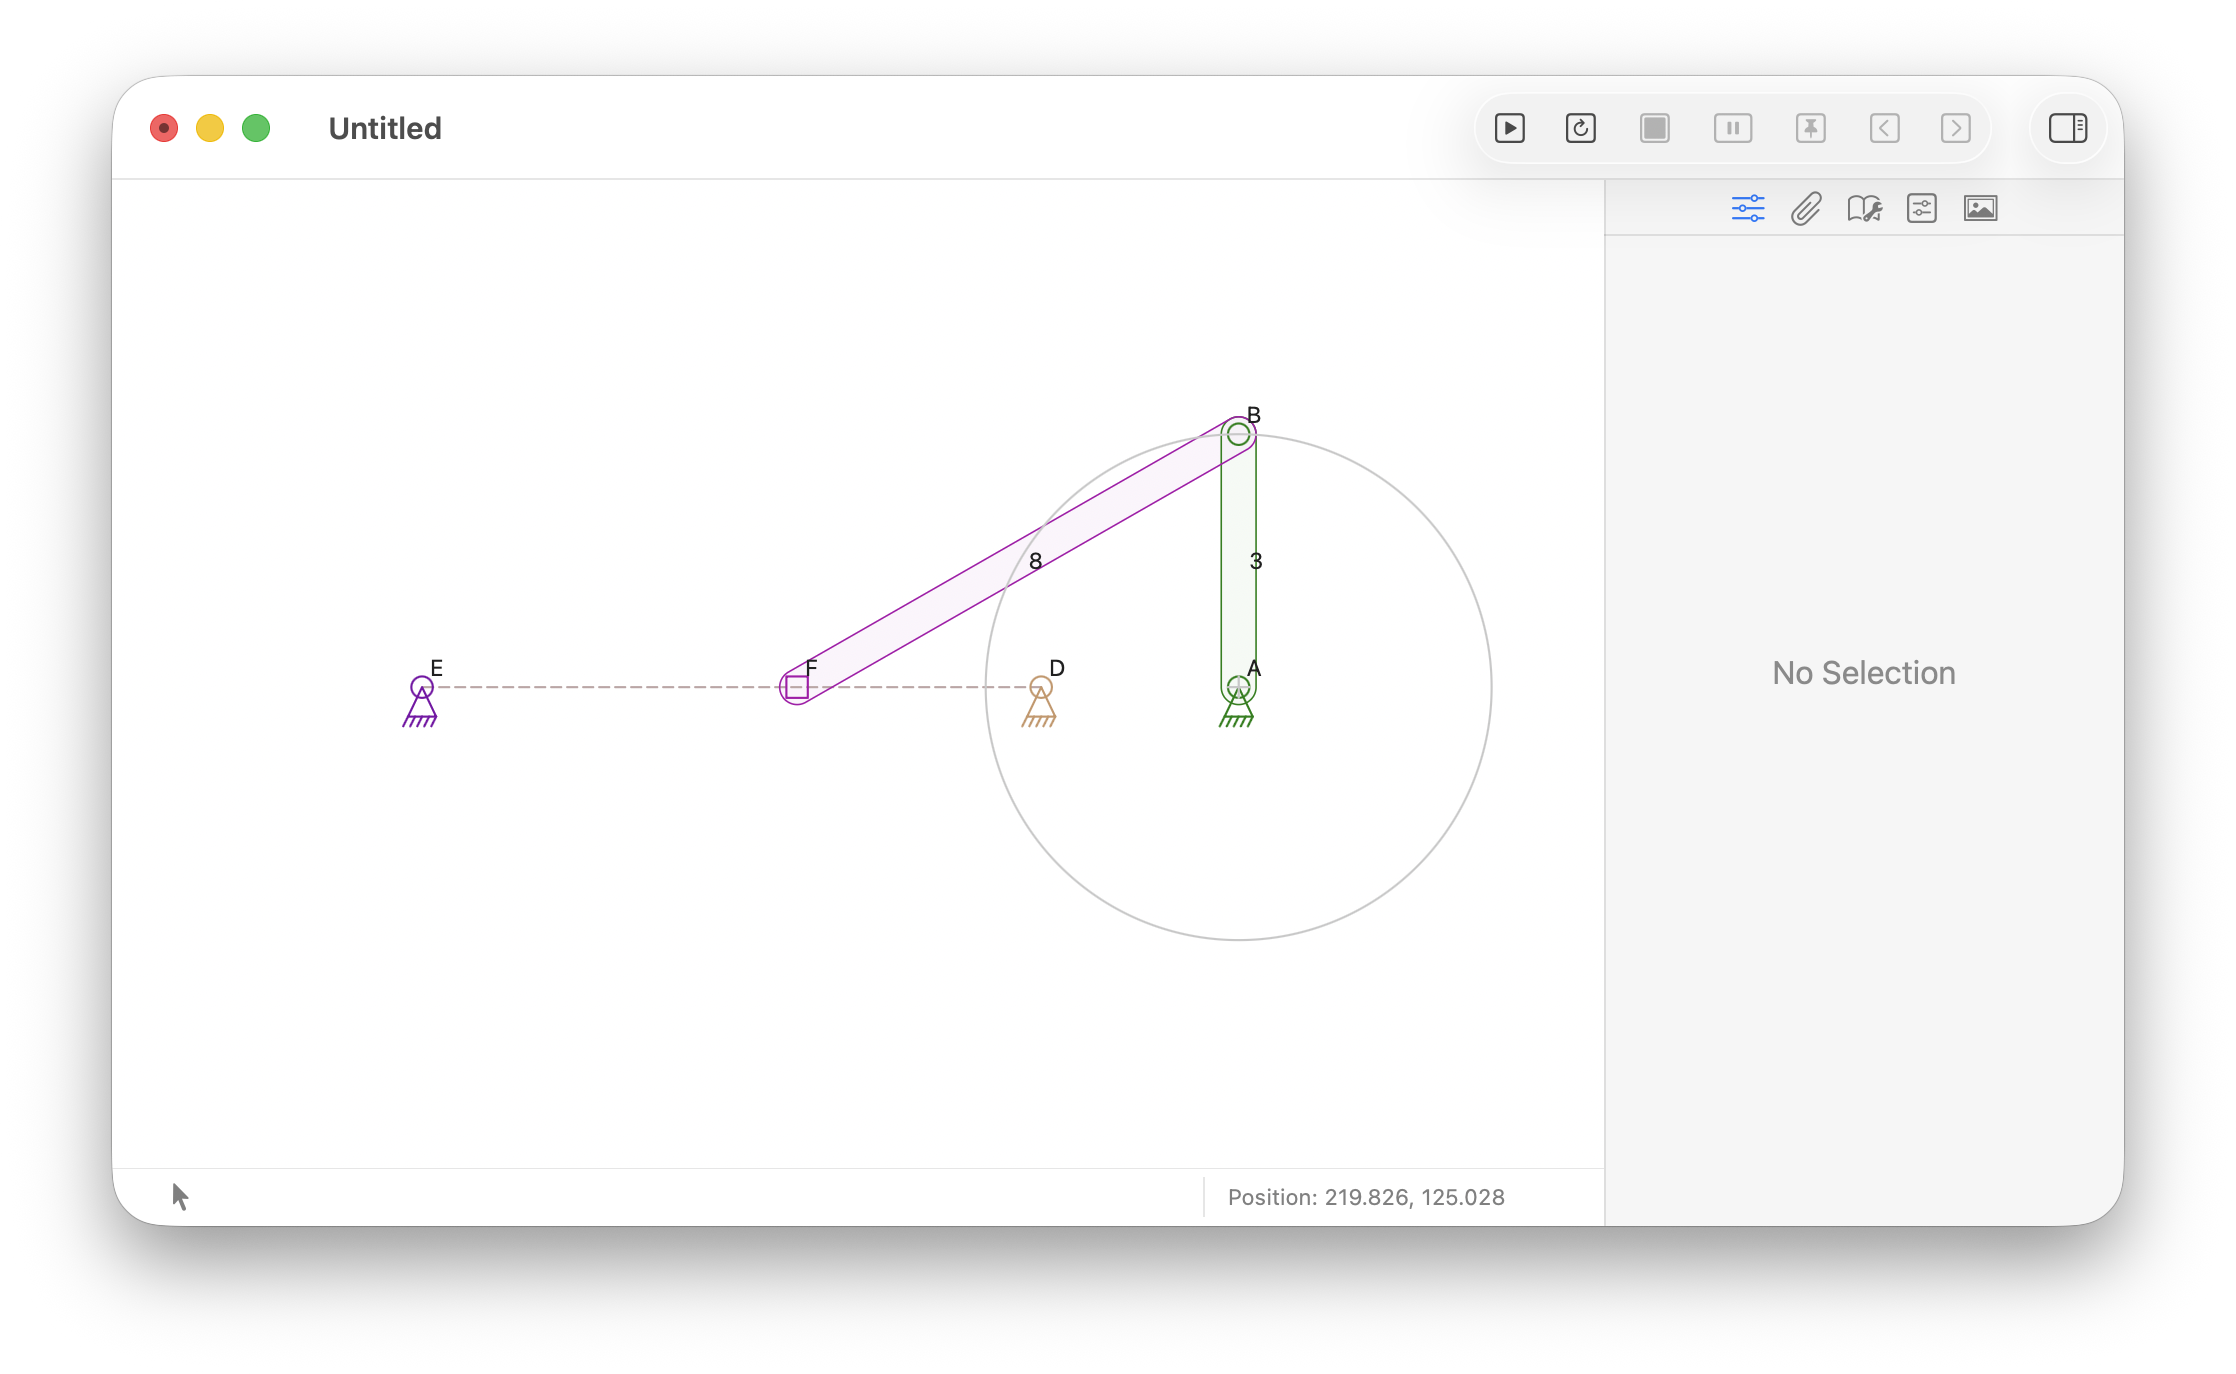
Caption
-
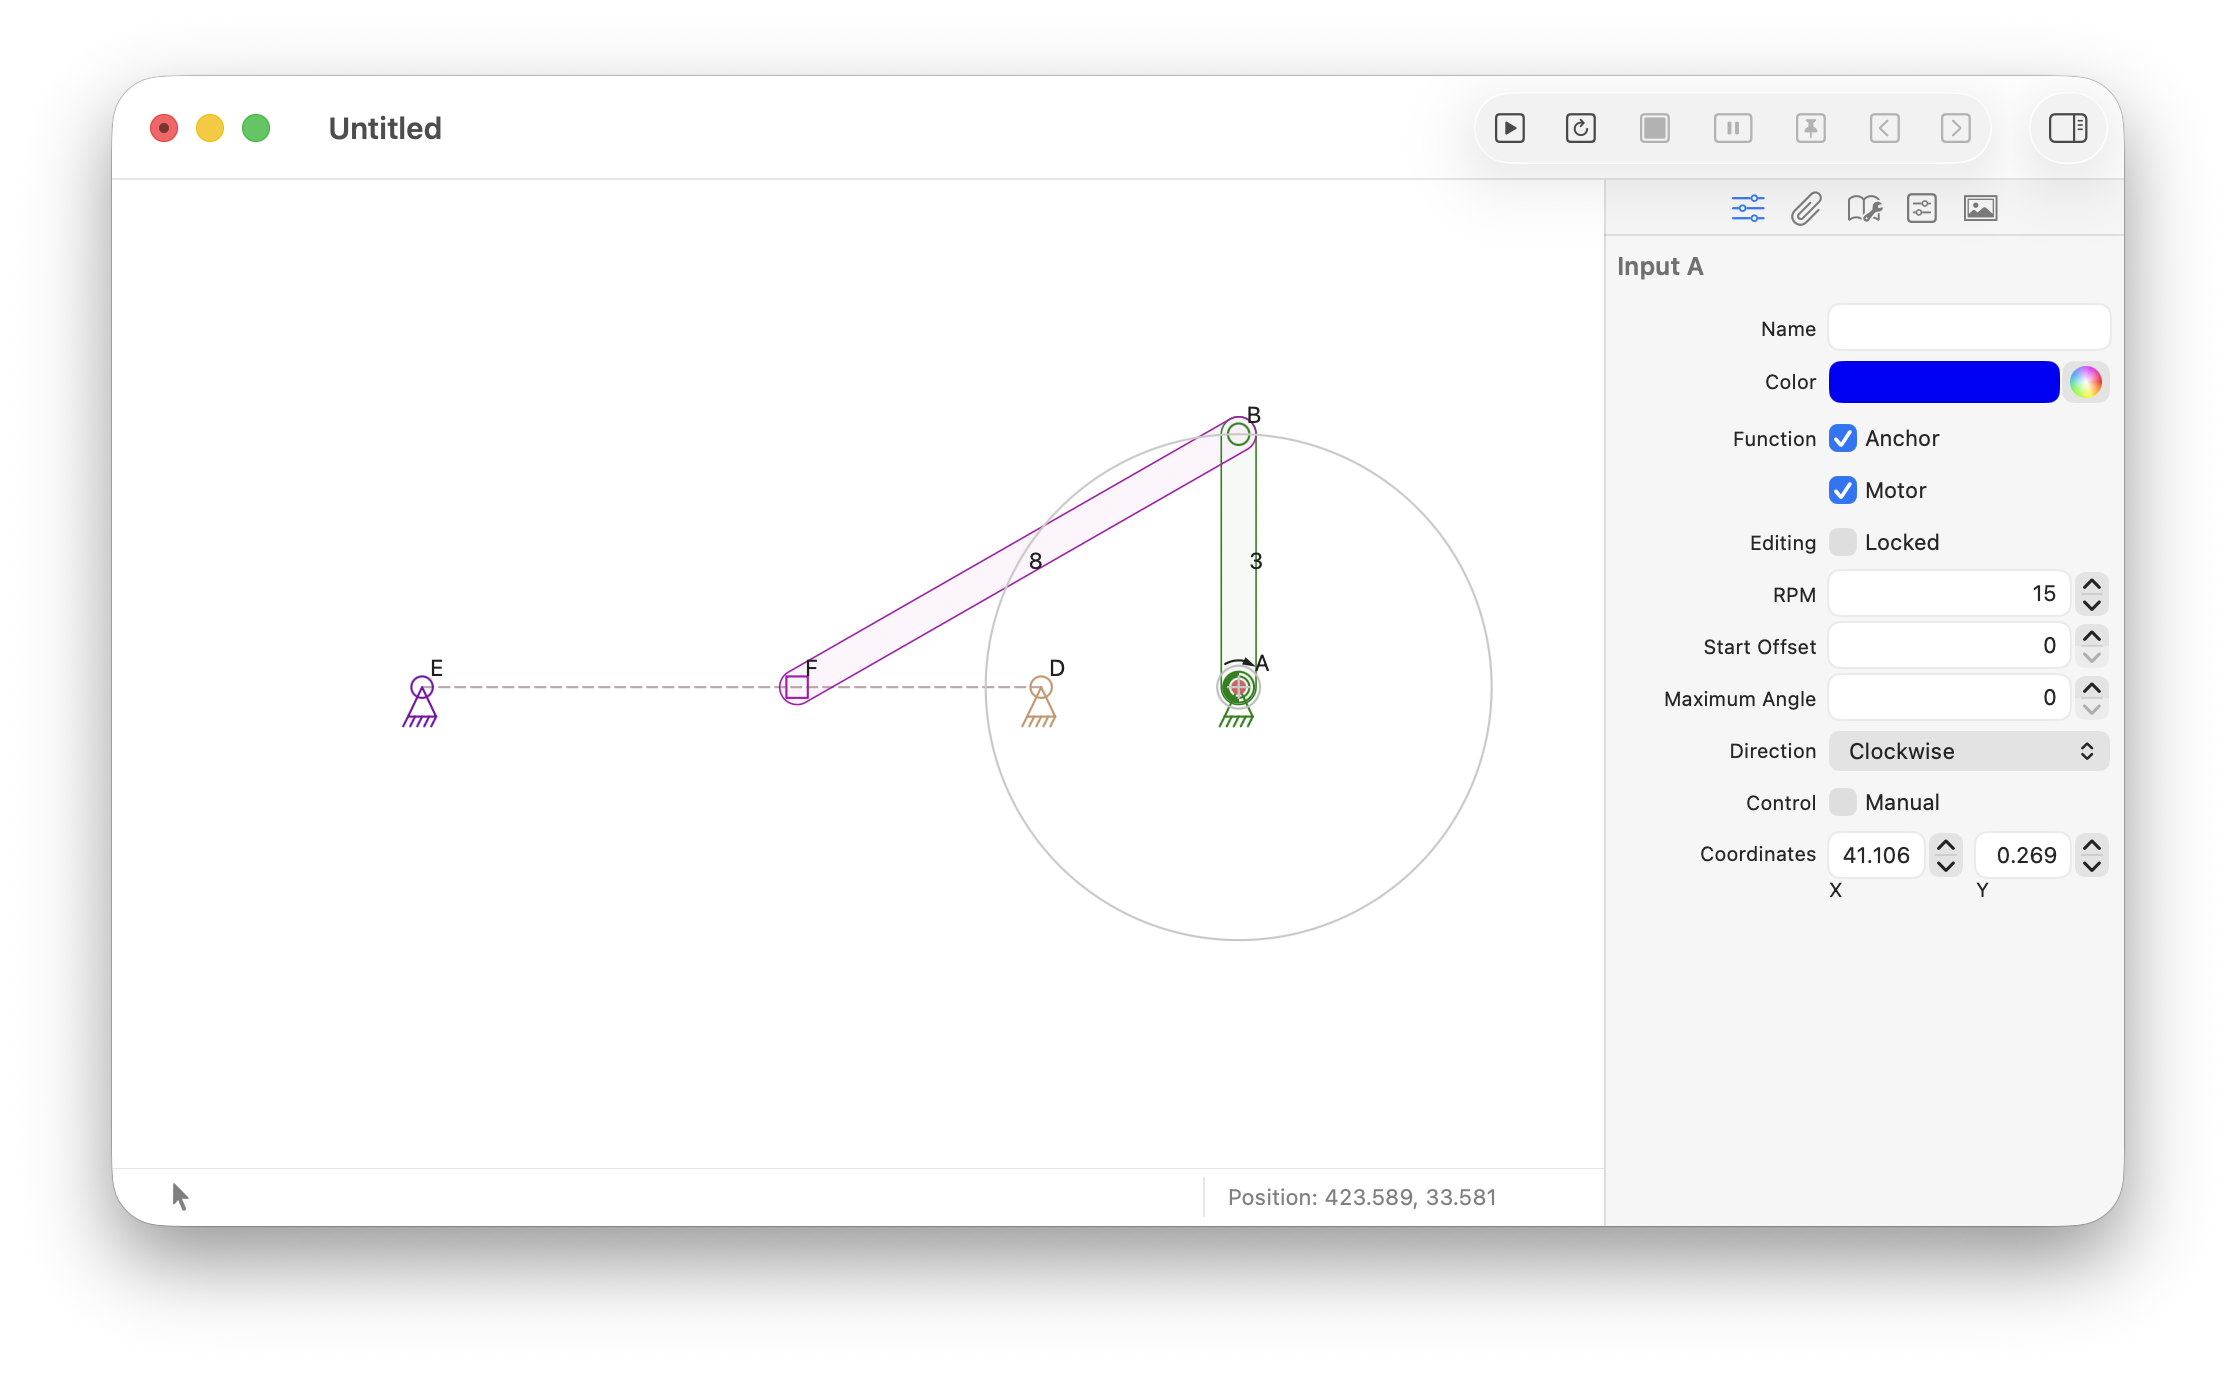
Caption
-
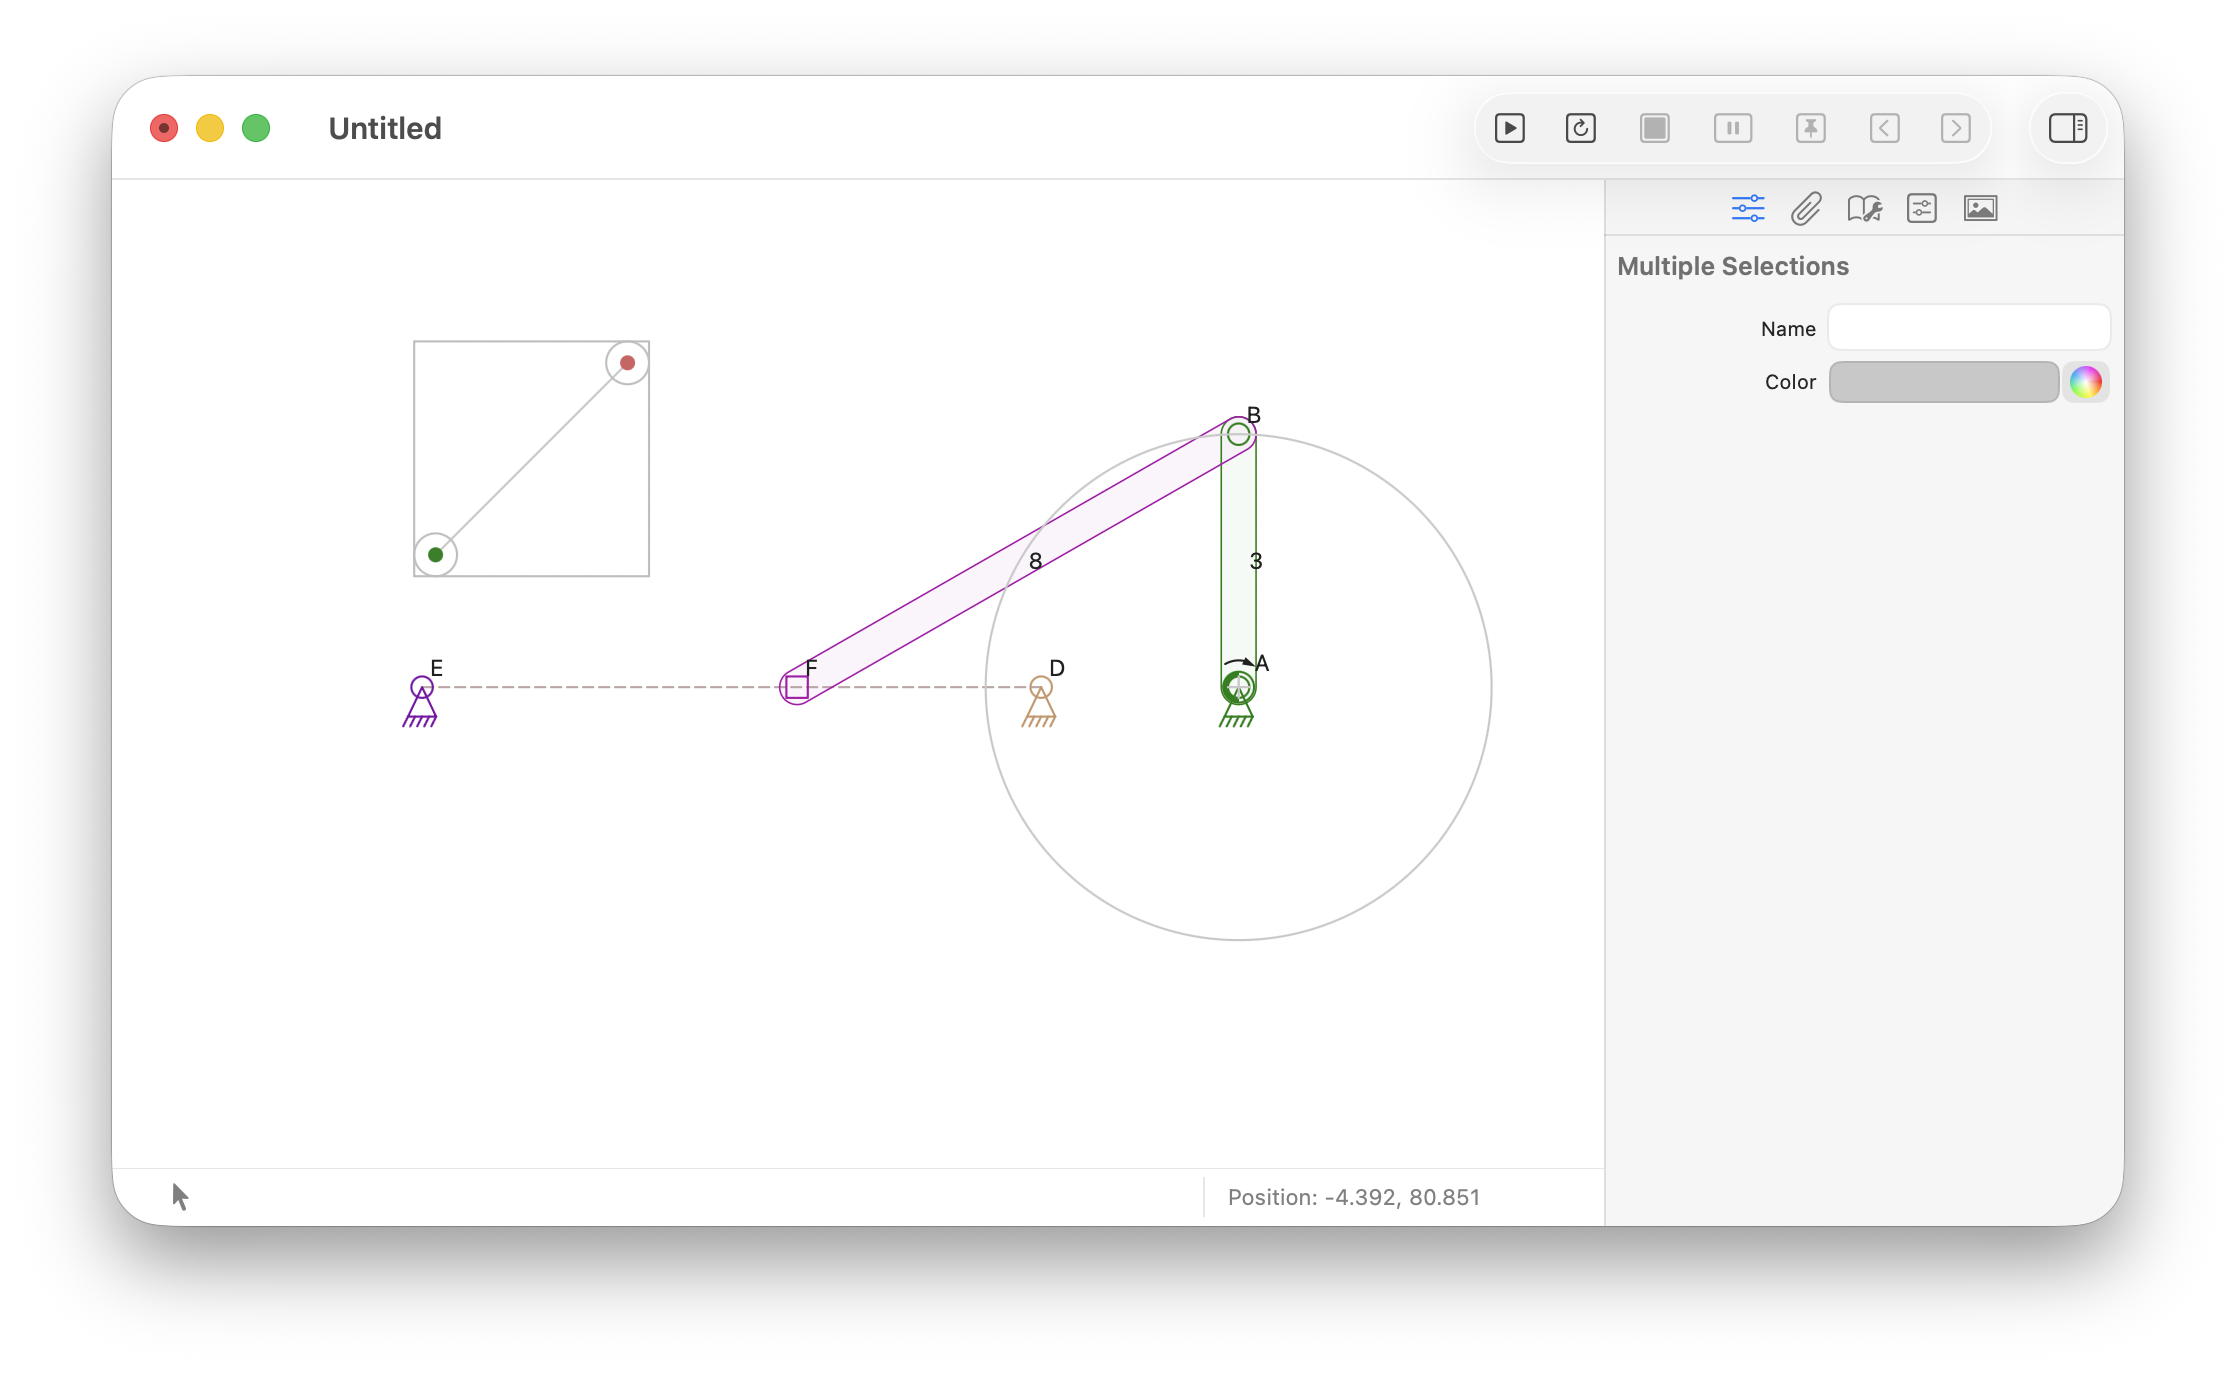
Caption
-
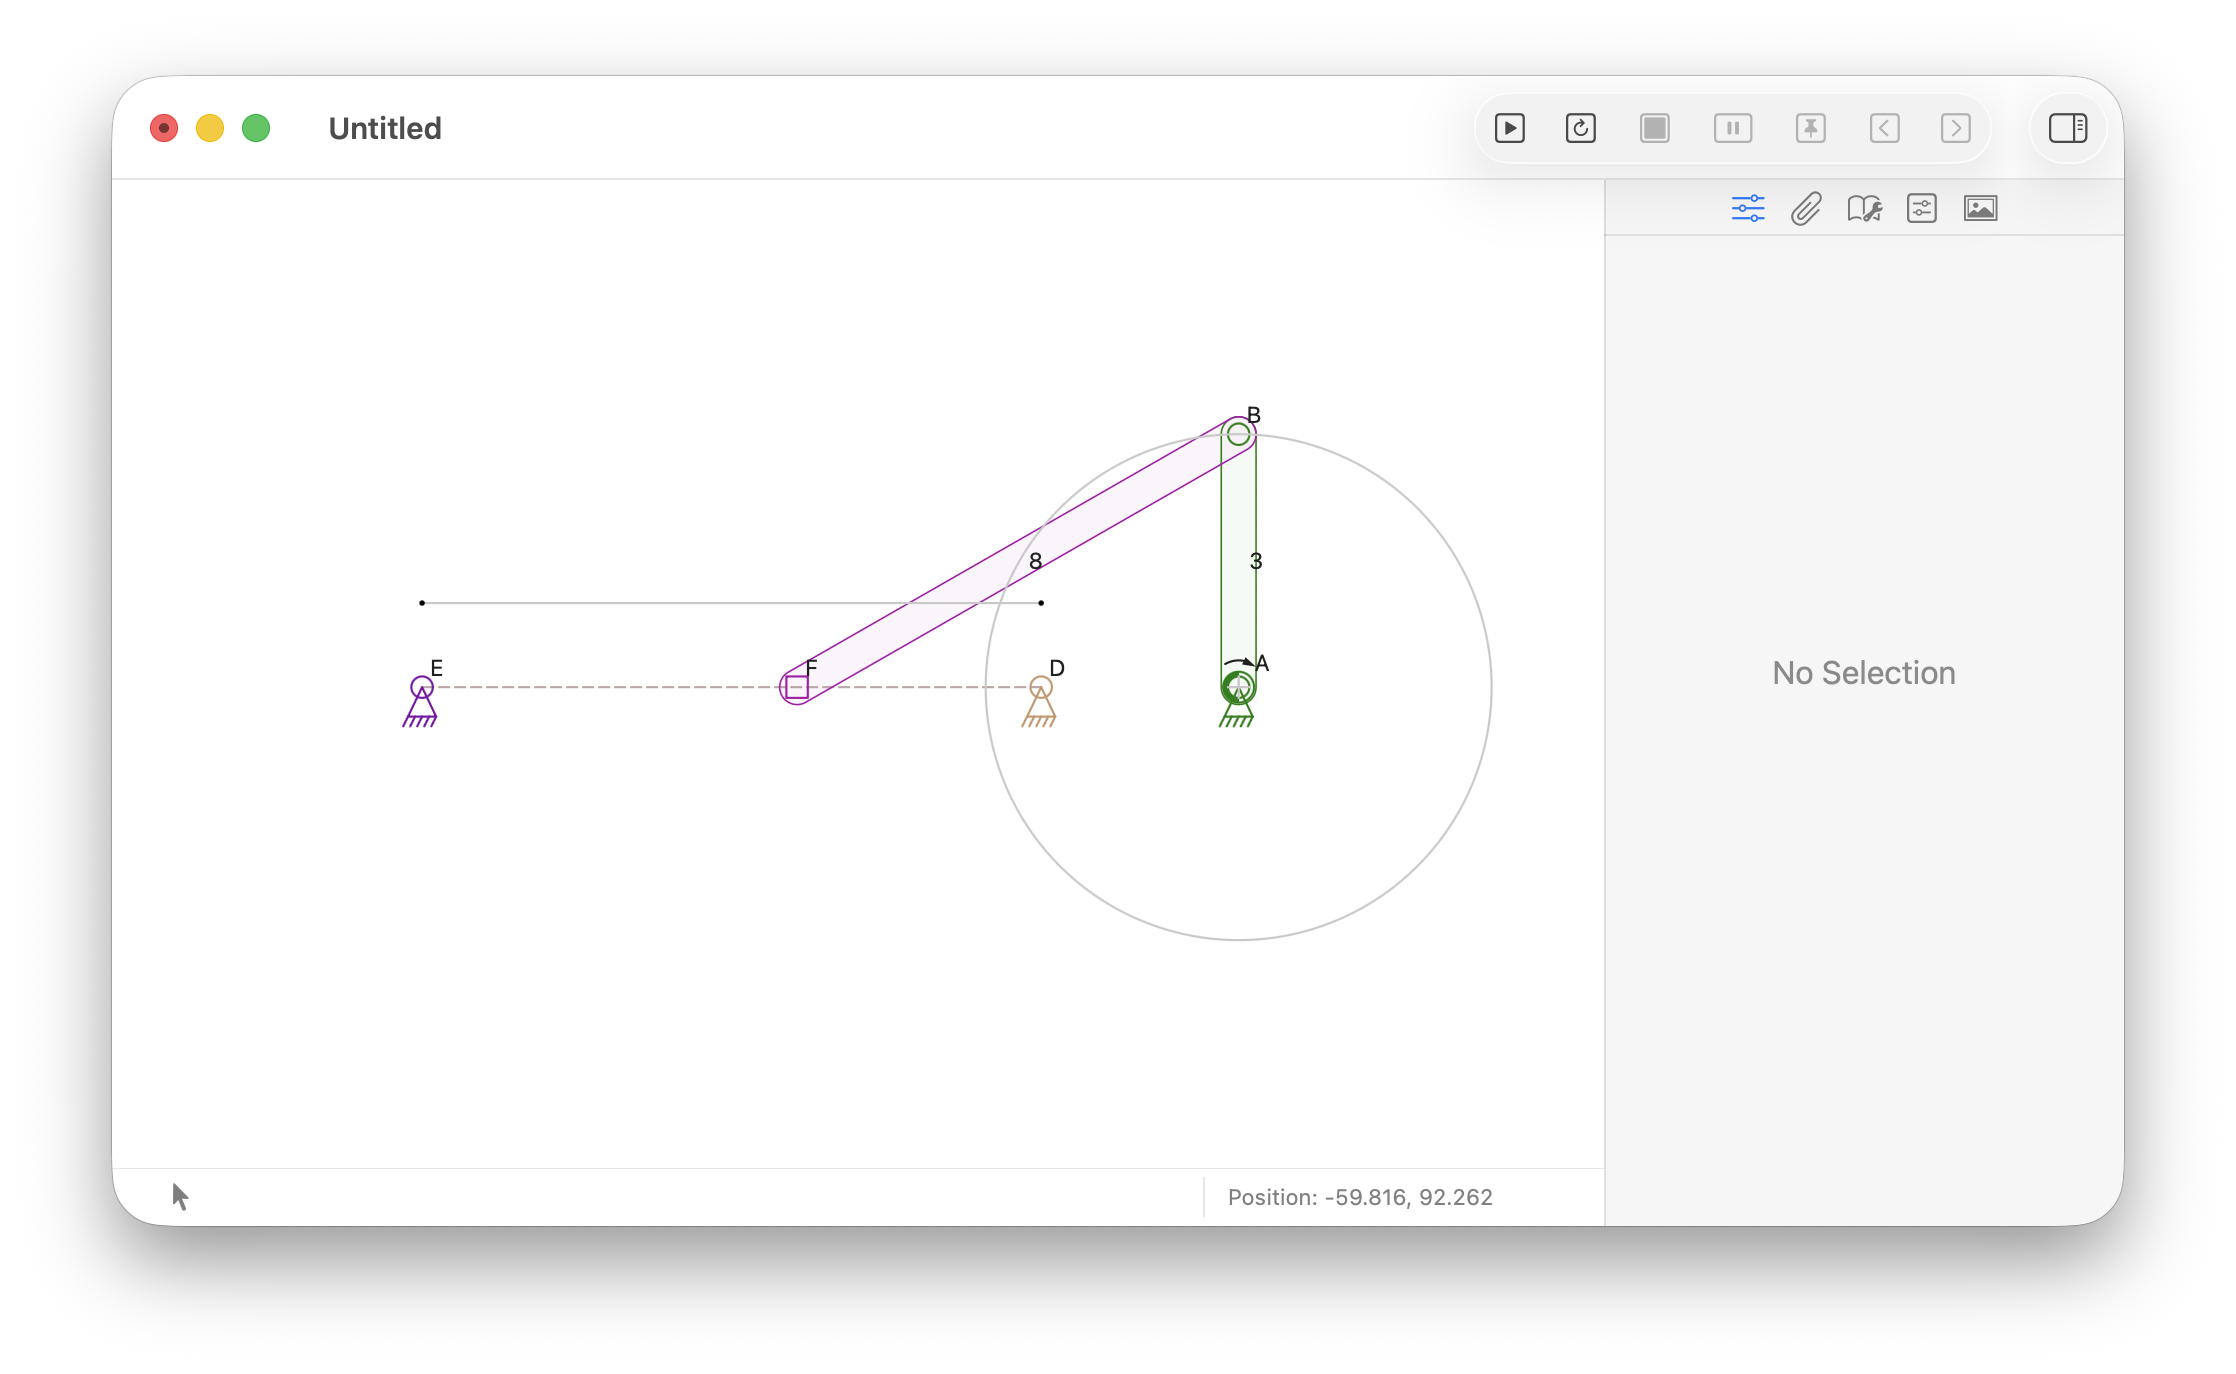
Caption
-
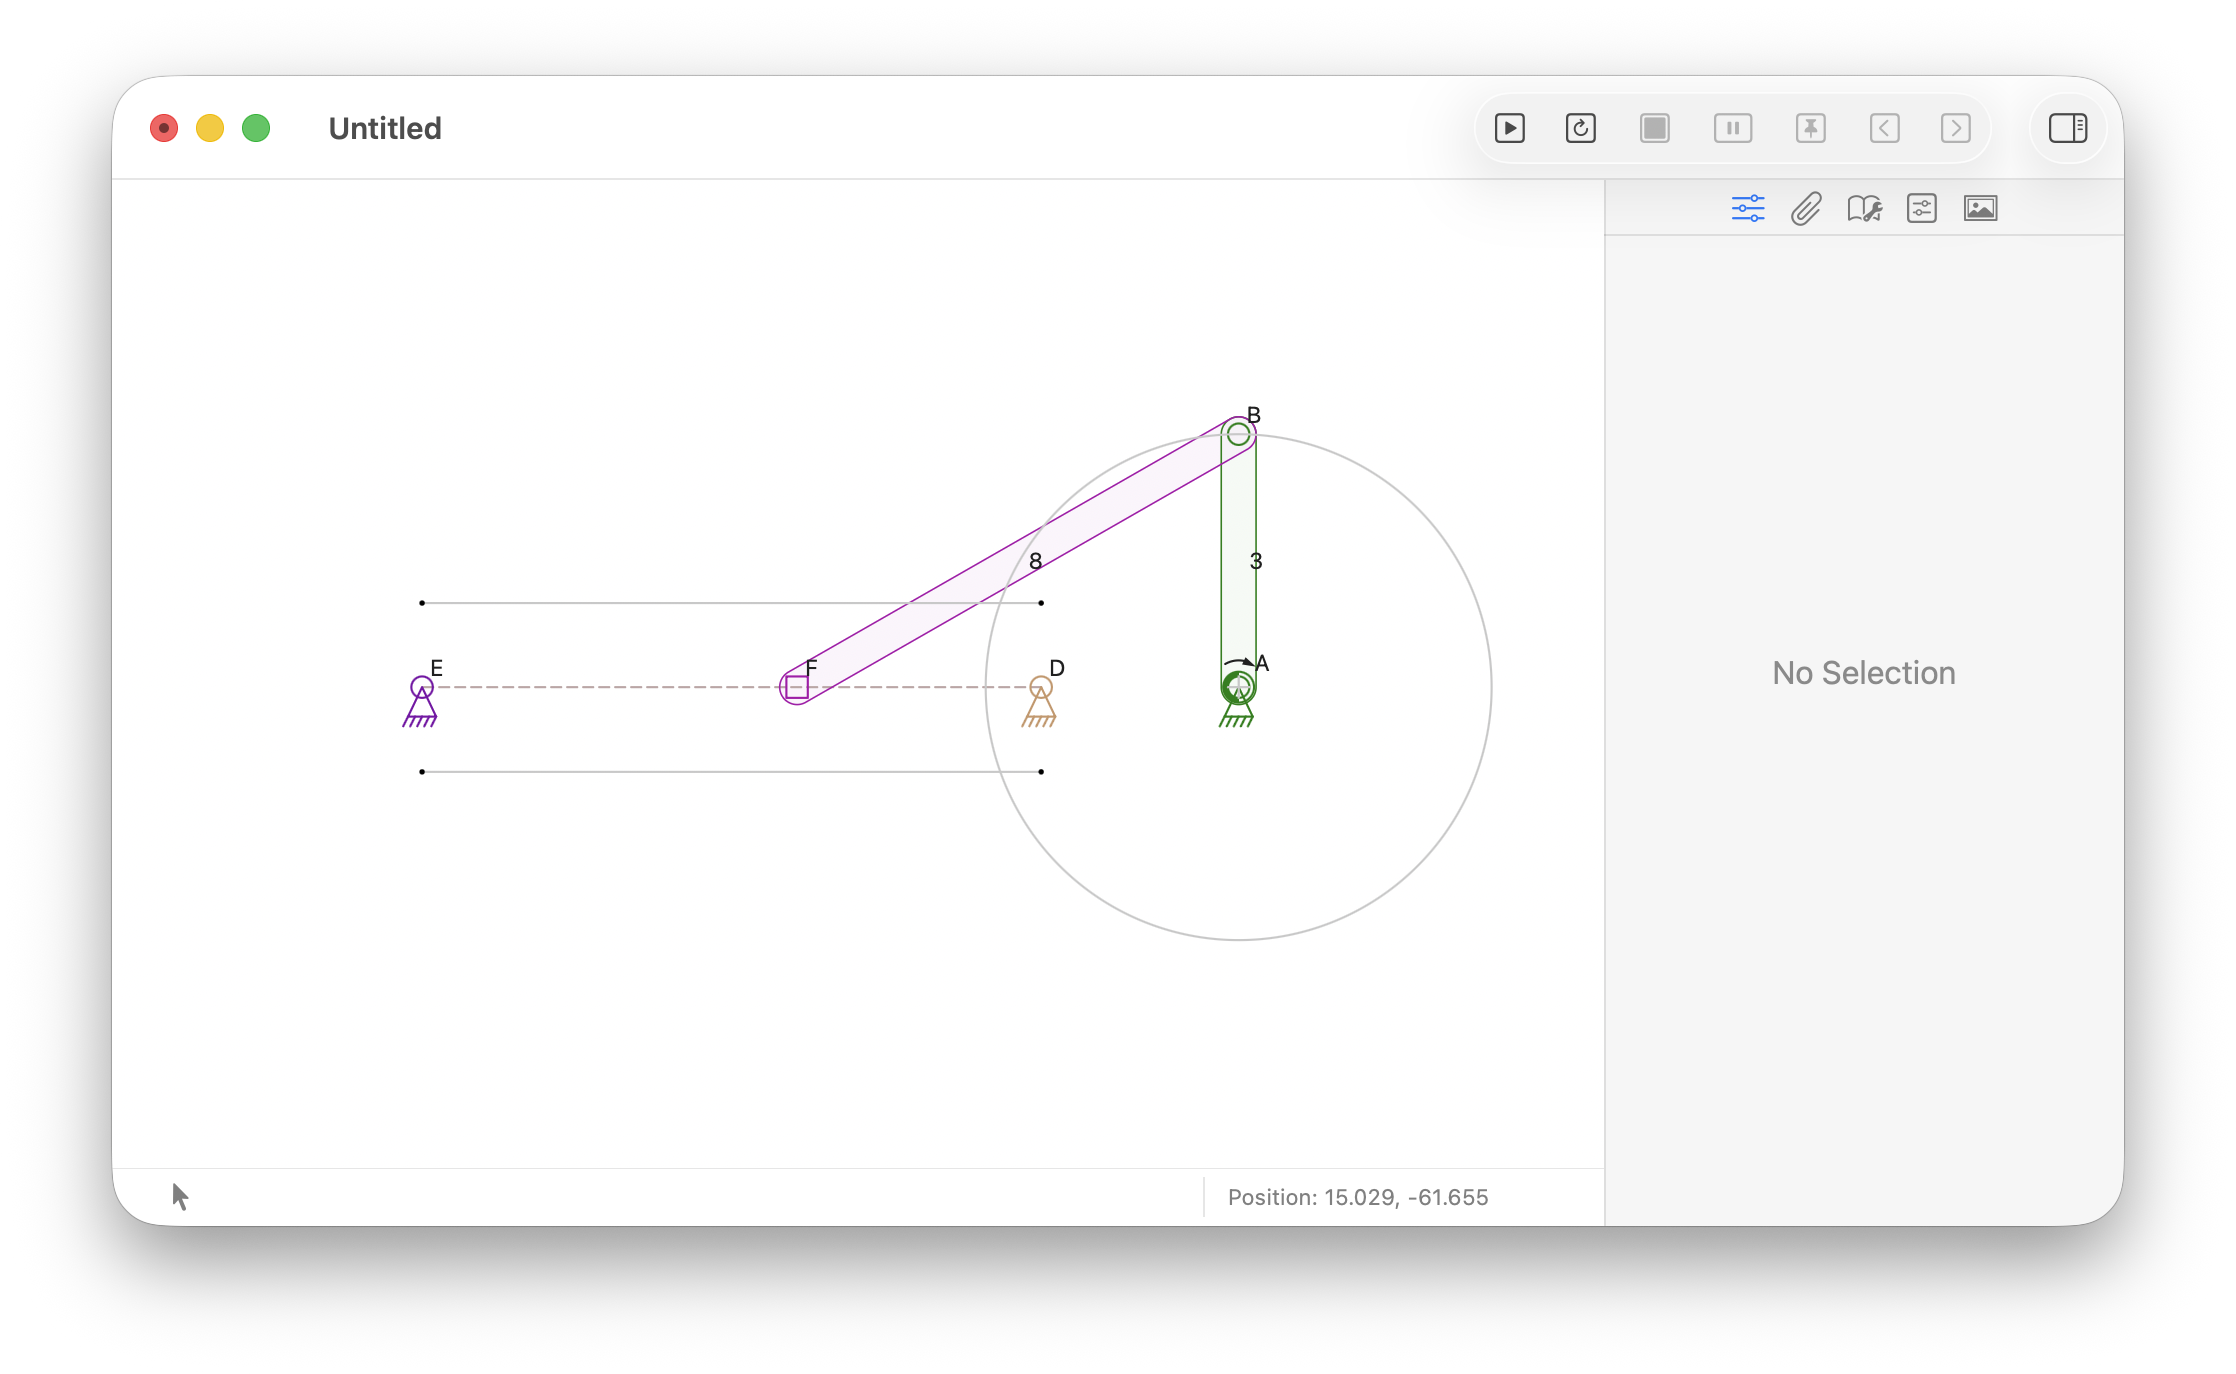
Caption
-
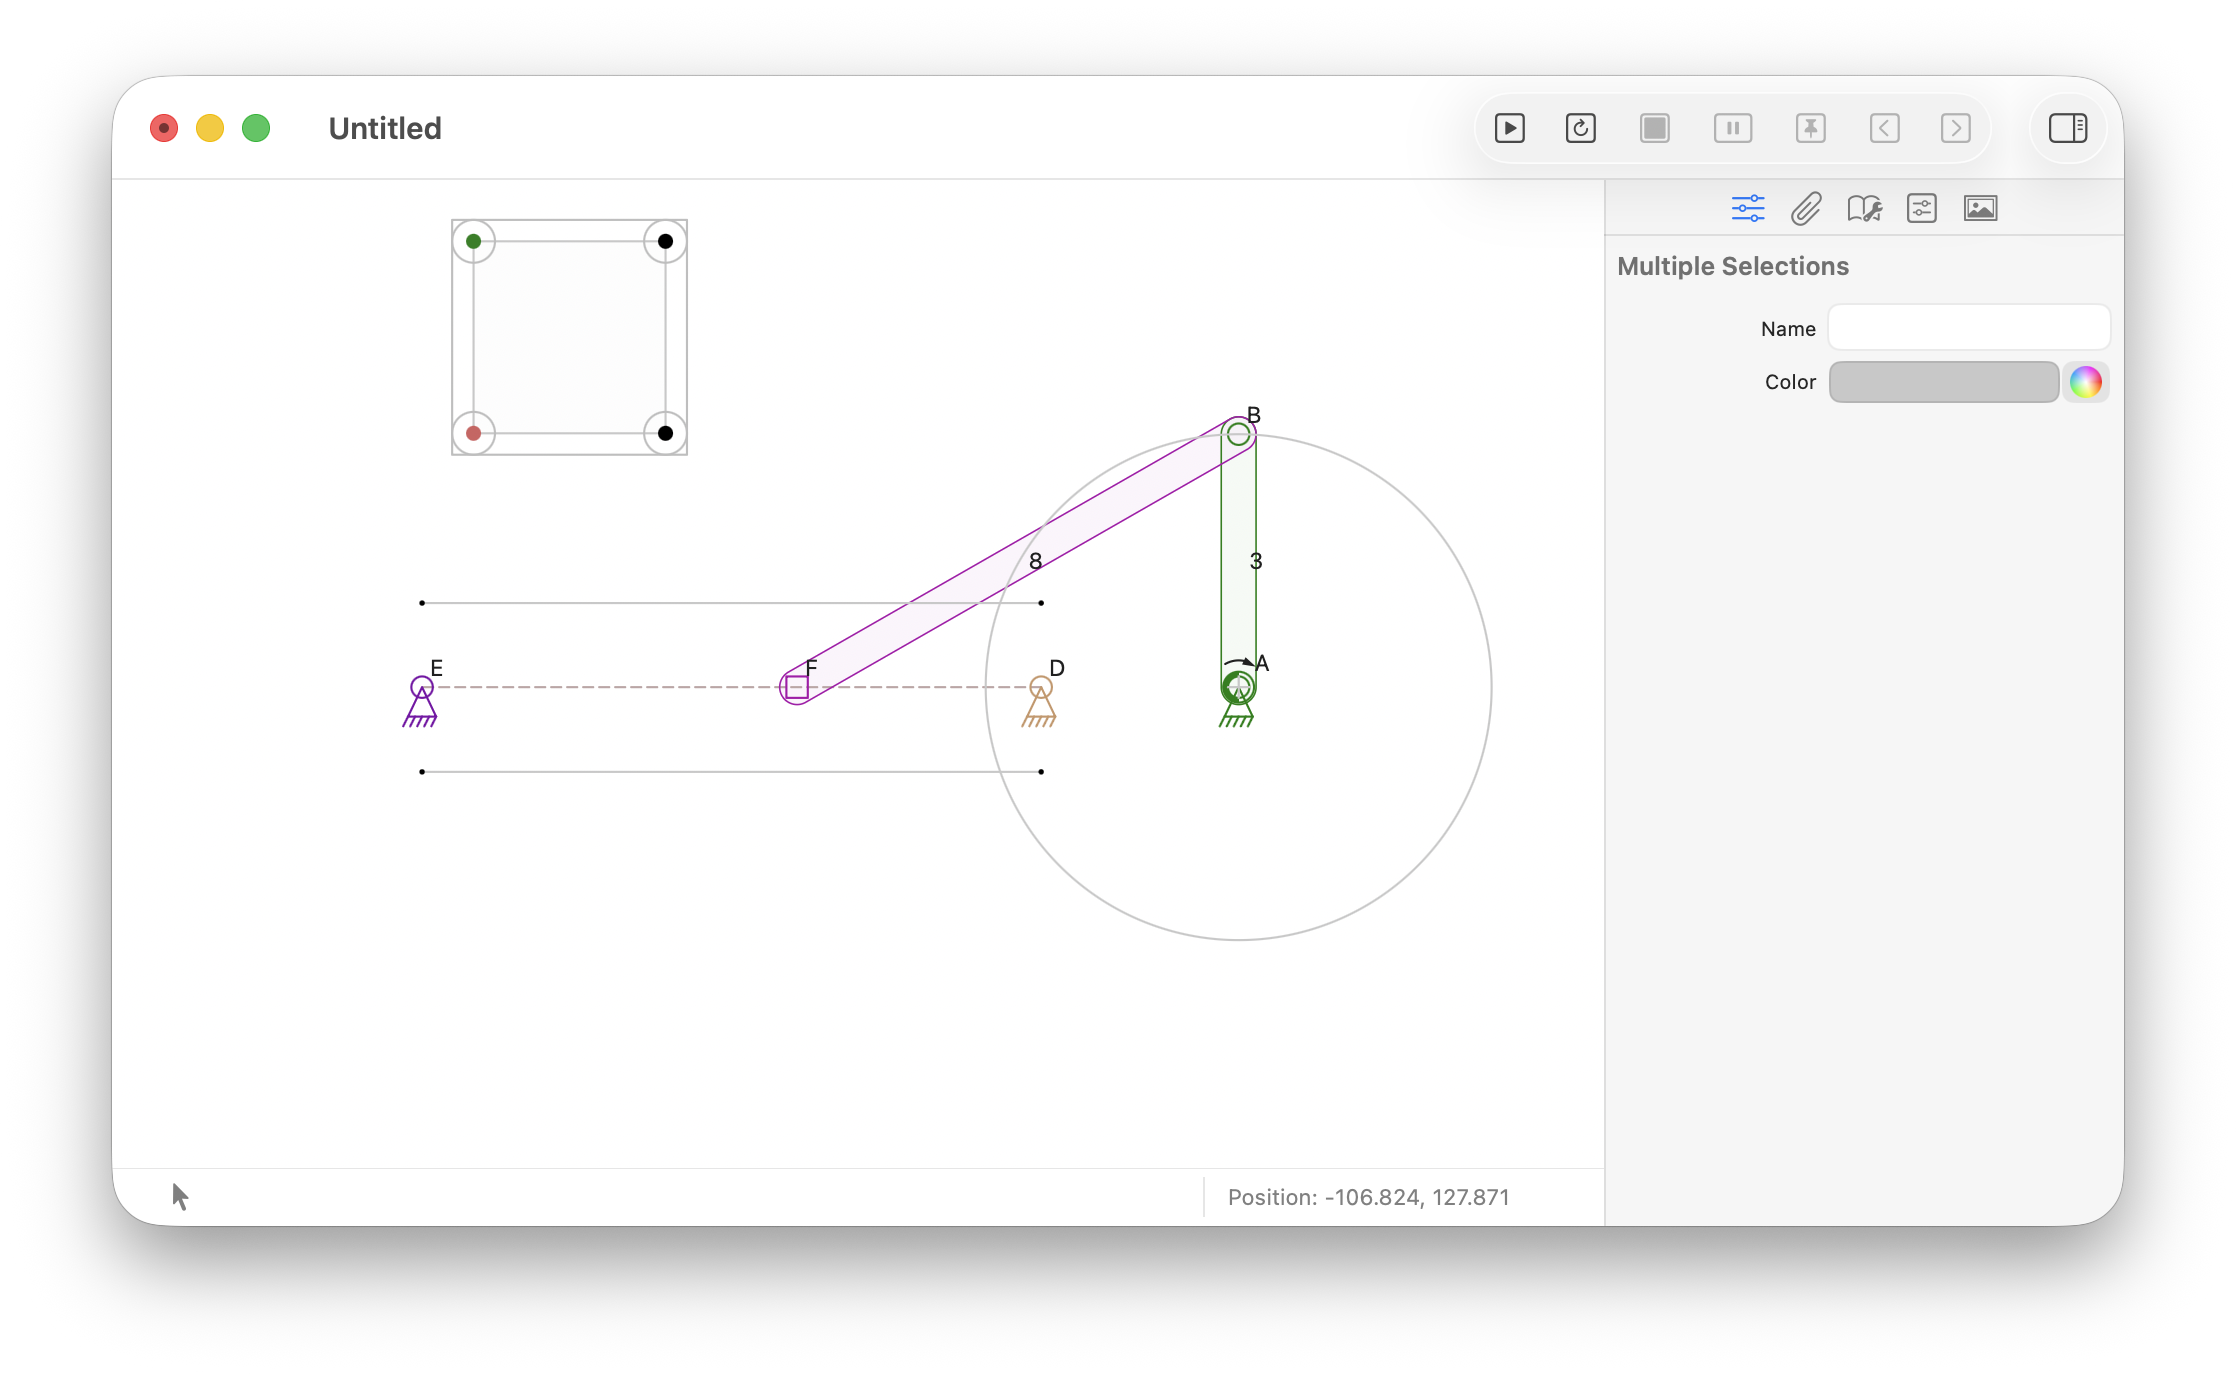
Caption
-
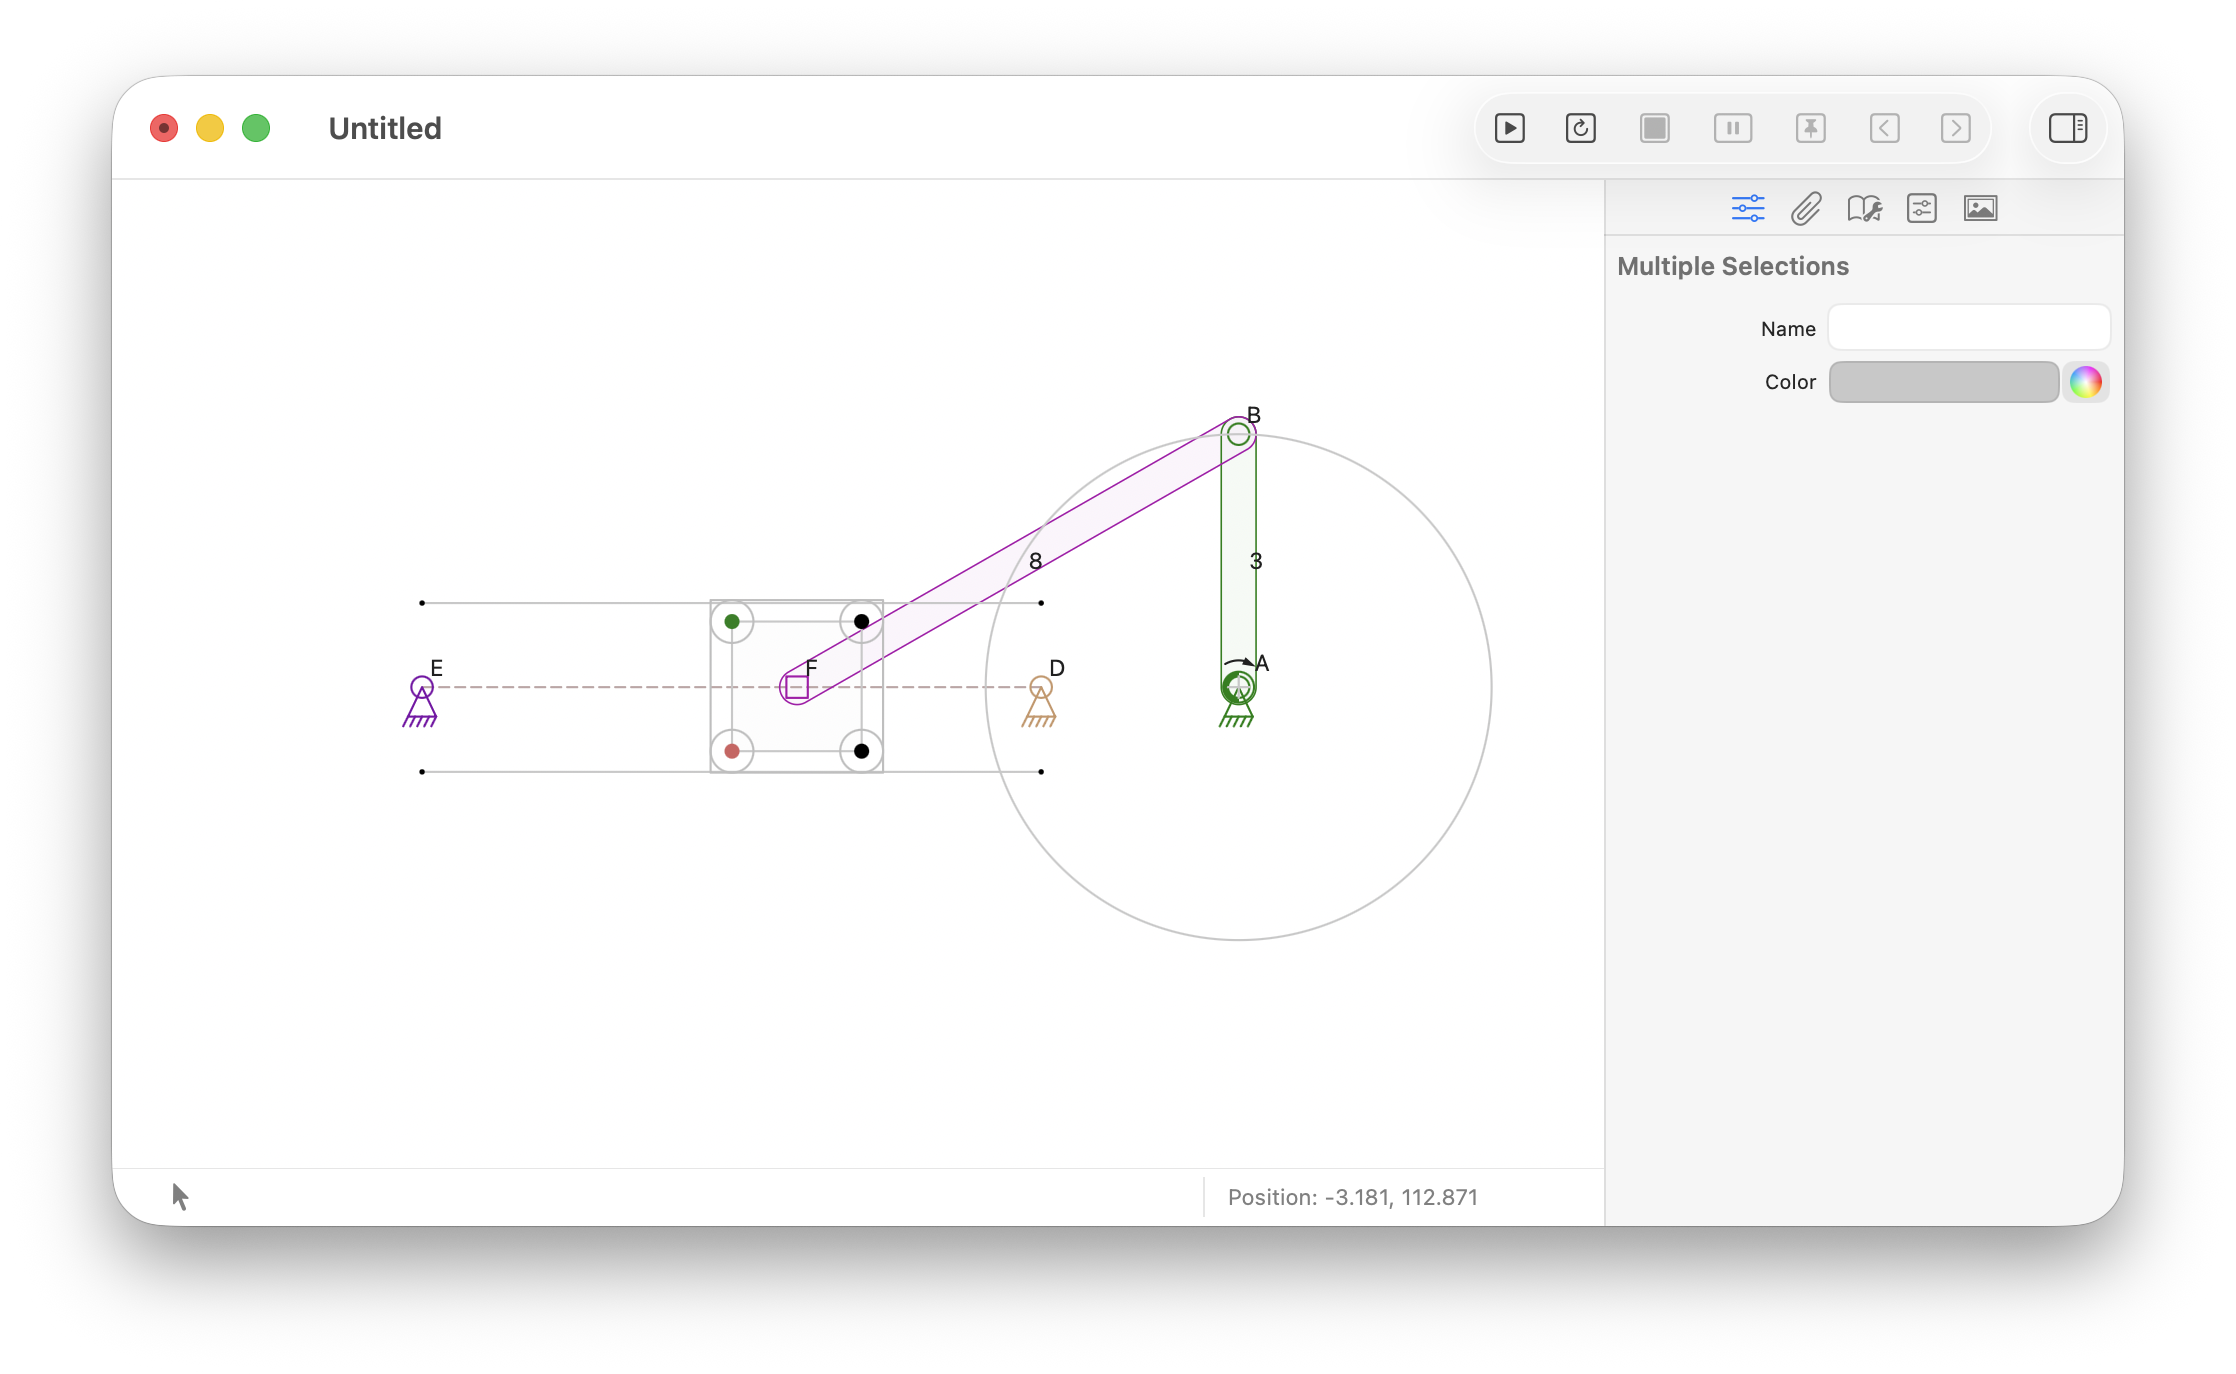
Caption
-
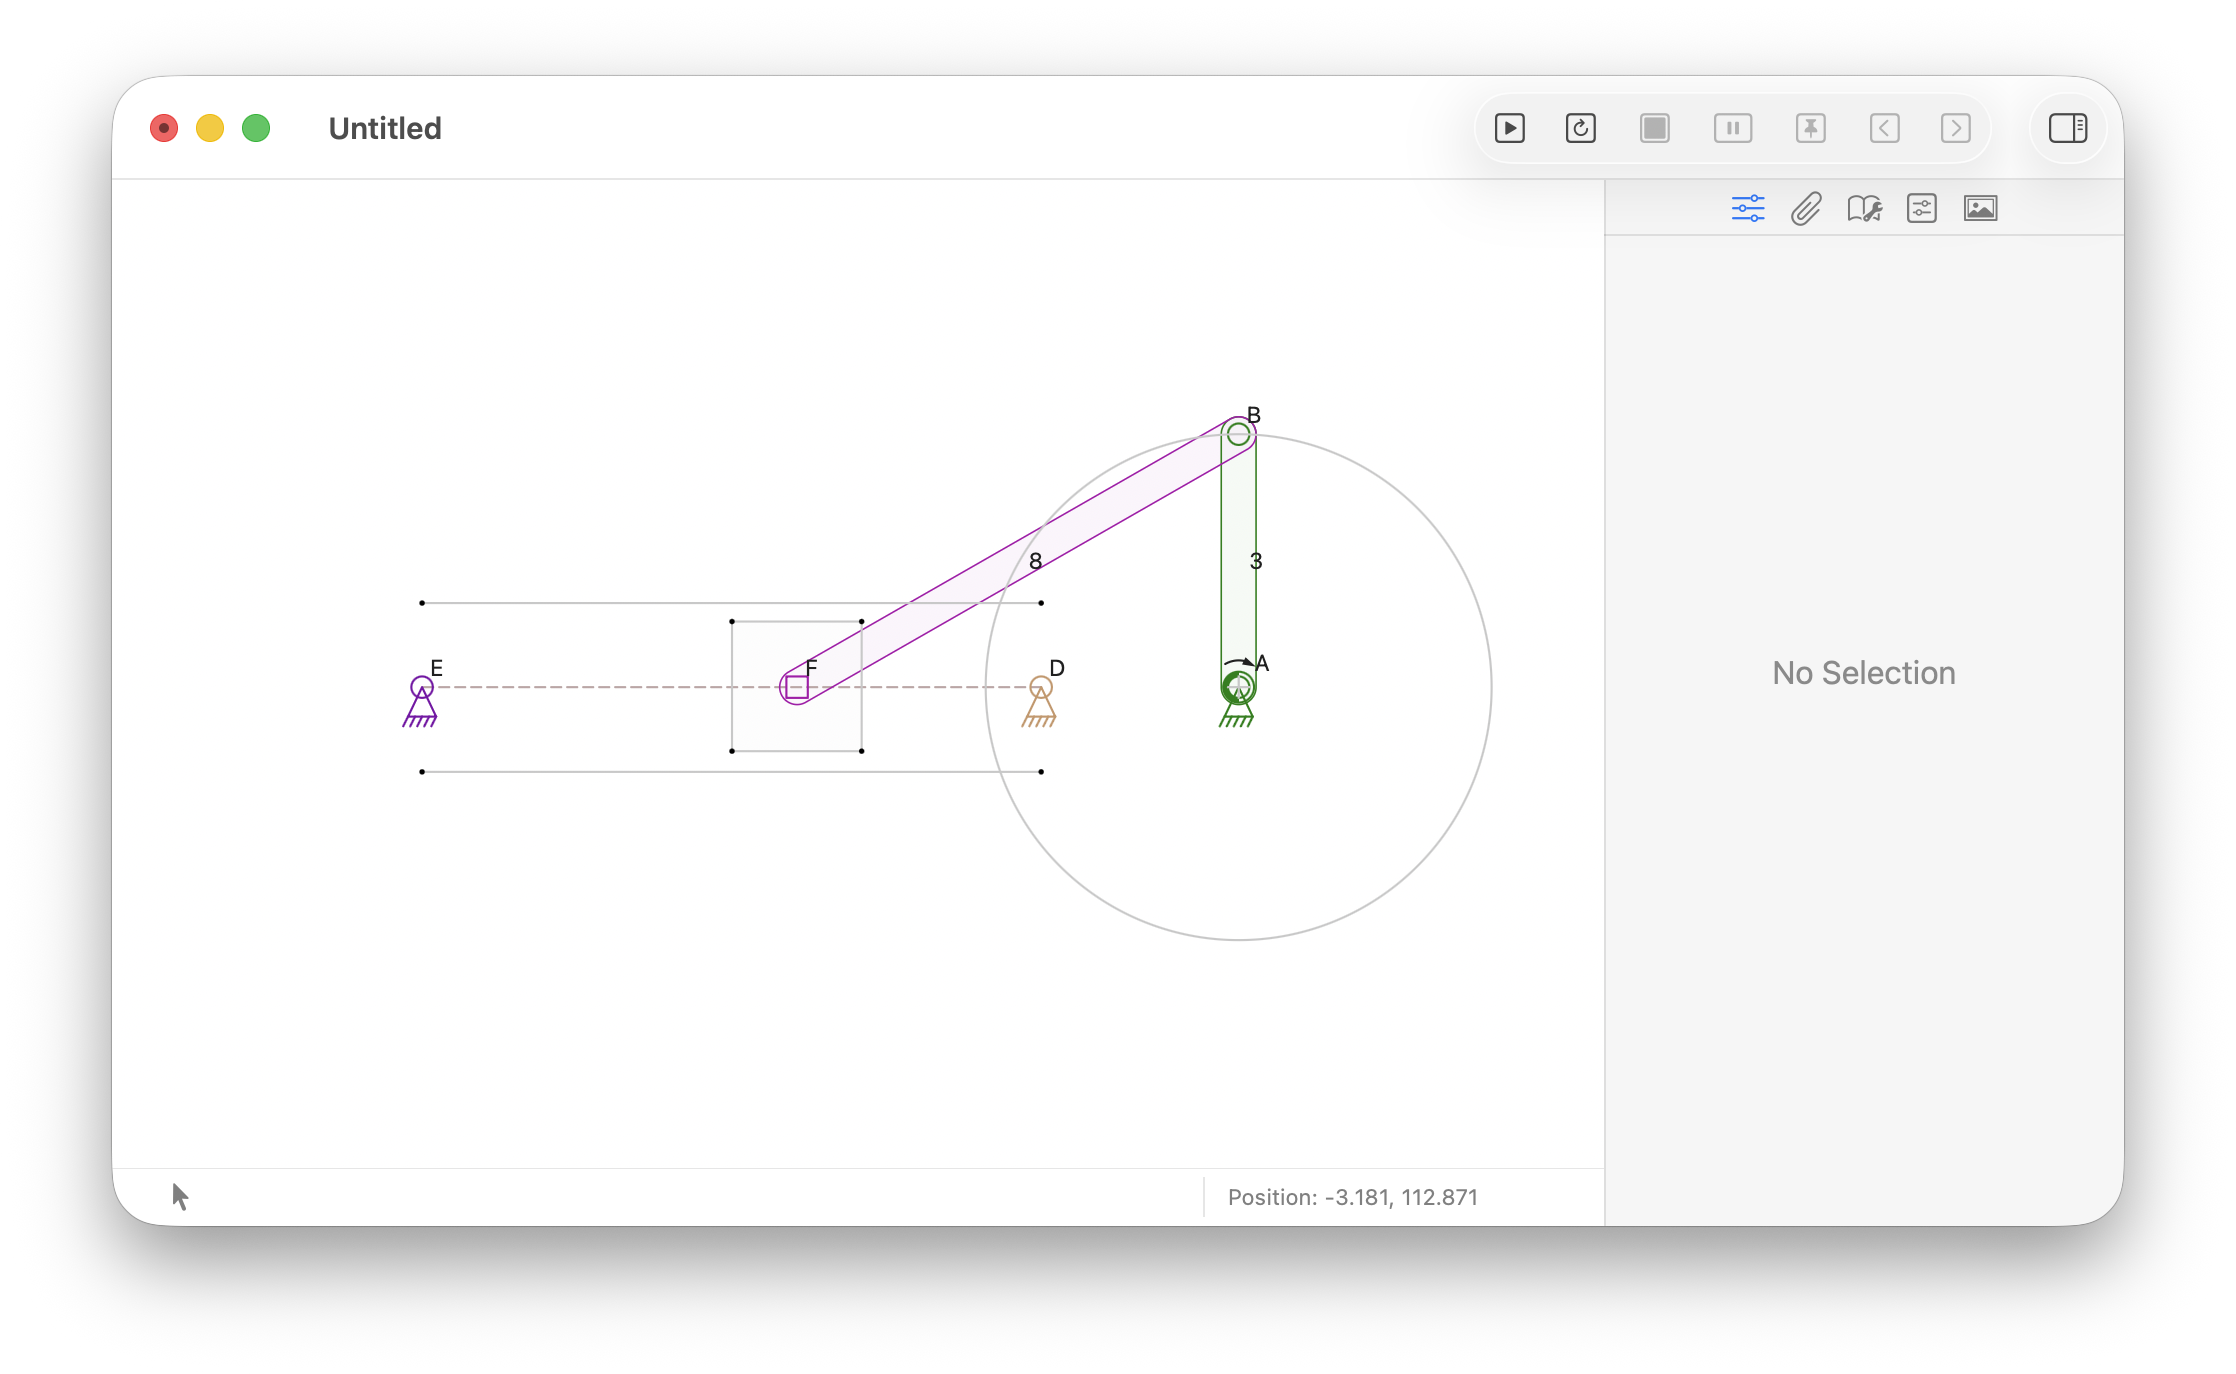
Caption
-
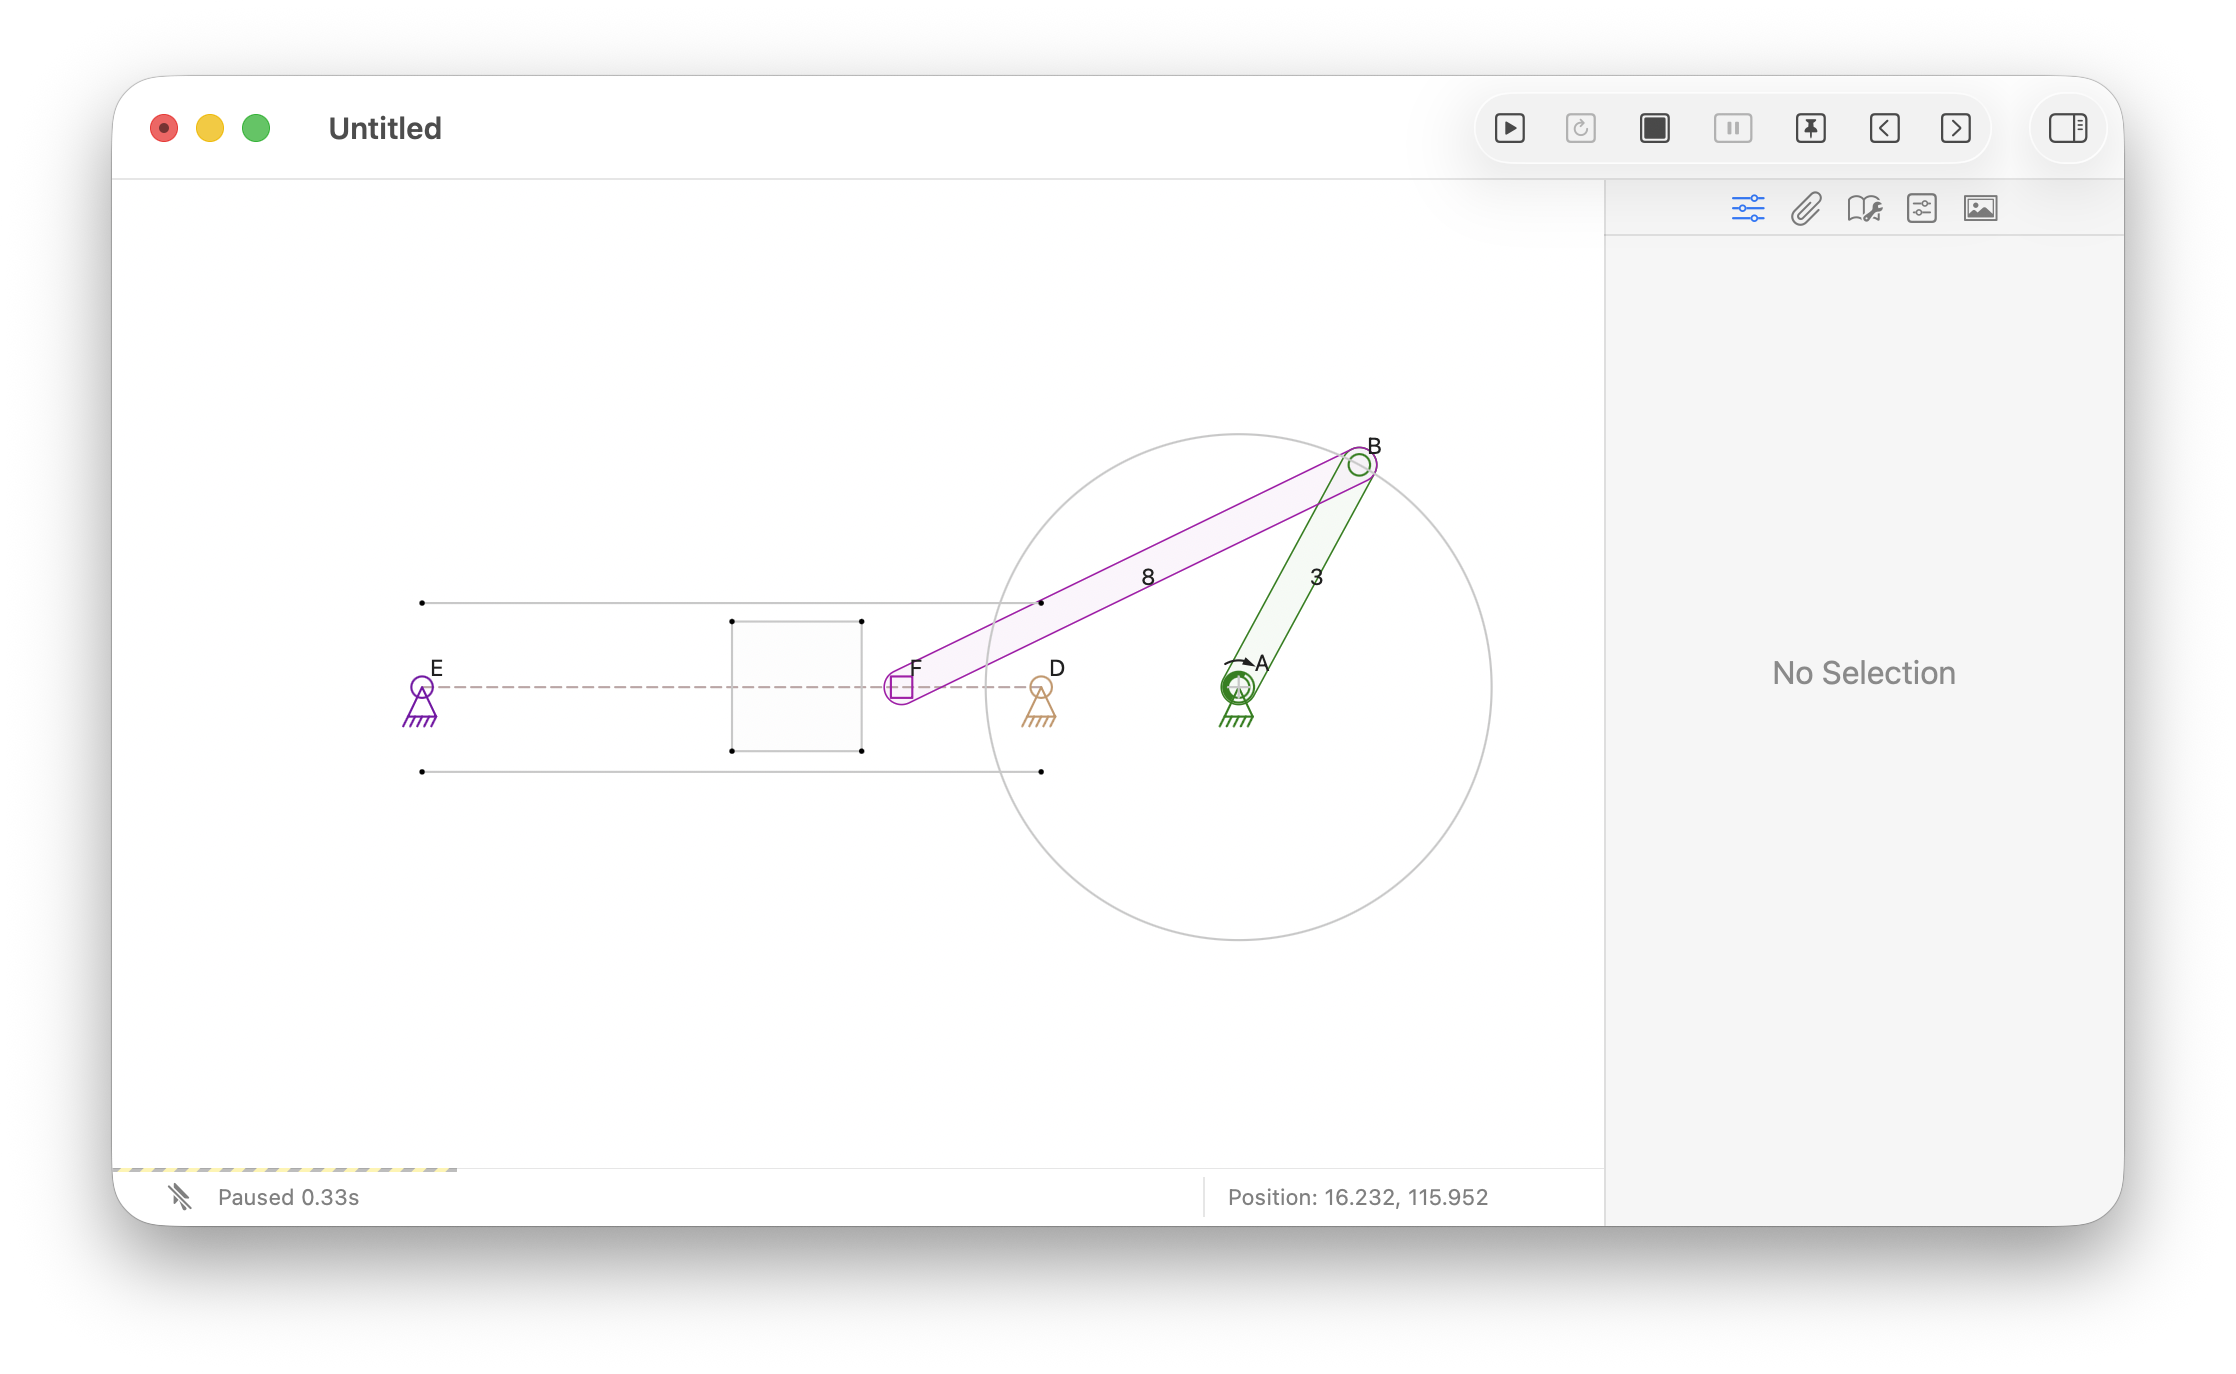
Caption
-
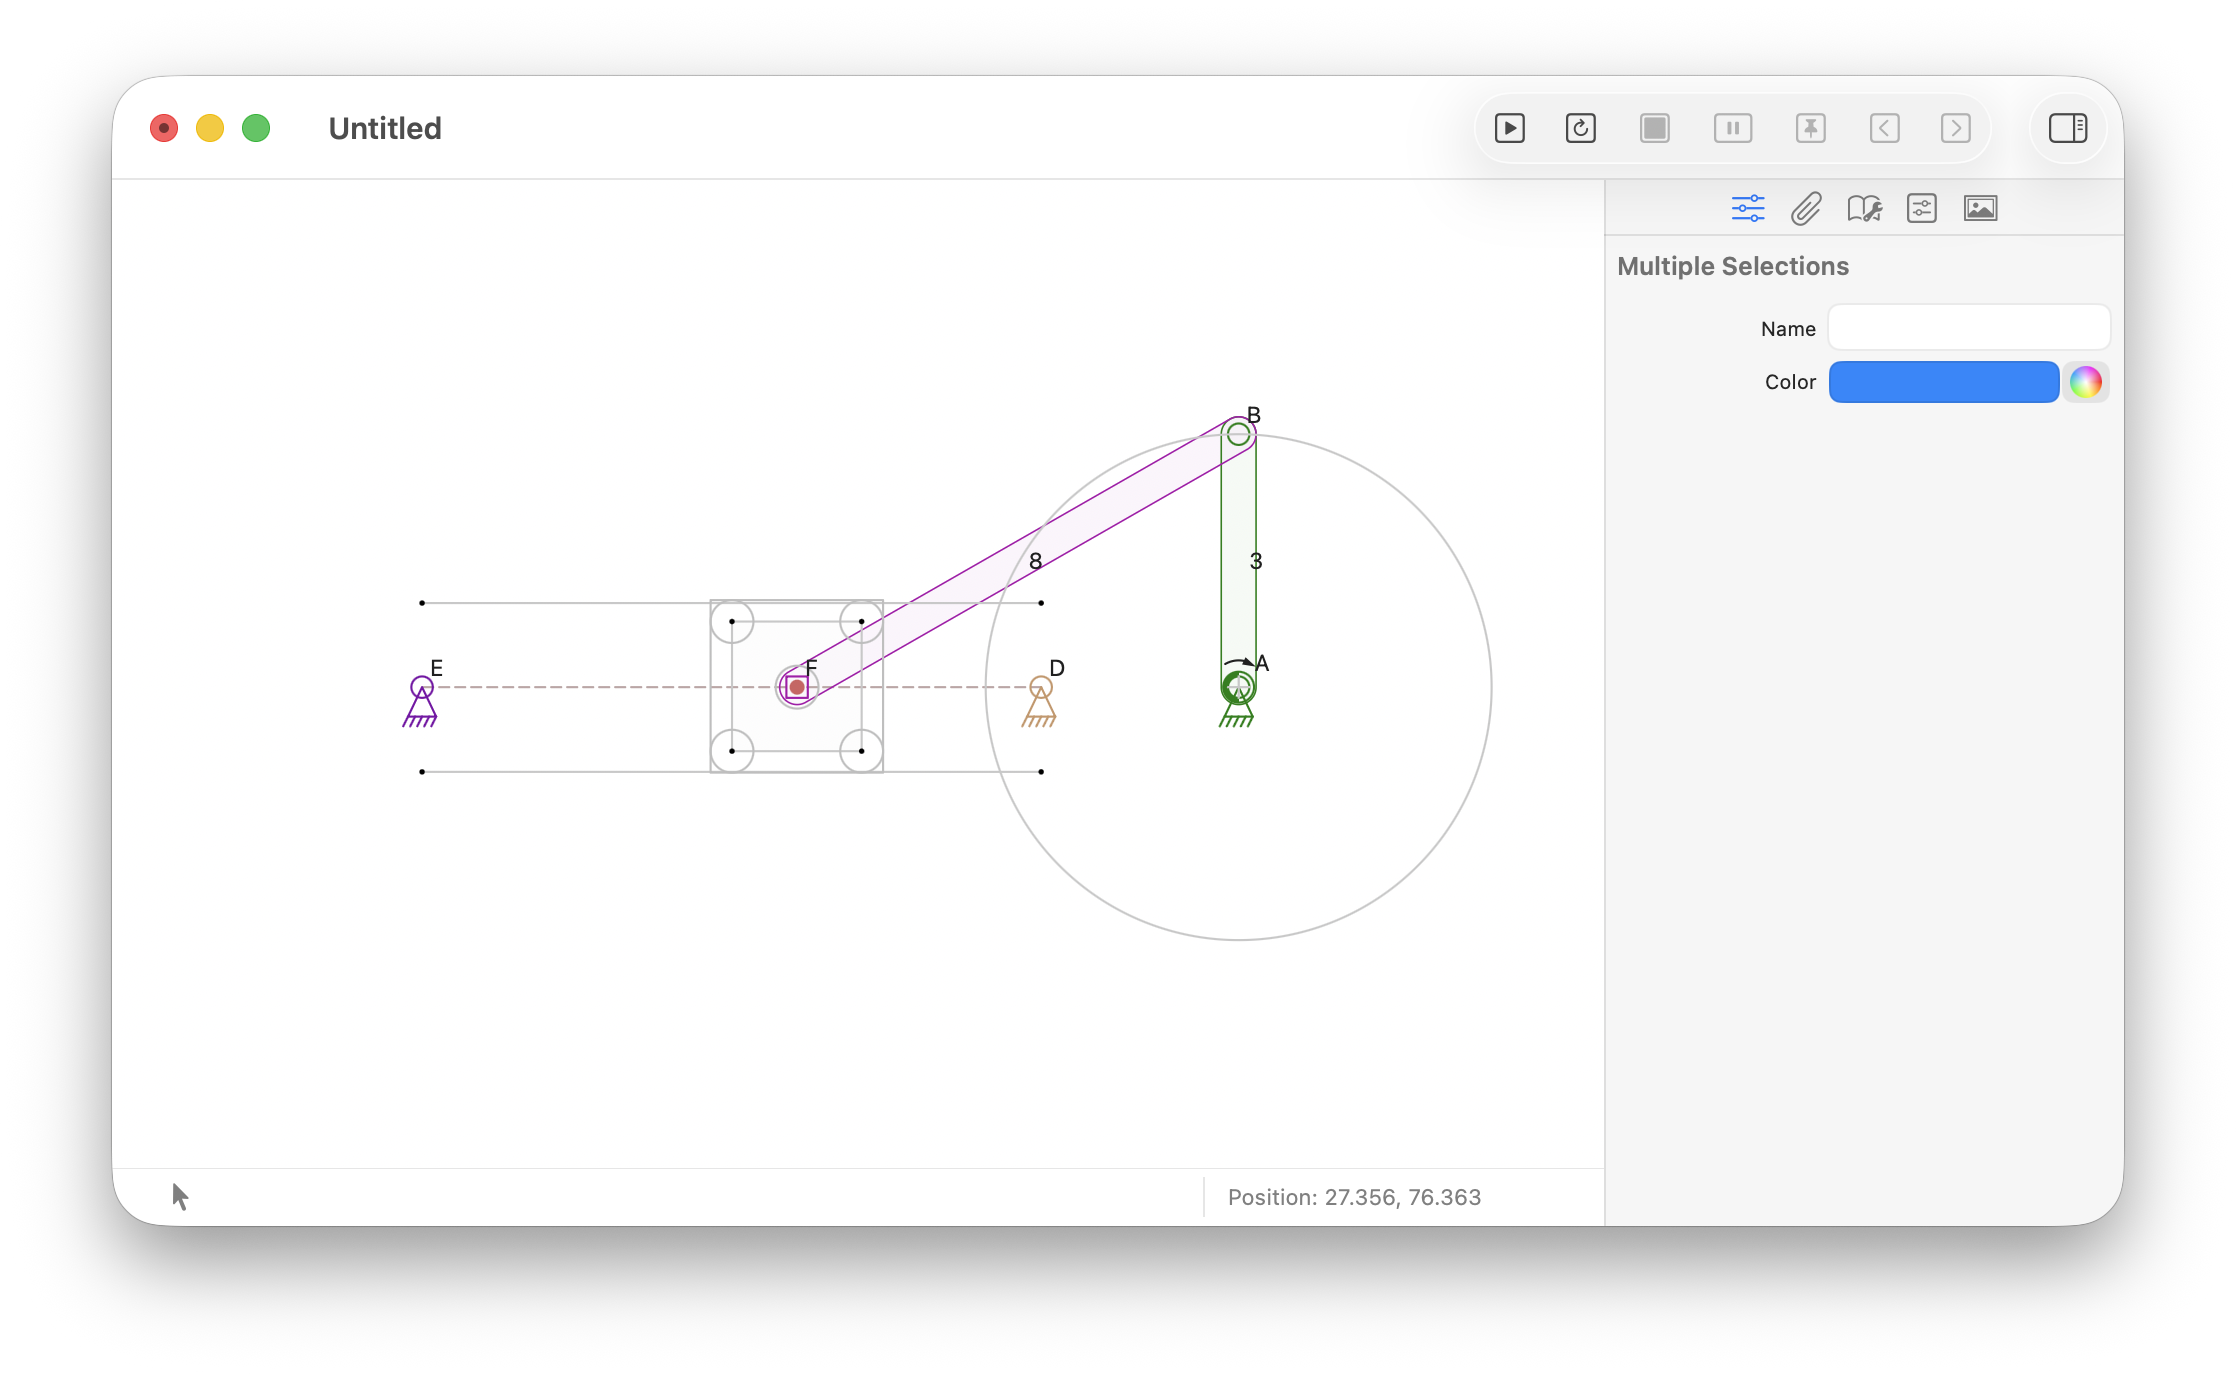
Caption
-
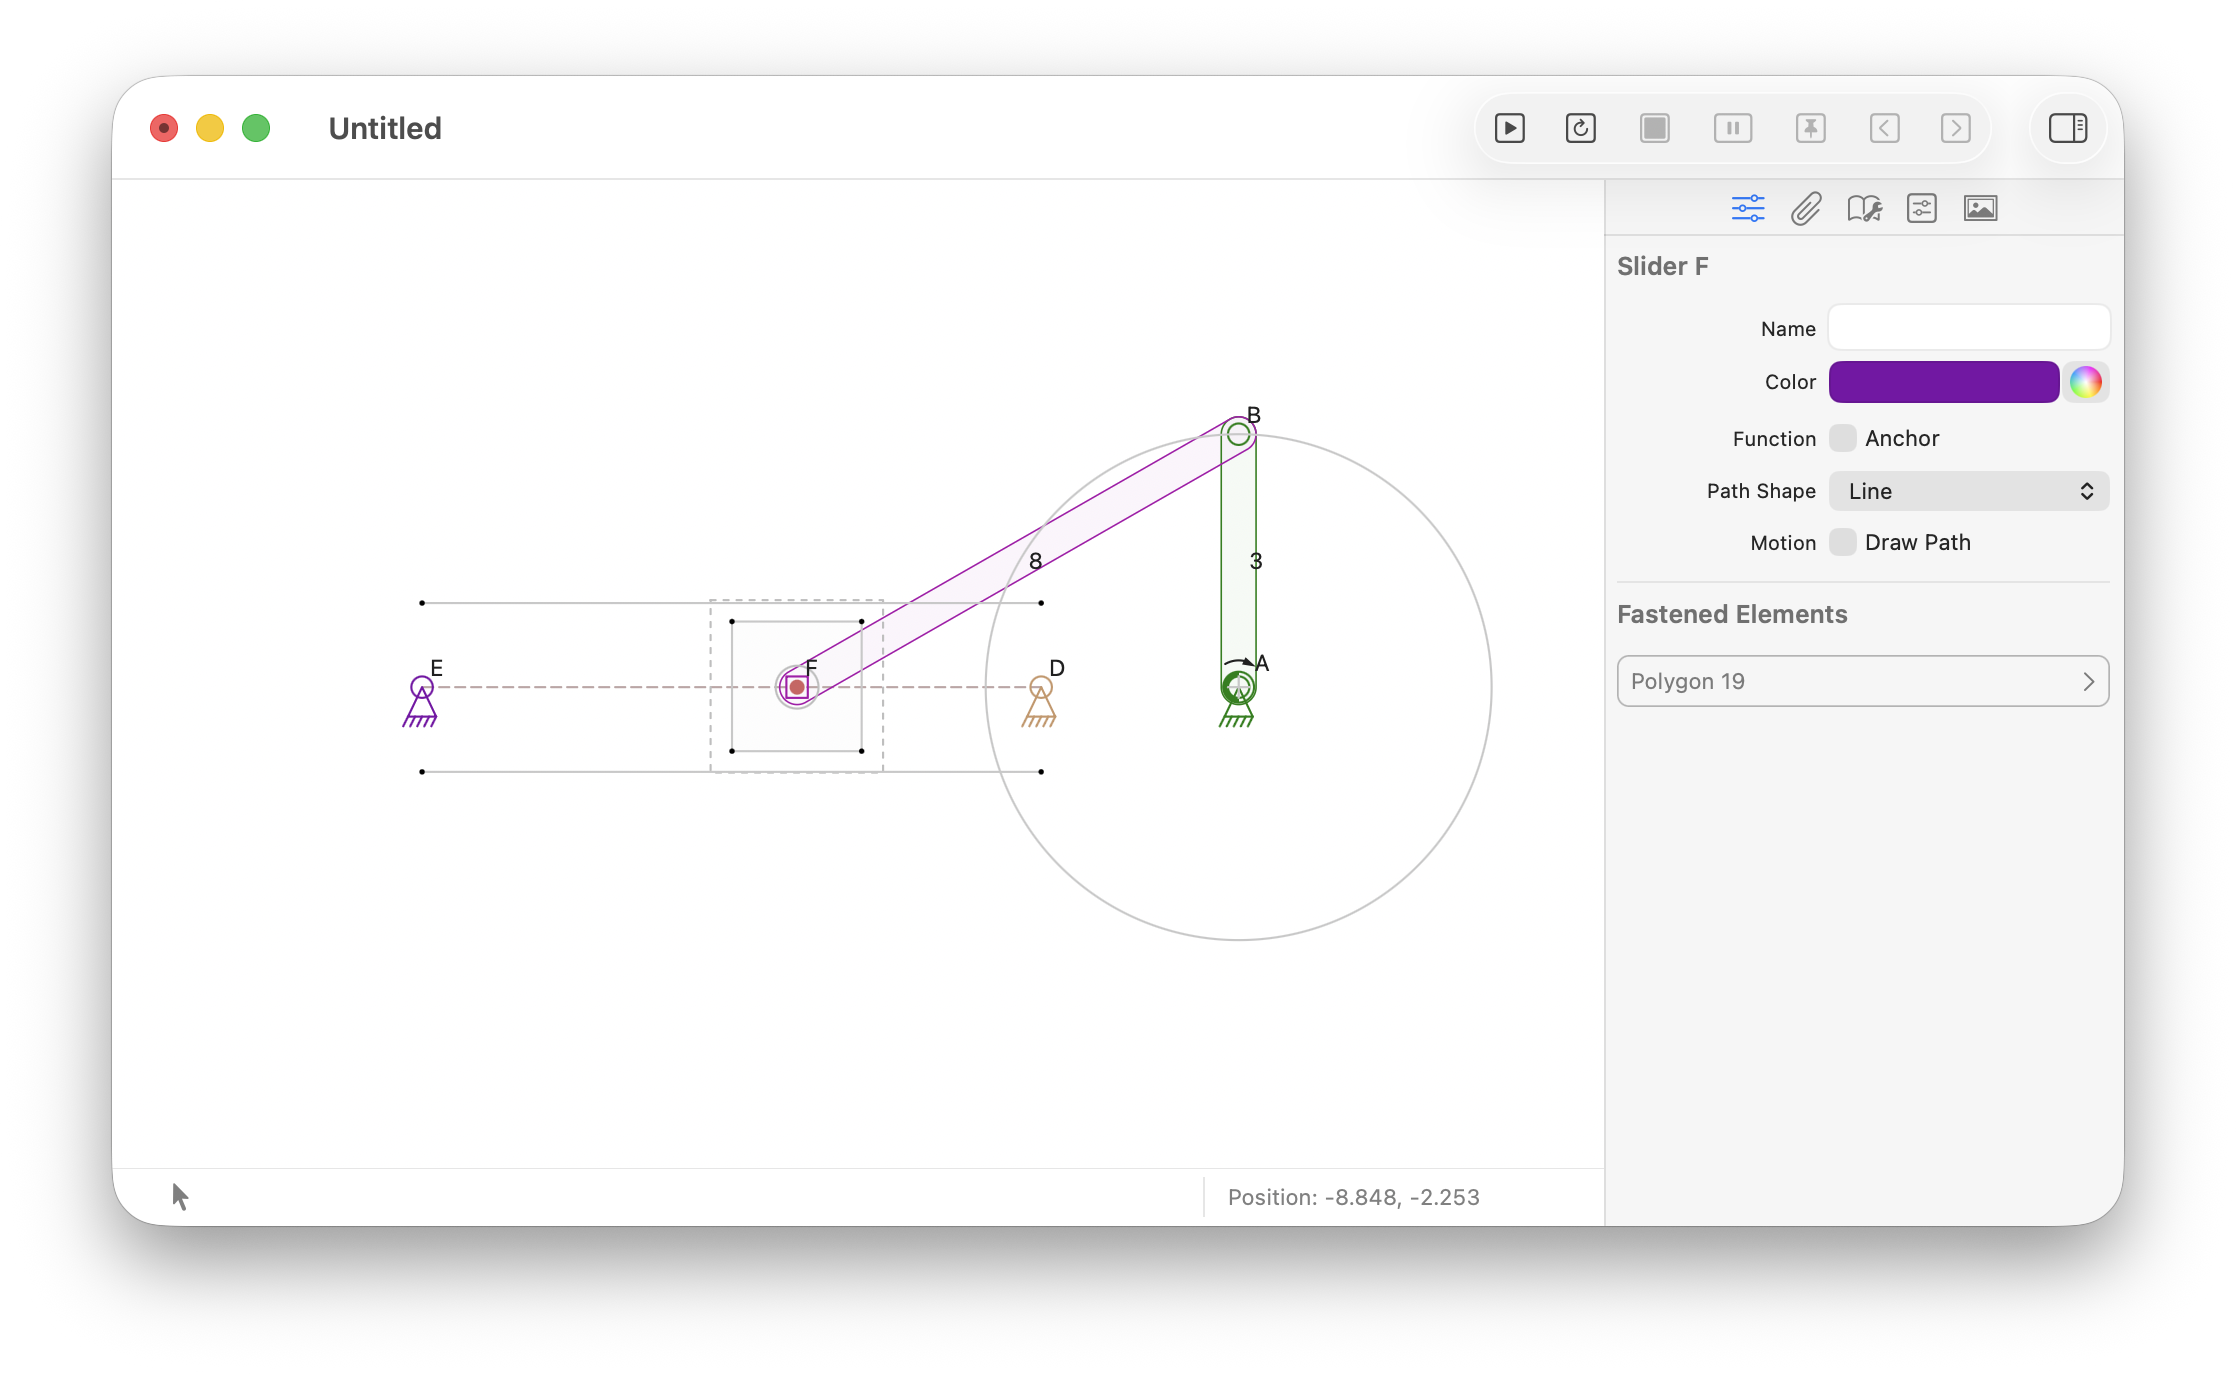
Caption
-
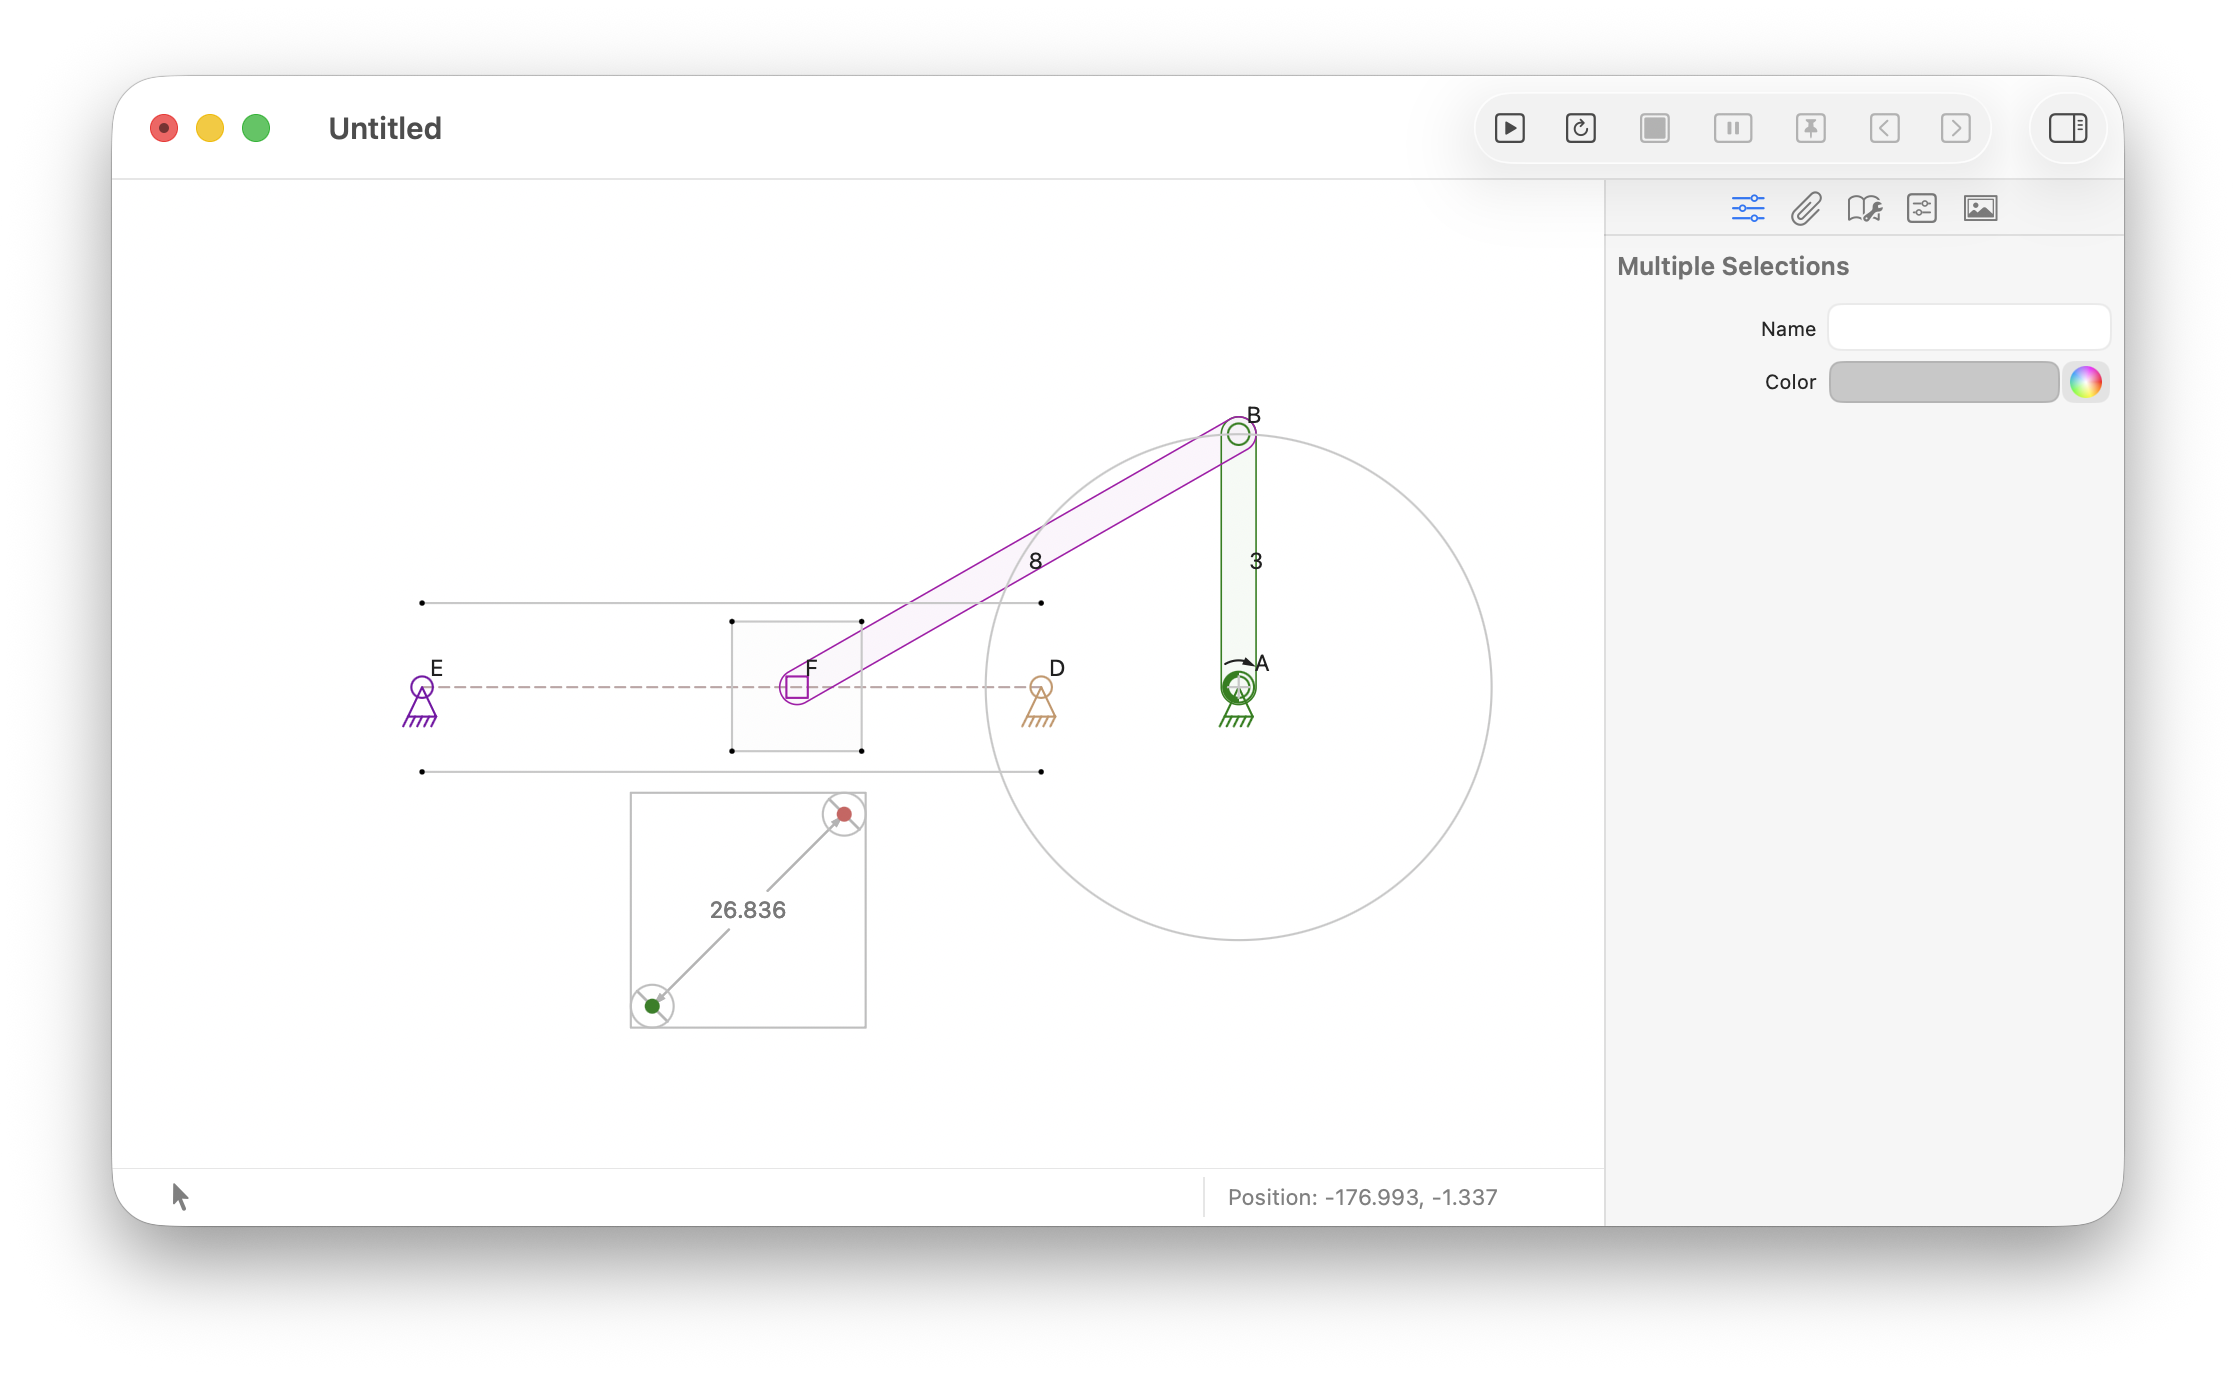
Caption
-
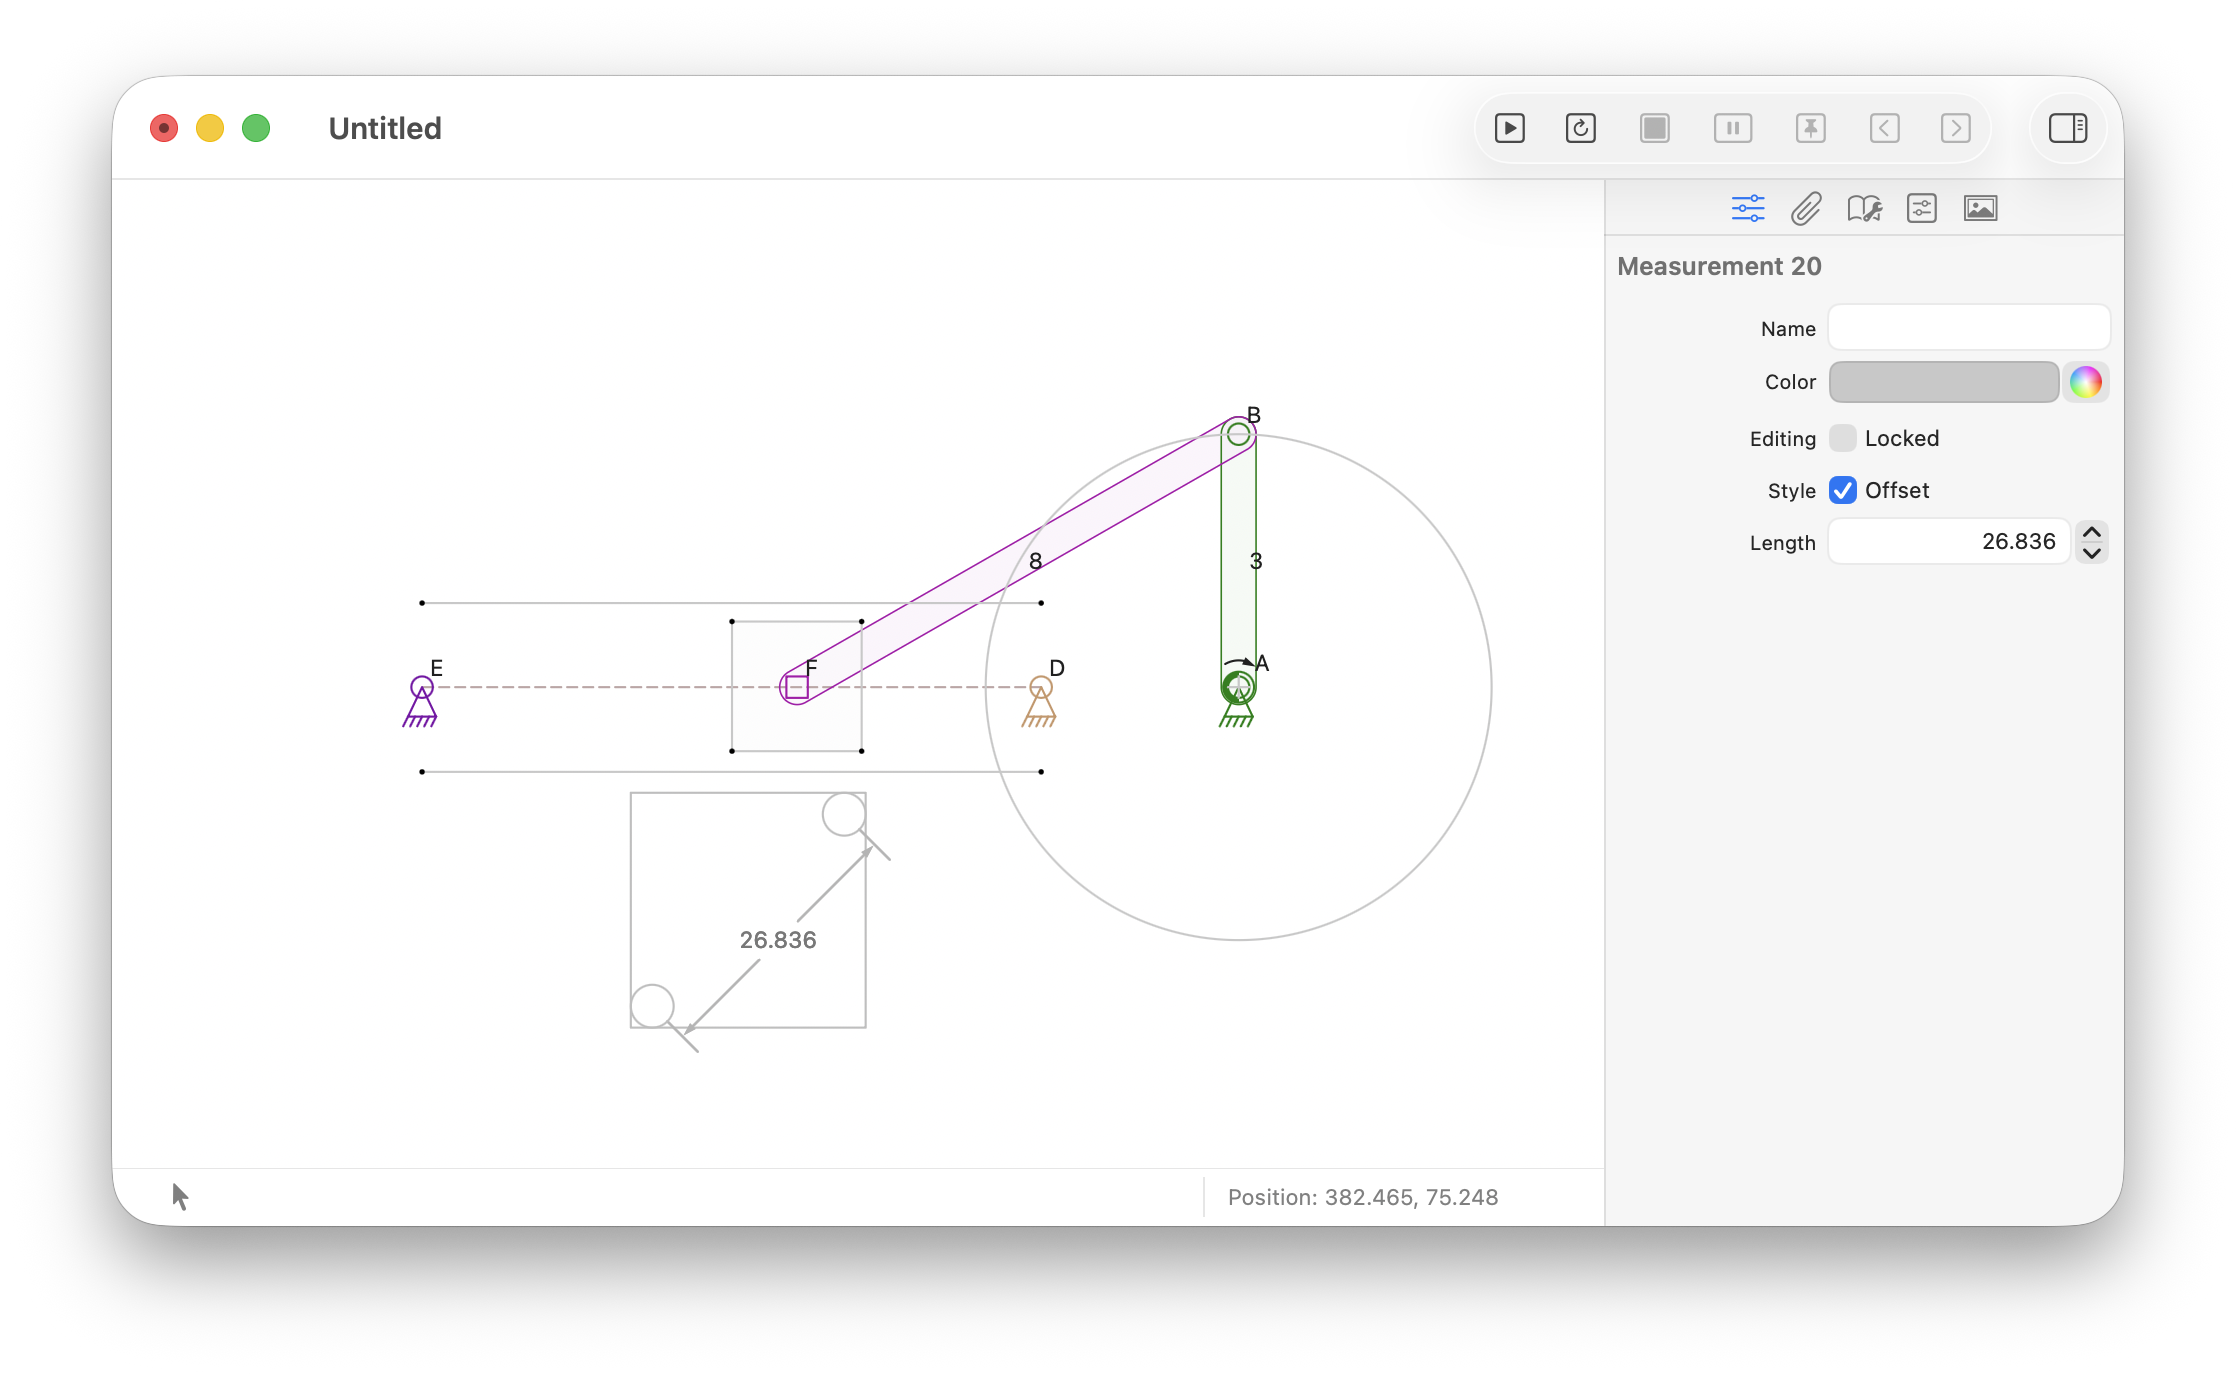
Caption
-
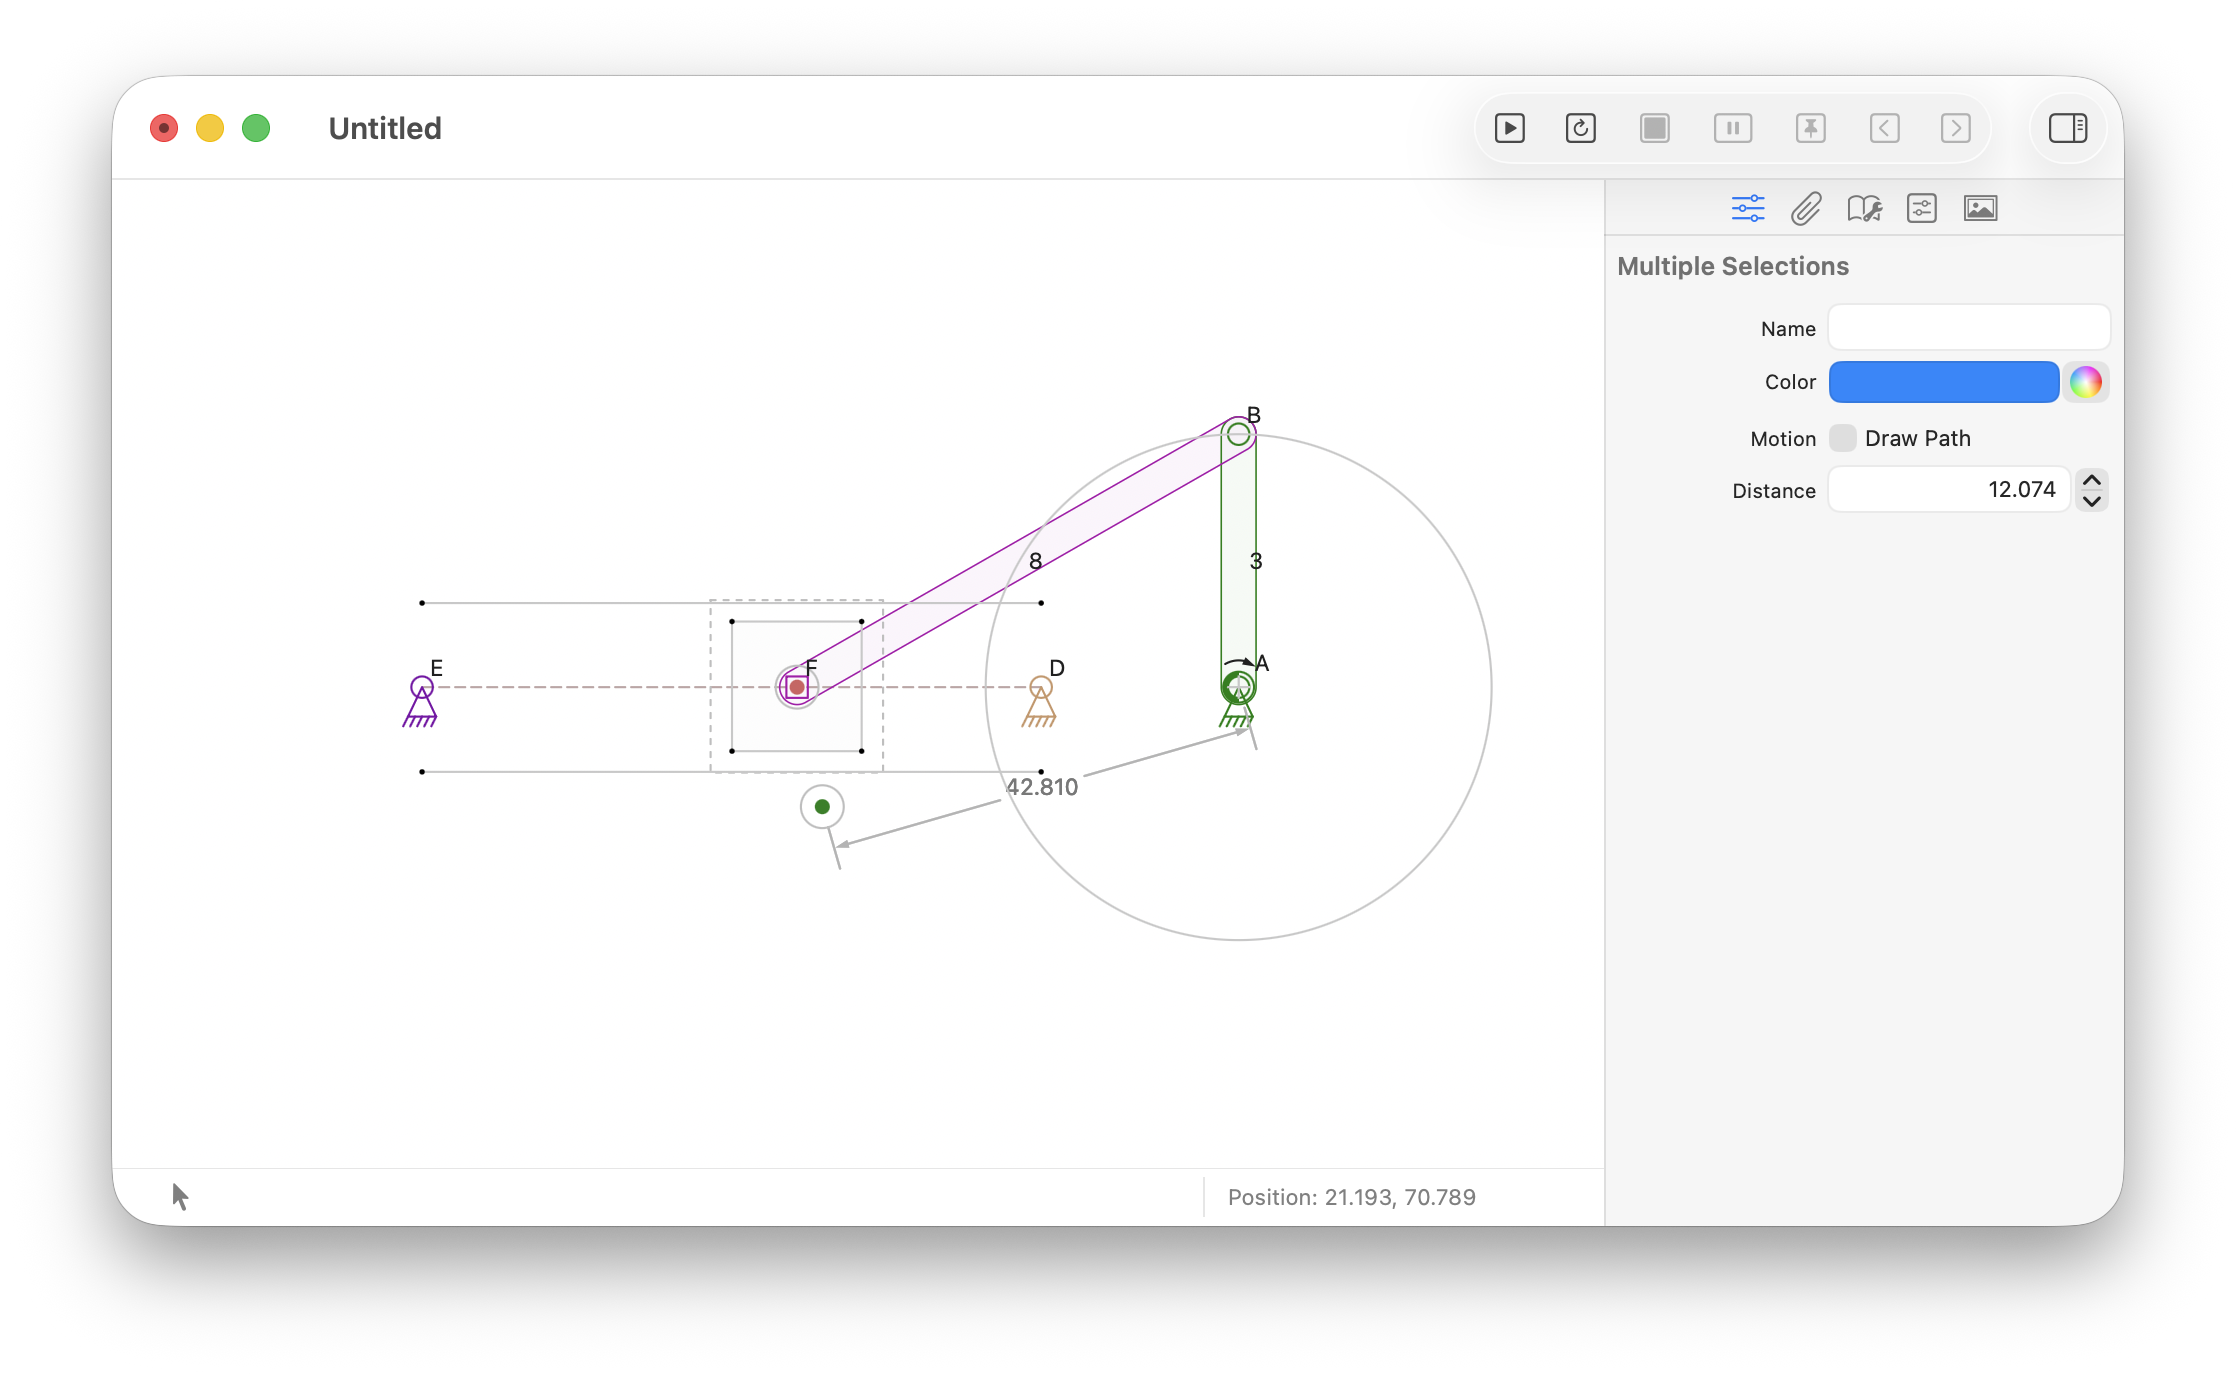
Caption
-
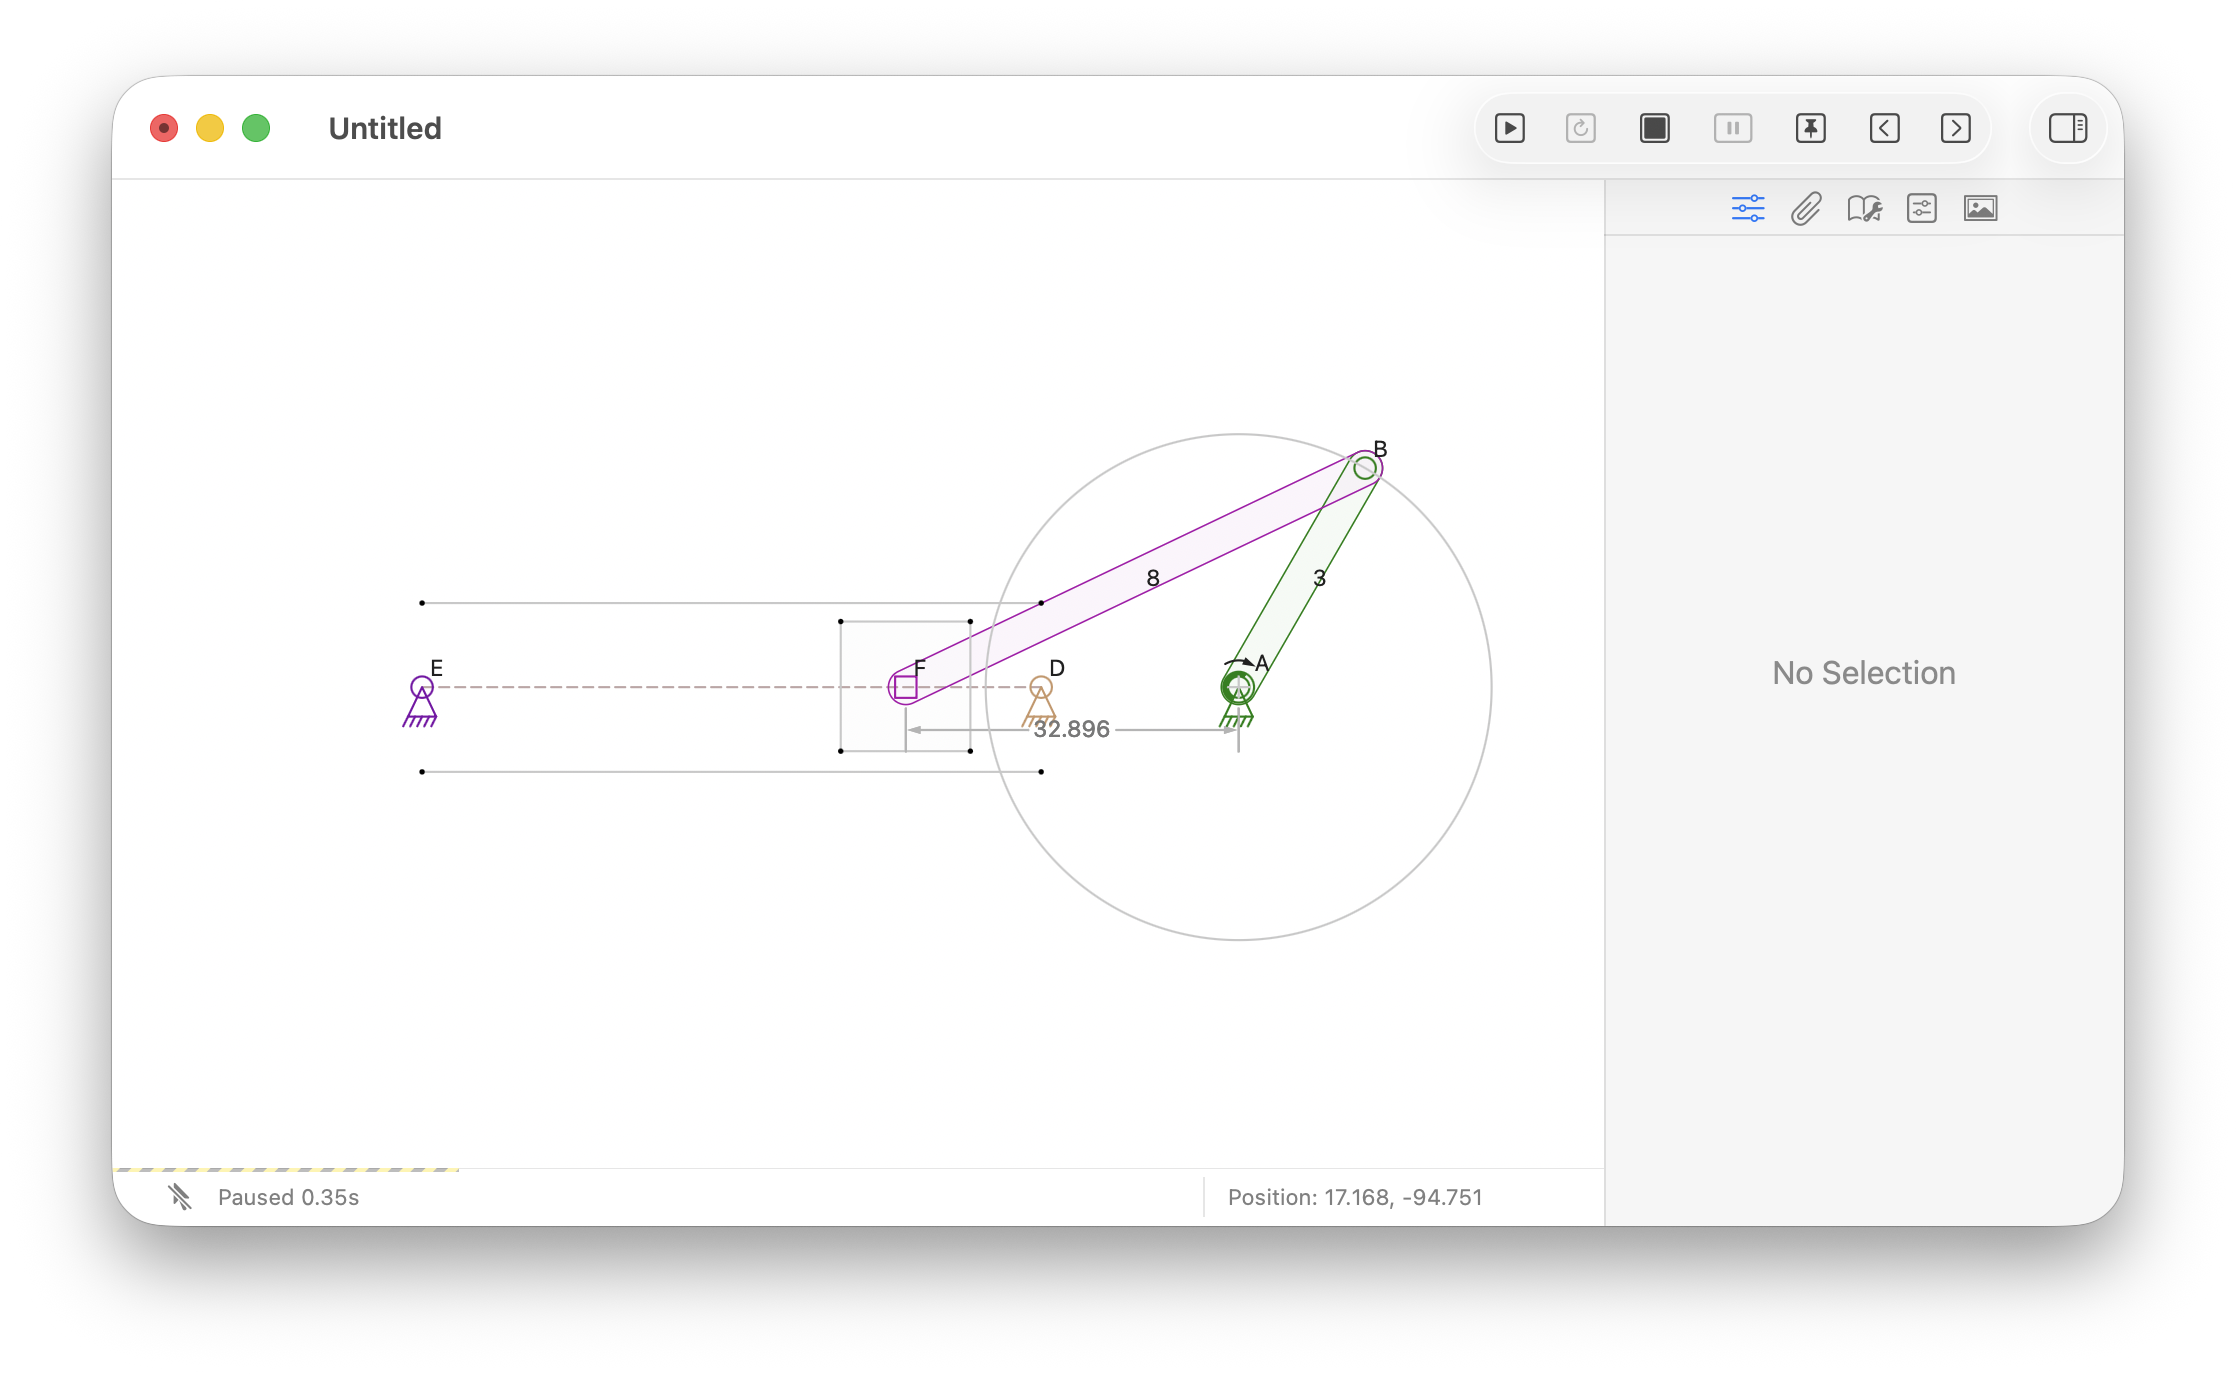
Caption
-
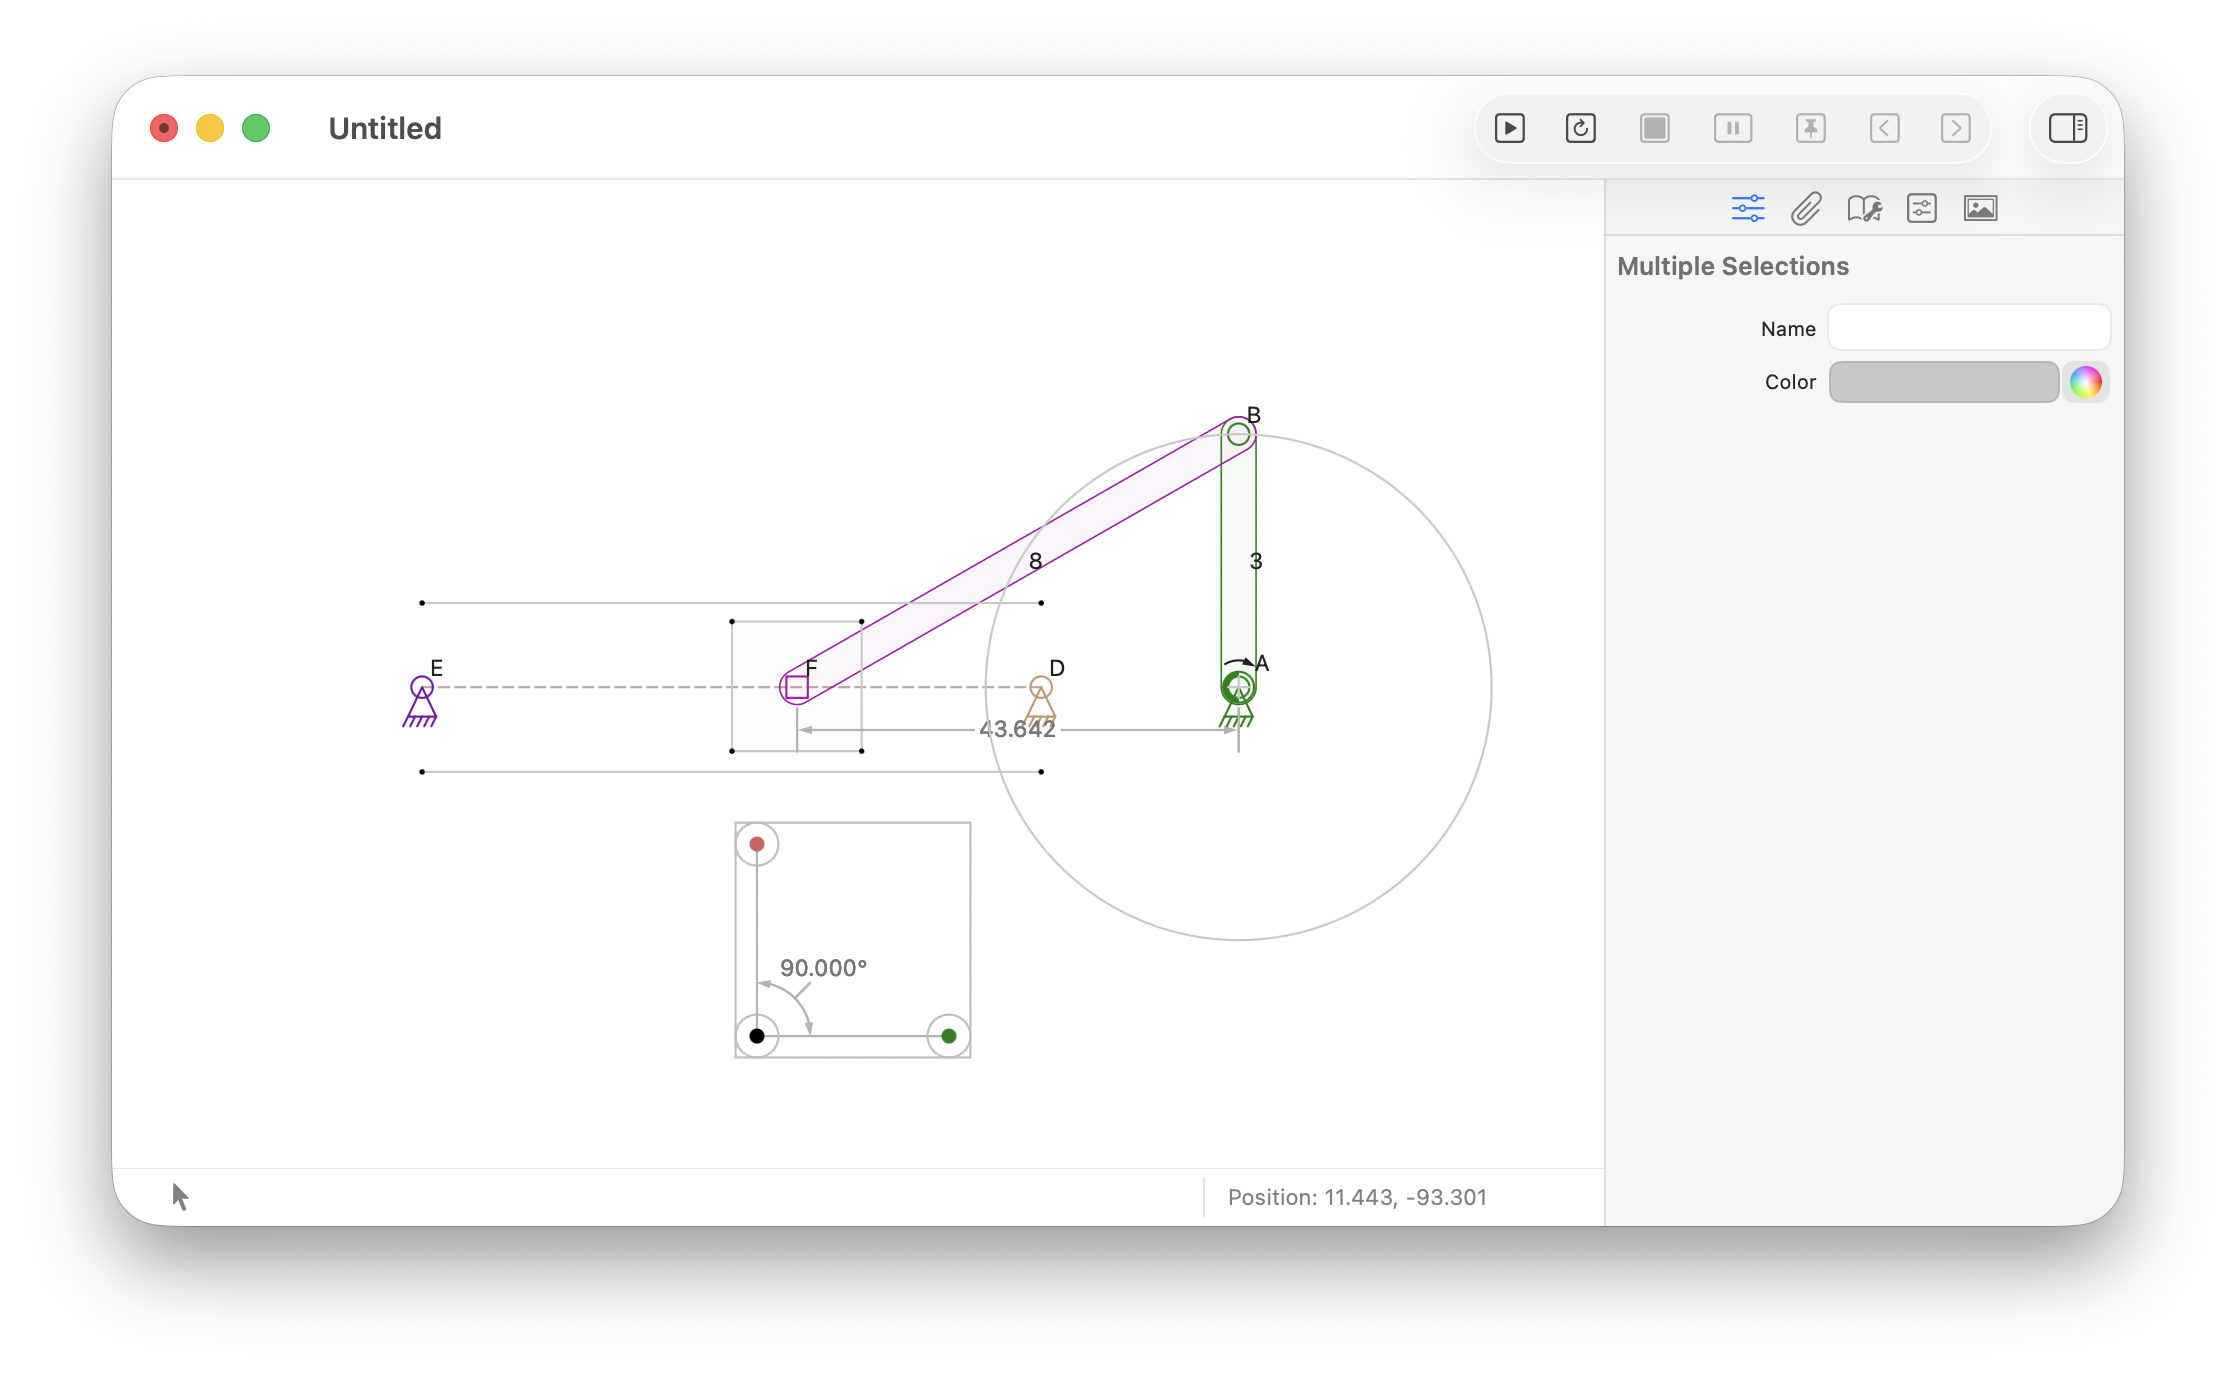
Caption
-
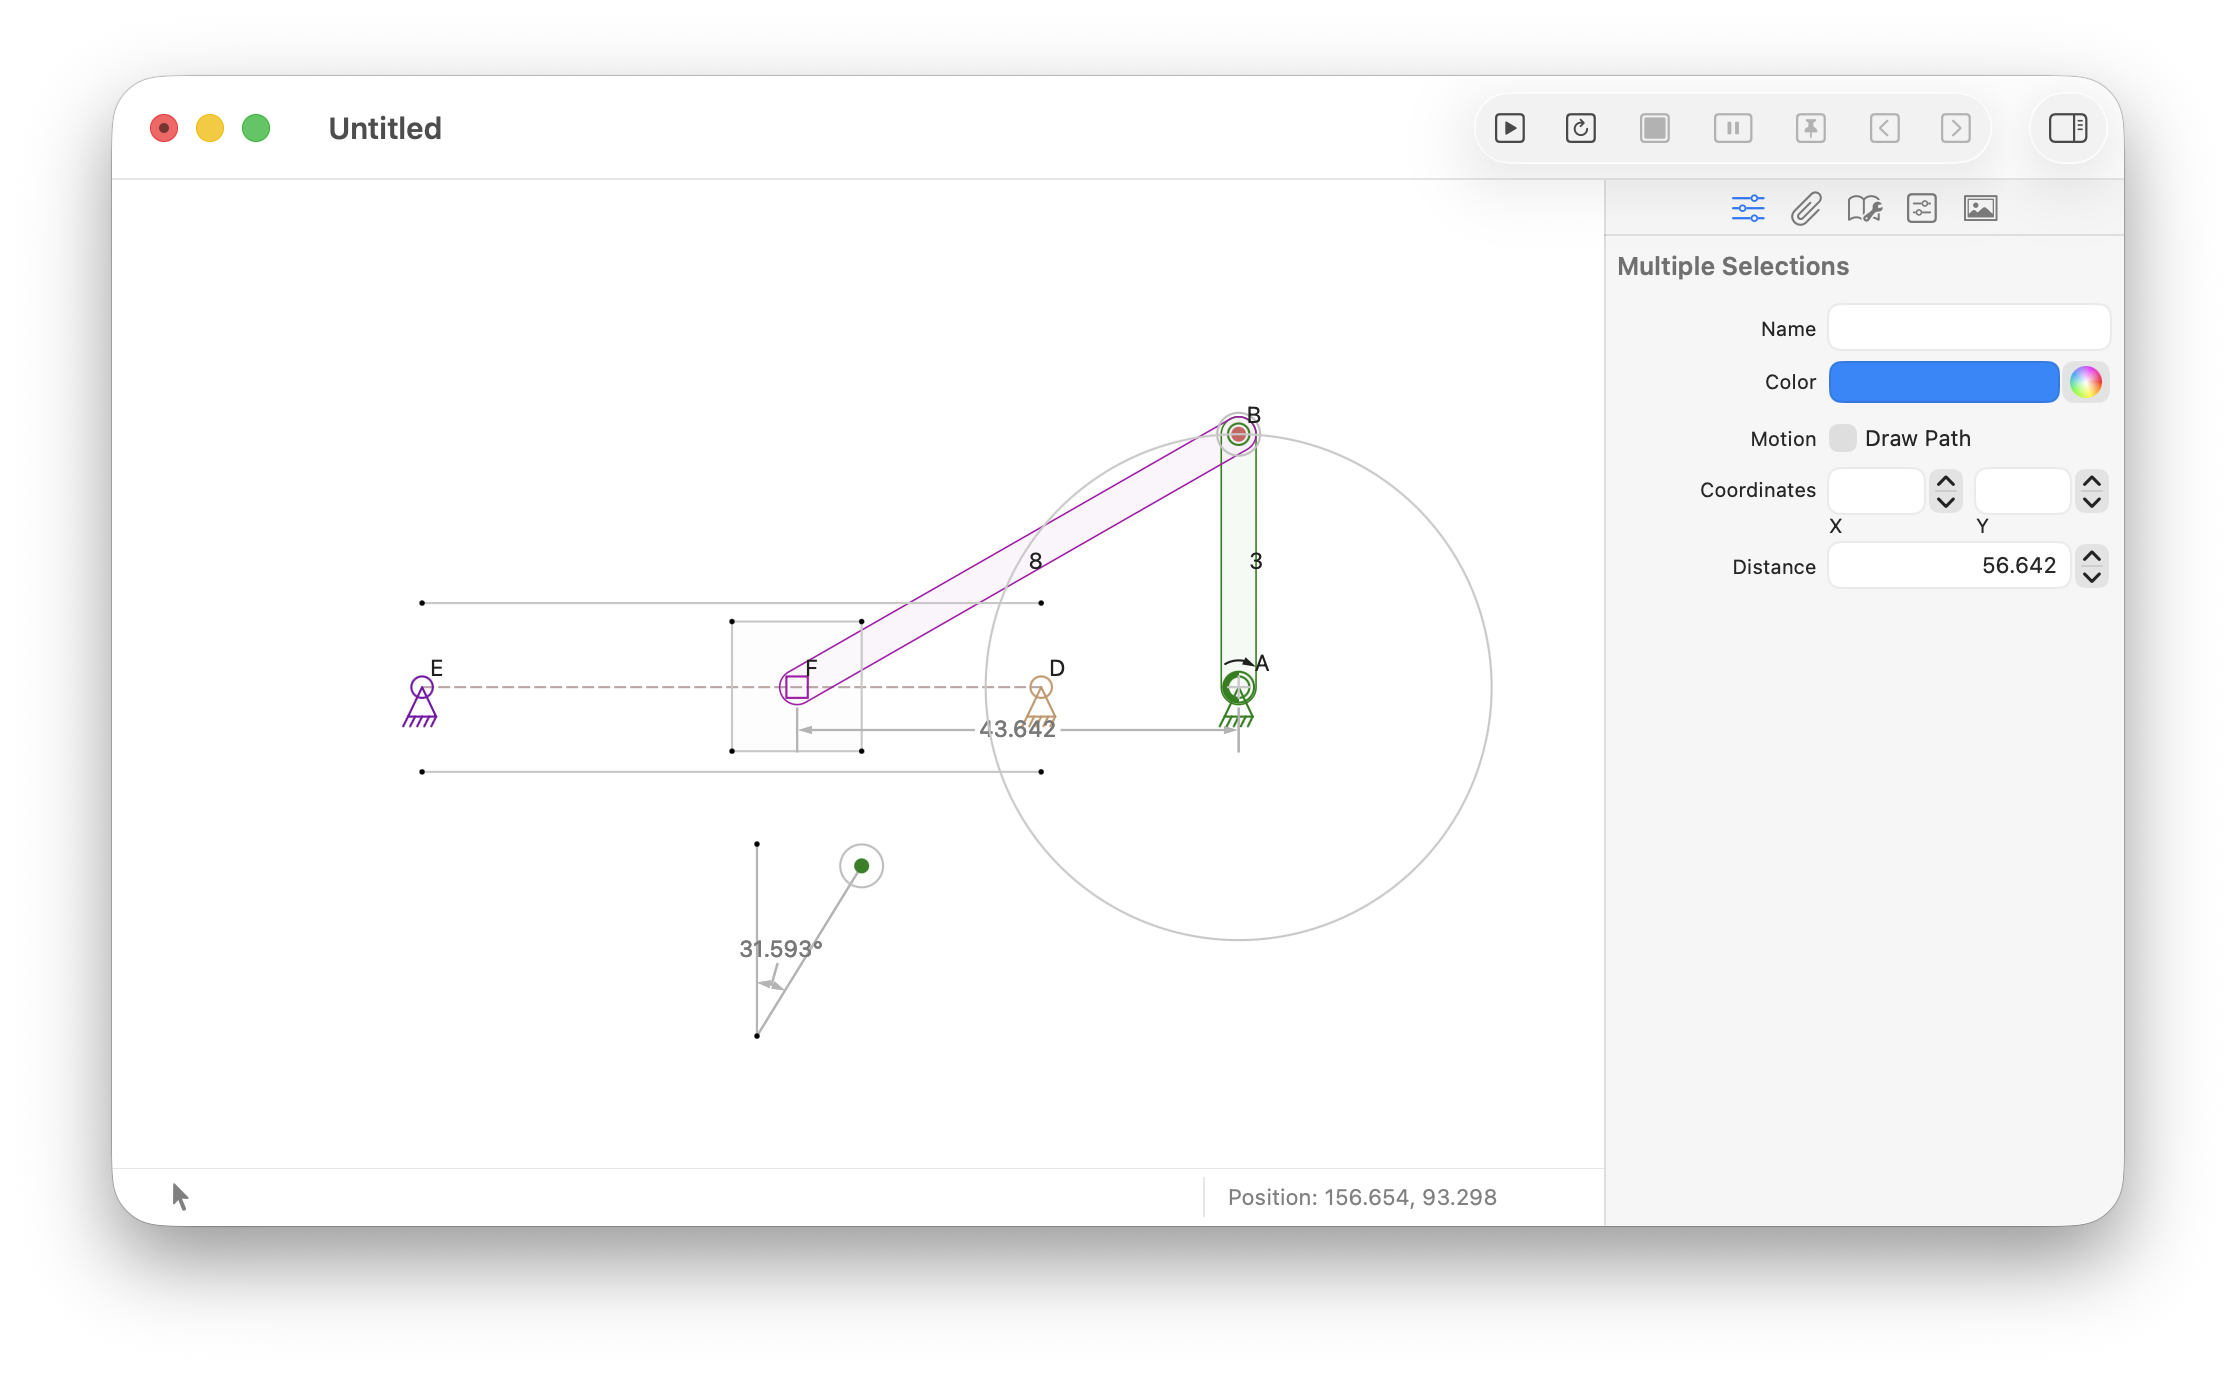
Caption
-
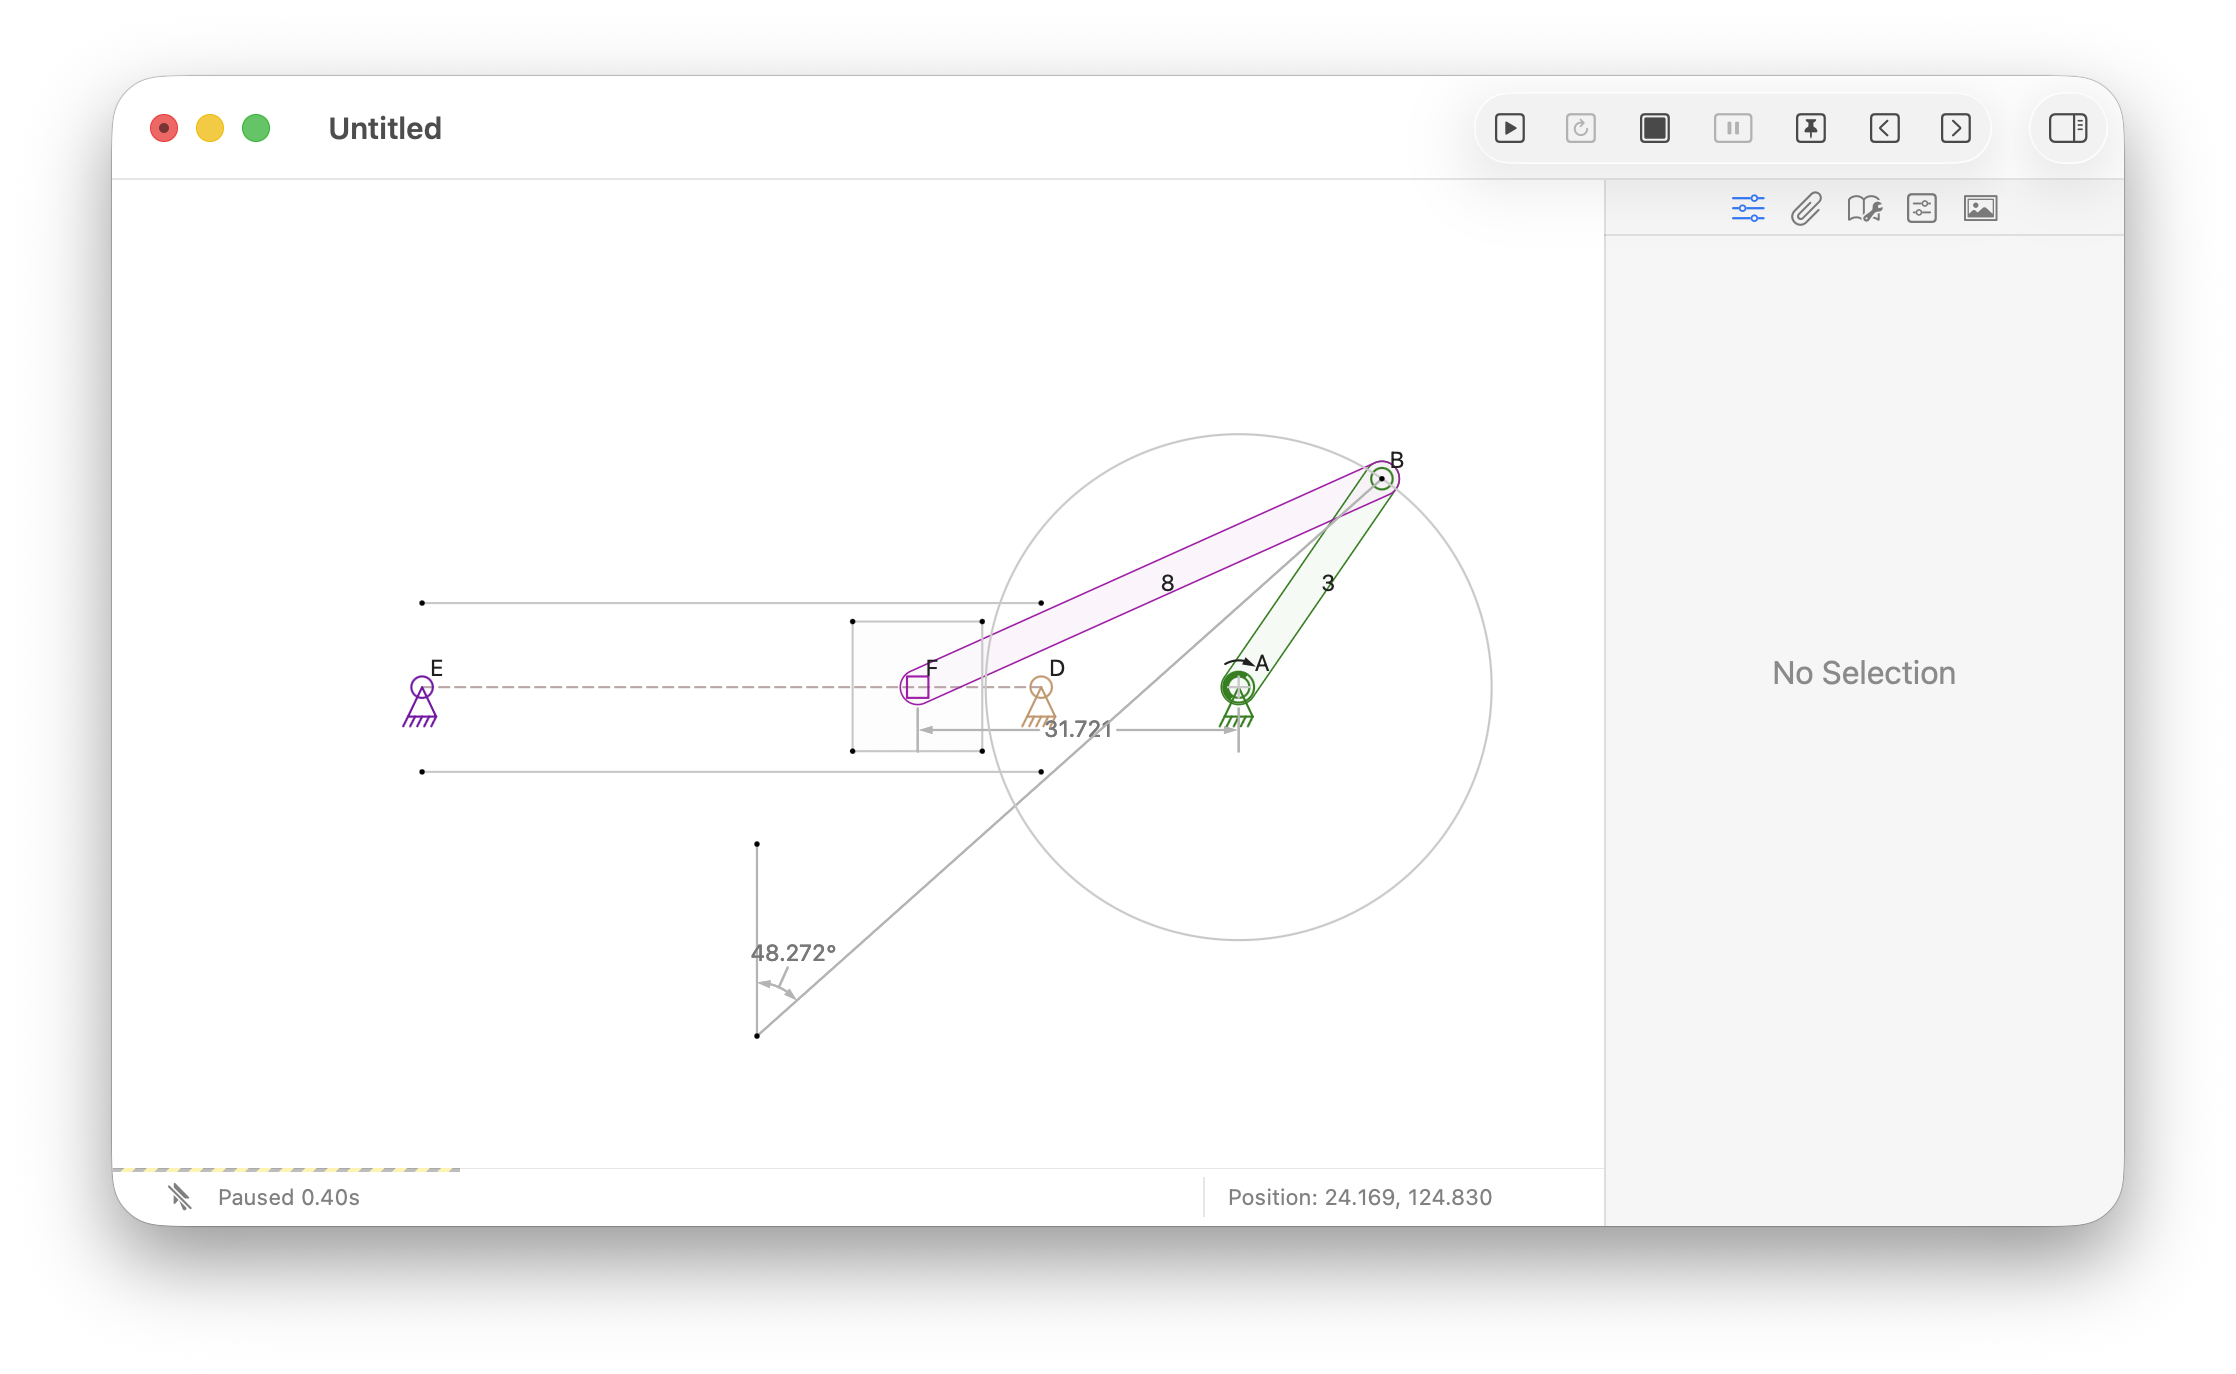
Caption
-
Caption
-
Caption
You have created a typical four-bar mechanism driven by a motor. You can use the skills learned here to create ever more complex mechanisms. This also should give you a good understanding of what binding is. If your mechanism worked properly on the first try, move links and connectors to other positions until you get the Mechanism Deformation error.
The next tutorial will show you how to make a more complex mechanism, adding to the techniques learned here. Click here to start the Slider Crank tutorial.